UES-40
Disassembly and Reassembly Procedure 3-10 ISSUE4
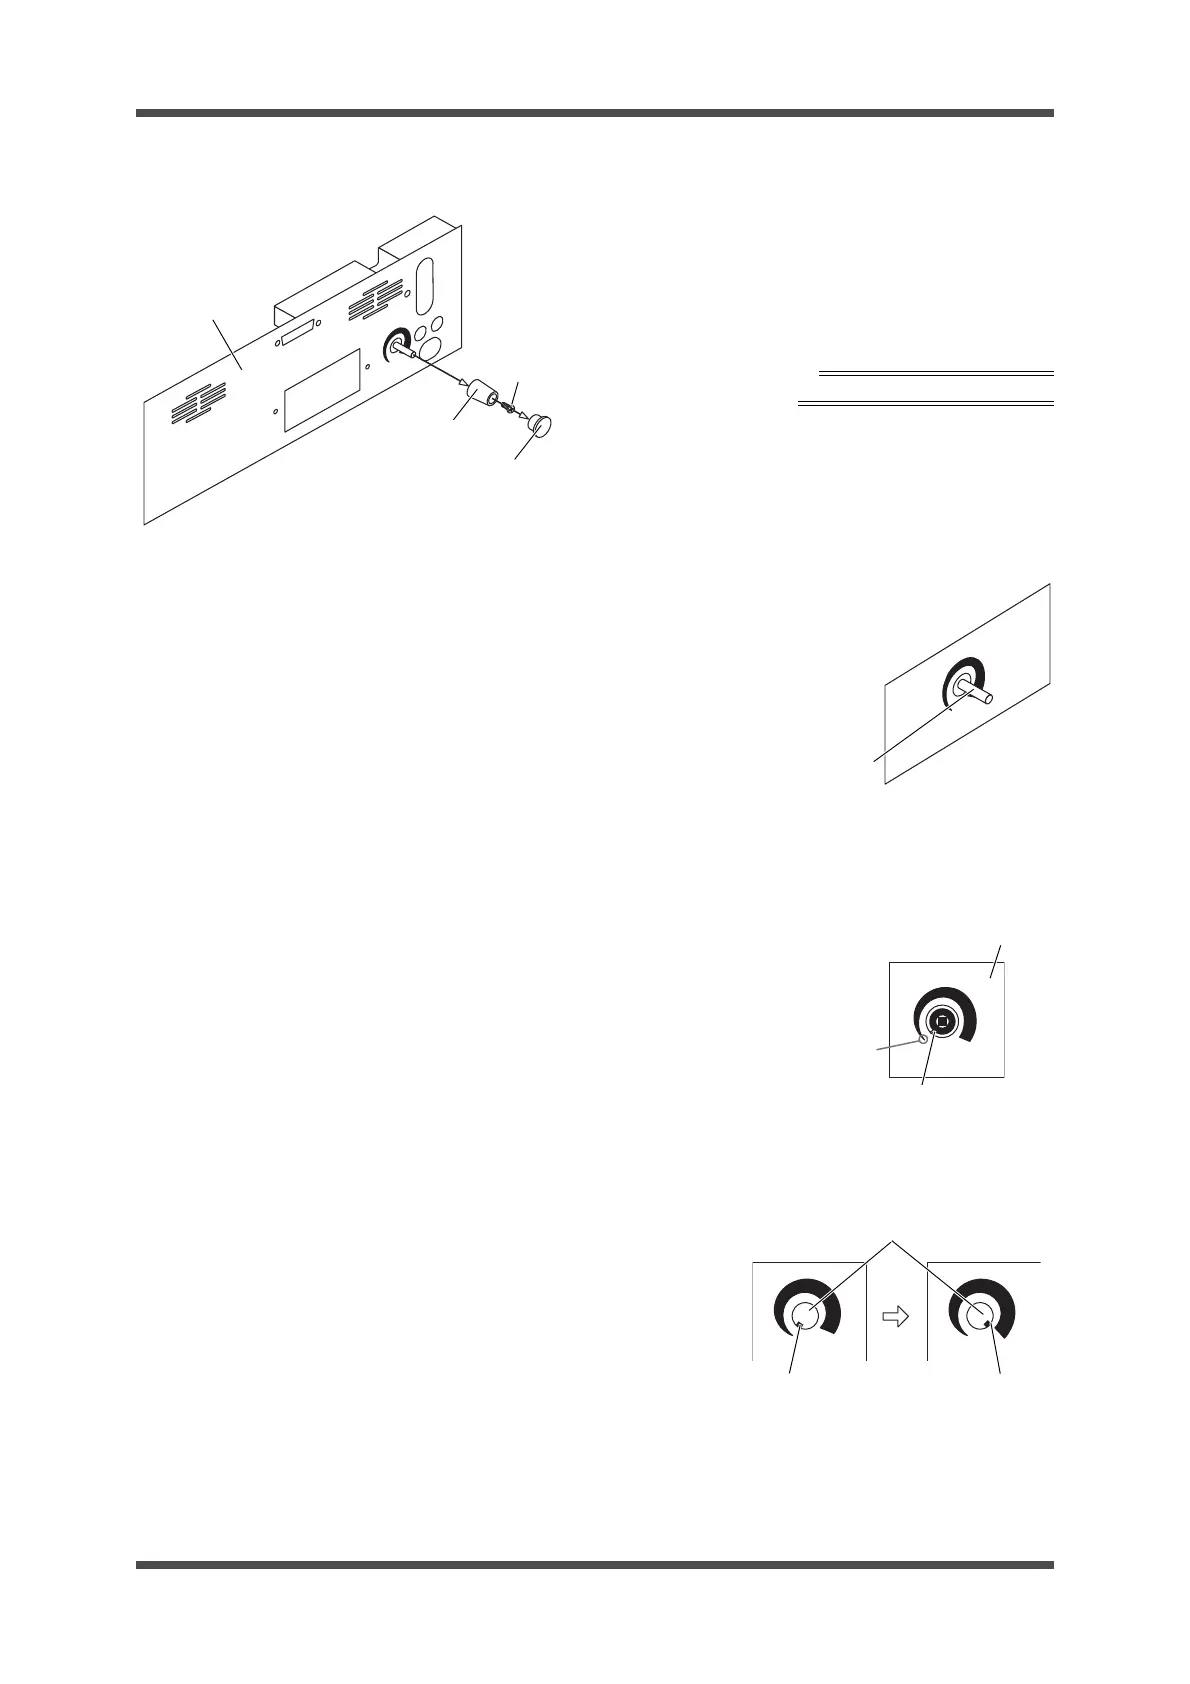
2-2-2 REAR PANEL UNIT disassembly
(1) Remove the CAP.
(2) Remove the single attached SCREW (for the
VOLUME HARNESS) and remove the
KNOB.
Phillips screwdriver (No. 1)
Neji-lock (during reassembly)
Note: During reassembly, pay attention to the
following items.
• Turn the shaft counterclockwise until
it stops.
• Visually identify the center of the
shaft, and apply Neji-lock.
• Align the white line on the KNOB with
the thinnest part of the volume-level
mark printed on the REAR PANEL,
and affix it using the SCREW.
• Ensure that when the KNOB is
turned, the CAP and KNOB indicator
move to the positions shown below.
CAP
KNOB
PEAR PANEL
Attached
SCREW
Apply Neji-lock to
the center of the
shaft
Thinnest part of the
volume-level mark
REAR PANEL
White line on KNOB