EN 16
EN
Applying grease to the O-ring
Installing the O-ring
Confirm that no foreign matter is attached, apply a thin coat of the
accessory grease to the O-ring, and fit the O-ring into the groove. At this
time, confirm that the O-ring does not stick out from the groove.
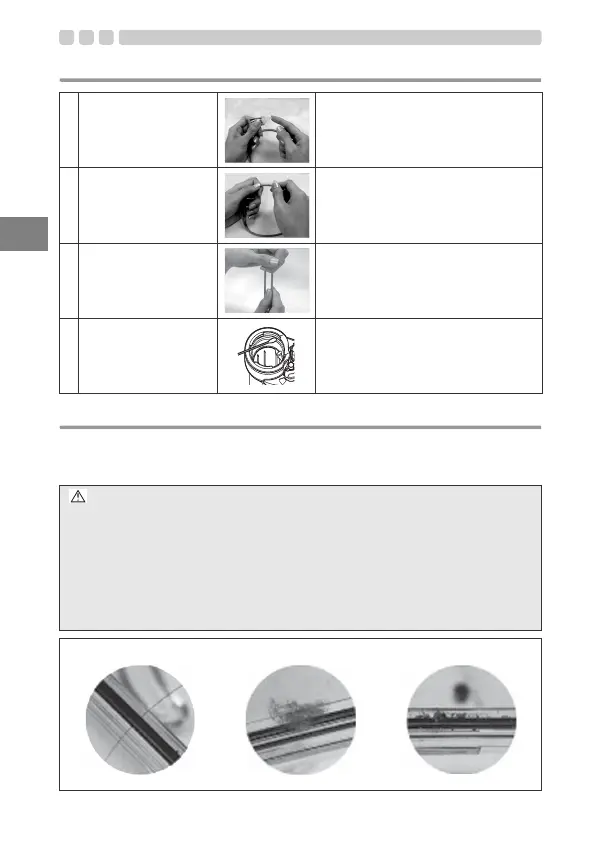
1
Apply the specified
grease.
Make sure there is no dirt on your fingers
or on the O-ring; then squeeze about
10 mm of grease onto your fingertip.
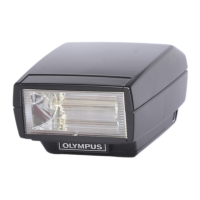
2
Spread the grease over
the O-ring.
Using two fingers and a thumb, spread
the grease over the O-ring while rubbing it
in. Use caution not to squeeze or pull the
O-ring too hard.
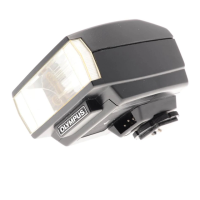
3
Check that there is no
damage or irregularities
on the O-ring.
Once the grease has permeated
throughout the O-ring, check it for
damage or irregularities (both visually and
by touch). If you notice any abnormalities,
replace the O-ring with a new one.
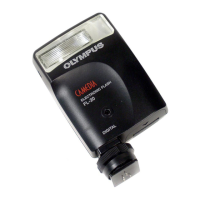
4
Apply the grease to the
O-ring contact surface.
Use any residual grease on your
fingertips to clean and lubricate the O-ring
contact surface on the flash.
CAUTION
• Always perform maintenance of the waterproof function even when the
battery cap has been opened to exchange the battery. Neglecting this
maintenance may result in water leakage.
• When the flash is not to be used for a long time, remove the O-ring from
the groove to prevent deformation of the O-ring, apply a thin coat of silicone
grease, and store it in a clean plastic bag.
• When drying is done with salt attached, it is likely that a function
impairment will be caused. After use, always wash off any salt.
Examples of foreign matter sticking to the O-ring
Hair Fibers Grains of sand
UFL-3_EN.book Page 16 Thursday, July 17, 2014 5:21 PM