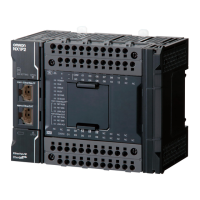
7. Connection Procedure
10
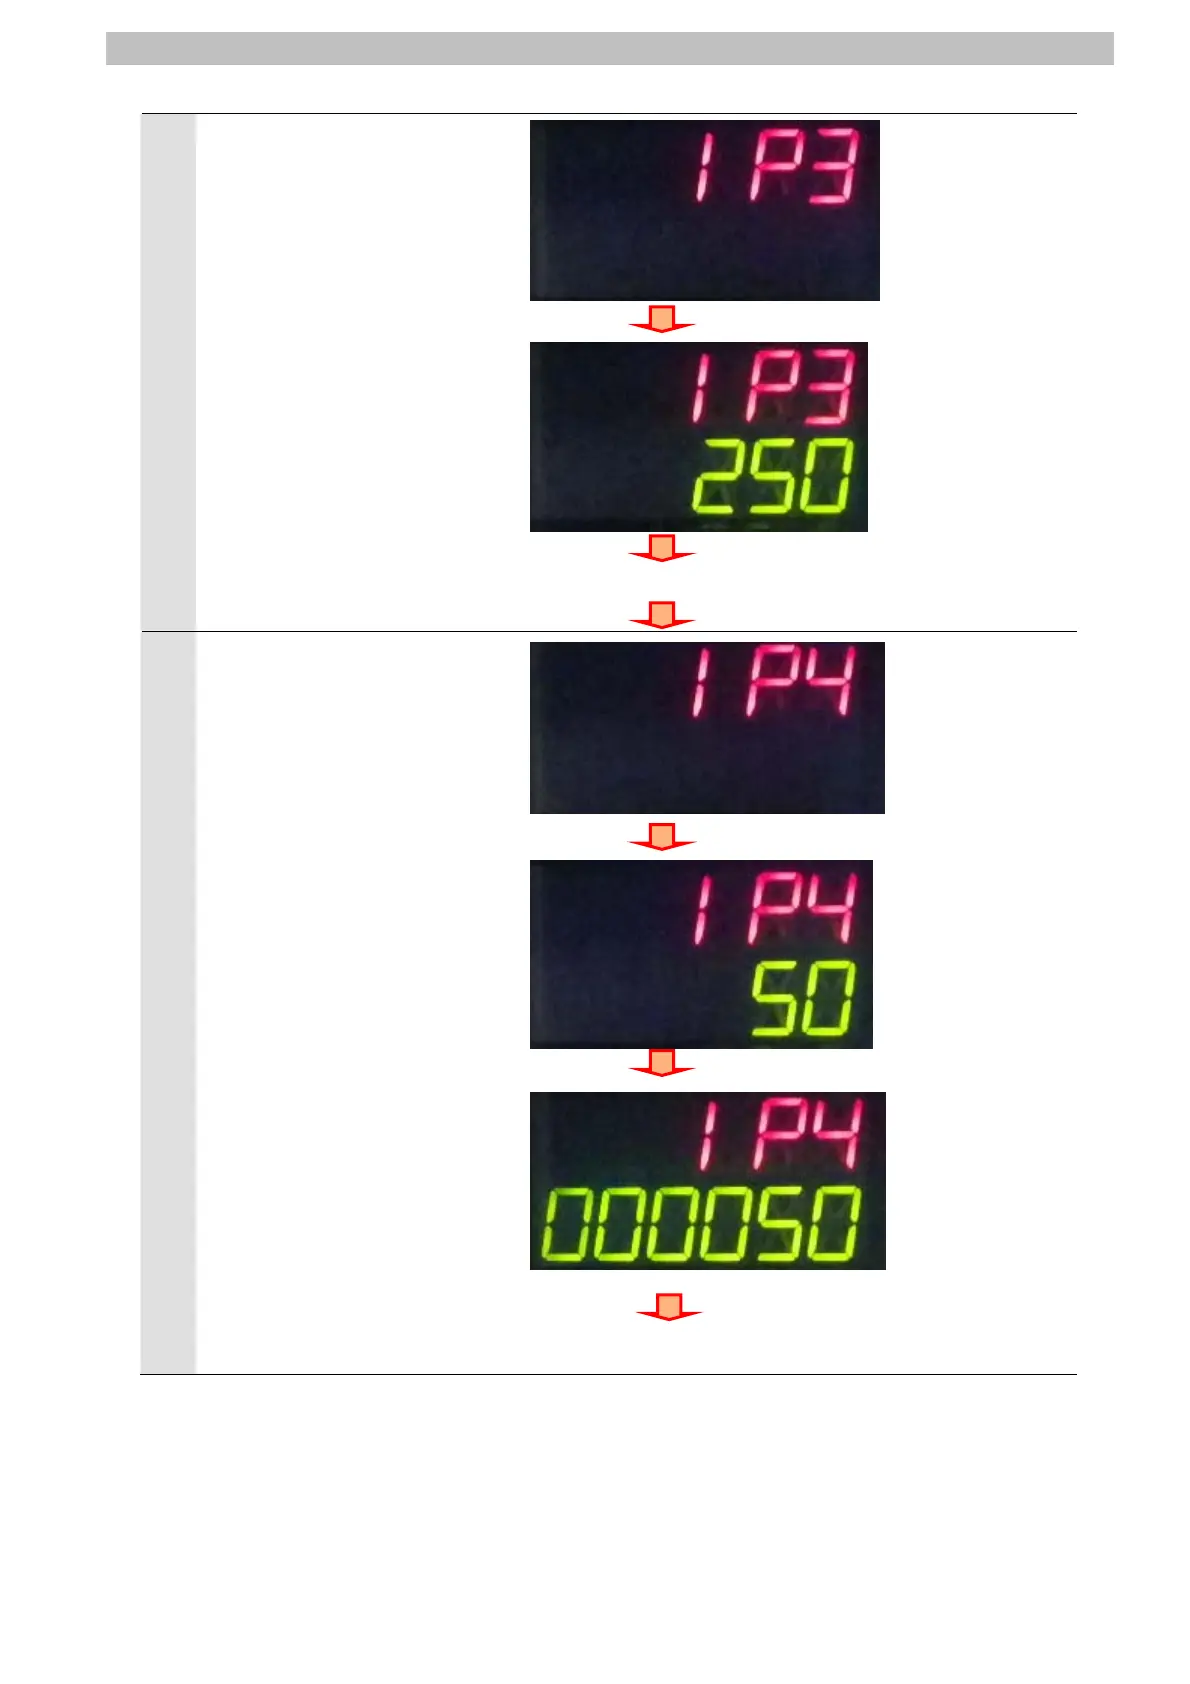
IP3 is displayed on the main
display.
Press the ZERO/SET Key.
Confirm that 250 is displayed on
the sub-display.
*If the setting value is different,
change the value by referring to
step 11 and step 12.
*In this step, you set 250 that is
the third octet of IP address
192.168.250.2.
Press the ZERORST/ESC Key
once. The first screen in this
step is displayed again.
Press the → (RIGHT) Key once.
Press the ZERO/SET Key once.
Press the ZERORST/ESC Key once.
IP3 is displayed.
Press the → (RIGHT) key once.
11
IP4 is displayed on the main
display.
Press the ZERO/SET Key.
The default value is displayed
on the sub-display.
Press the ZERO/SET Key.
The sub-display content
changes, allowing you to
change the value.
Select a digit you want to
change the value by pressing
the → (RIGHT) or ← (LEFT)
Key. You can change the value
of a blinking digit.
Change the value by pressing
the ↑ (UP) or ↓ (DOWN) Key.
Change to 000002.
Press the ZERO/SET Key once.
Press the ZERO/SET Key once.
Press the → (RIGHT) or ← (LEFT) Key.
Press the ↑ (UP) or ↓ (DOWN) Key.
22
 Loading...