Unit components Section 2-1
39
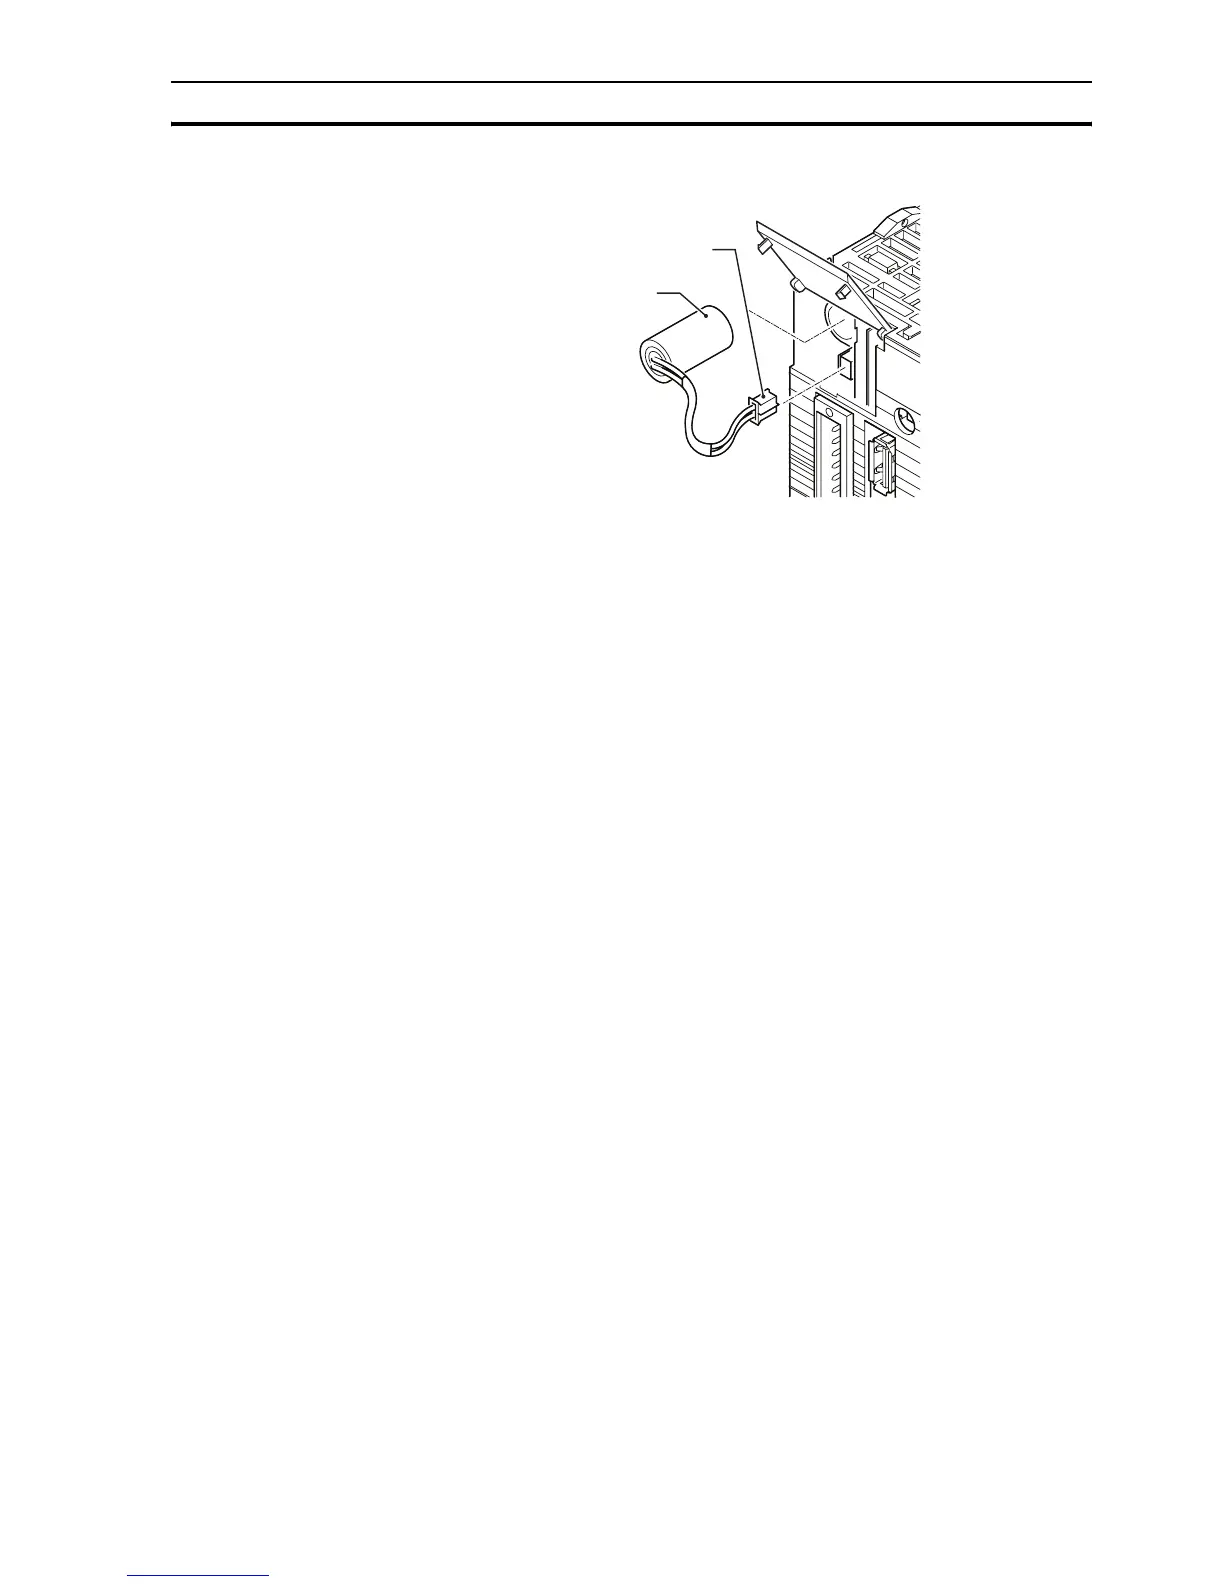
Battery (A) and battery connector (B)
5 Remove the battery connector (B) of the old battery.
6 Connect the battery connector (B) of the new battery.
7 Install the new battery (A) in the battery compartment.
8 Close the battery compartment.
When the new battery is installed, the low-battery error is cleared.
!WARNING These actions can cause the battery to leak, burn or rupture, which can lead to fire,
injury, loss of property and death.
• Do not short-circuit the battery terminals.
• Do not charge the battery.
• Do not disassemble the battery.
• Do not heat the battery or set fire to the battery.
!WARNING Do not use a battery that is dropped on the floor or that is subjected to a shock. The
battery can leak.
2-1-4 I/O connector
The I/O connector is a 28-pin connector used to wire to an external I/O. All I/
Os are general-purpose I/Os. Functions like limit inputs and origin proximity
inputs can be allocated.
The recommended connector is the Weidmuller B2L 3.5/28 LH connector.
2-1-5 MECHATROLINK-II connector
The MECHATROLINK-II connector is used to connect the CJ1W-MCH72 unit
to a MECHATROLINK-II network.
2-1-6 Encoder connector
The encoder connector of the MCH72 supports different types of encoders. It
can also act as a reference output. It supports the following:
• Incremental encoder input, for line-driver type encoders
• Two different absolute encoder standards: SSI and EnDat
• Incremental encoder output, to simulate a line-driver type encoder
• Stepper output, to control stepper drivers
A
B
 Loading...