23
Cleaning the Main Bay and Engraver
Take care to NEVER touch the surface of any of these windows, mirrors, or lenses with your finger. Avoid
pressing hard enough to cause scratches by grinding debris into the lenses.
The 1st and 2nd mirrors are permanently aligned within a protective housing and should not require
adjustment or cleaning. The 3rd mirror and focus lens are held within the laser head’s protective shell.
Clean the lenses of the protective housing windows using laser-safe microfiber cloths or cotton swabs
doused in alcohol or a laser-safe cleaning solution. Clean with gentle circular motions.
To expose the interior of the laser head, gently remove its shell from the magnets that hold it in place.
Clean the lens of the 3rd mirror and both sides of the focus lens in the same way as the 1st and 2nd mirror’s
windows. Gently remove any other dust or debris from other components inside the laser head and wipe
the shell’s holes clean as well before carefully replacing it, allowing the magnets to grab hold and pull it
back into place.
Cleaning the Main Bay and Engraver
Check at least once a day whether dust has accumulated in the main engraving bay. If so, it must be
removed. The exact cleaning interval and requirements strongly depend on the material being processed
and the operating time of the device.
A clean machine guarantees optimal performance and reduces service costs, as well as reducing the risk of
fire or injury. Clean the viewing window with mild cleansers and a lens or cotton cloth. DO NOT use paper
towels as they can scratch the acrylic and reduce the cover's ability to protect you from laser radiation.
Clean the interior of the main bay thoroughly, removing any debris particles or deposits. Paper towels and
window cleaner are recommended.
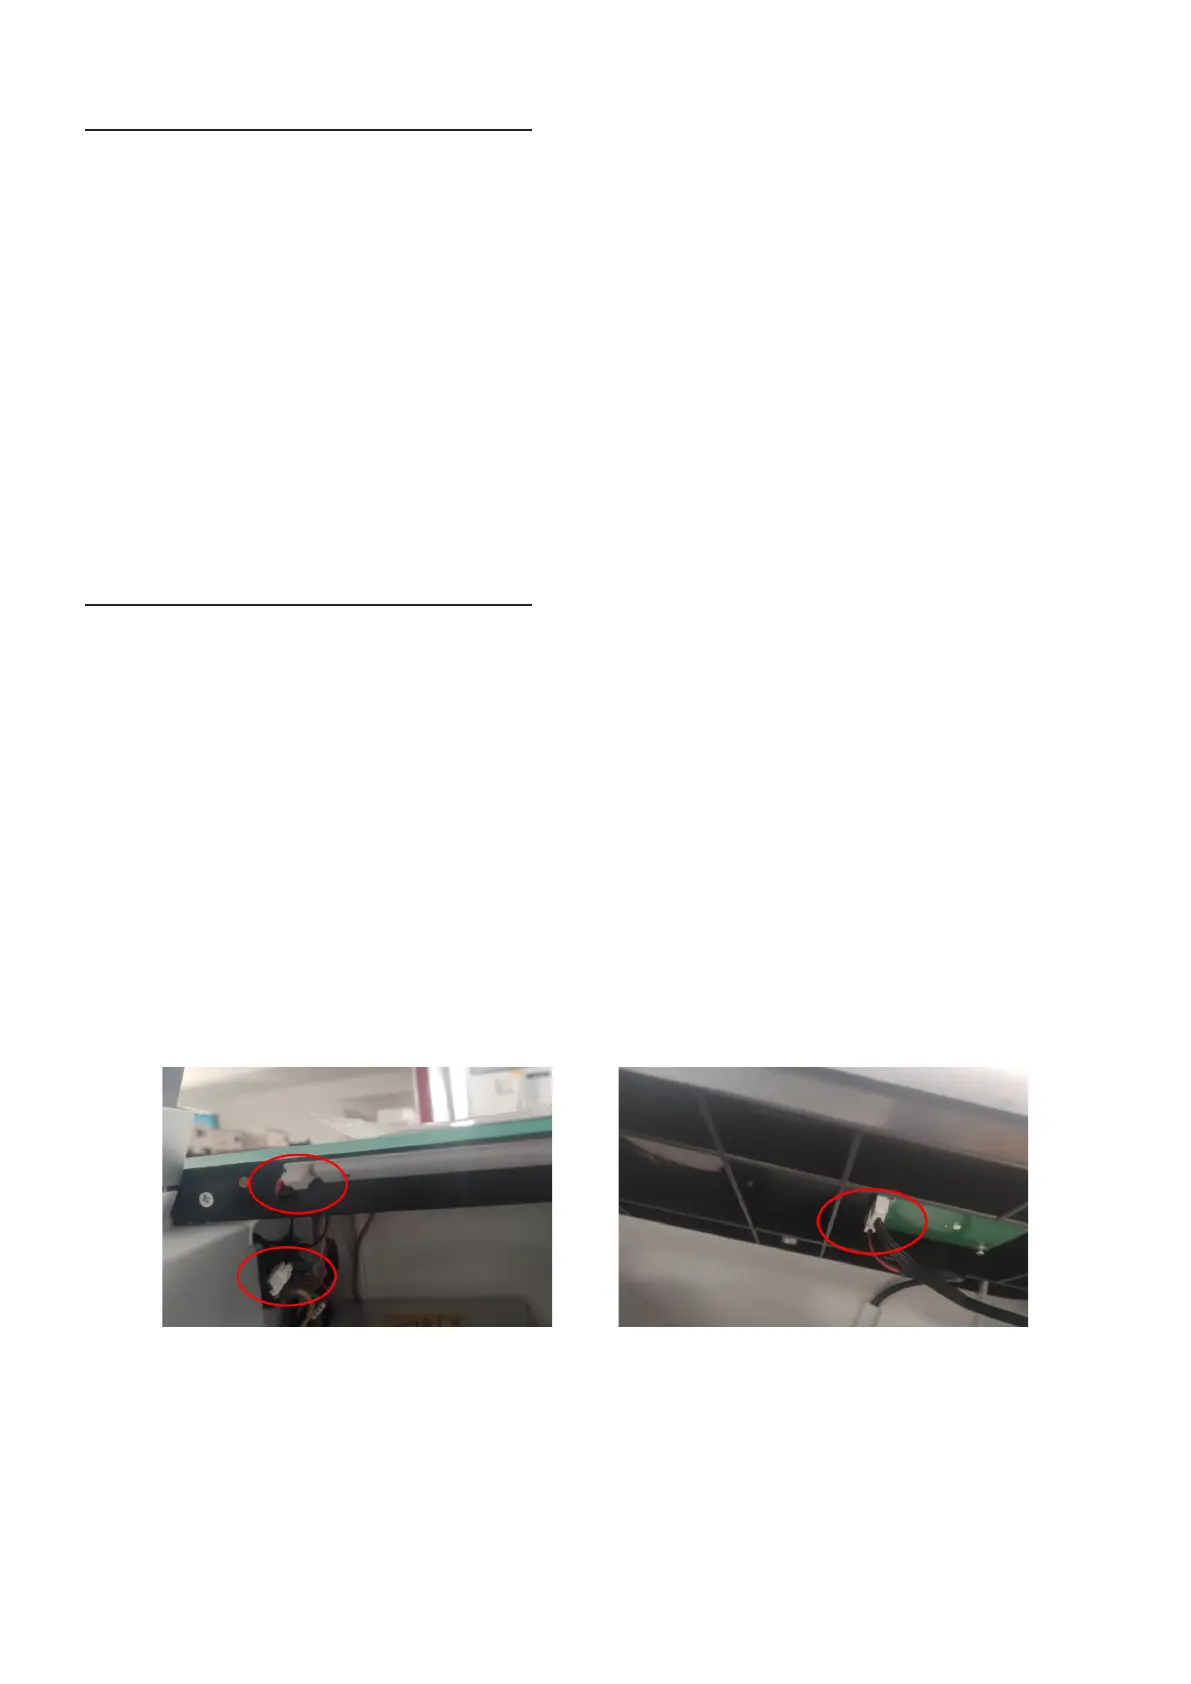
When it is necessary to clean the right or left sides of the main bay thoroughly, the plastic panels that cover
them can be removed for easier access. Turn off and unplug the engraver. Open the cover and disconnect
all the electronic items on each side. Removing the left panel requires unplugging its LED light. Removing
the right panel requires unplugging its LED light as well as the induction switch and key line.
Remove the front and rear screws and remove the panels. Replace them using the same screws and then
restore the electrical connections.
 Loading...


