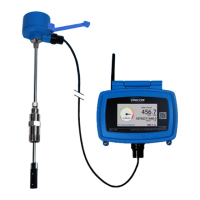
Owner’s Manual for ONICON Insertion Turbine Flow Meters • September 27, 2001
20
5.2 ANALOG ADJUSTMENT PROCEDURE
This procedure adjusts both 4-20 mA & 0-10 V output signals. It is limited to meters with
serial numbers 115692 and higher. Contact the factory for assistance if your meter’s serial
number is below 115692.
5.21 Equipment Required
• Voltmeter
• Pulse Generator
• 24 V Power Supply
5.22 Procedure
1. Determine the input frequency required to simulate the desired maximum
flow rate using the equation below:
Where:
F = Input Frequency (Hz)
R = Maximum Flow Rate (GPM)
MF = Meter Factor* (Pulses Per Gallon)
F = R x MF
60
*The meter factor is written on a calibration tag attached to each meter and is
also recorded on the calibration data sheet. Please contact the factory if you
cannot located the meter factor, or if you wish to use the meter in a different
pipe size.
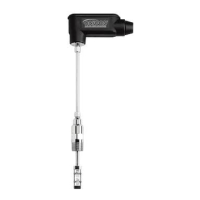
2. Remove the flow meter from the pipe and make sure the electrode and the
surrounding area are dry.
3. Choose the input frequency range (Hz) from the table on the next page and set
the appropriate range selection jumper. Refer to Appendix A for the internal
wiring diagram of your model.
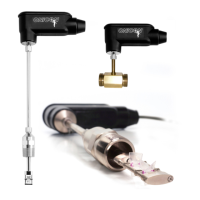
4. Connect the pulse generator output lead to the test signal input lead on the
analog card, and connect the pulse generator ground lead to the black ground
wire in the flow meter cable. Set the output to a 15 V P-P square wave at the
frequency determined in step #1.
5. Set the DC voltmeter to the 0-10 V scale and connect the (+) lead to the brown
wire in the flow meter cable. Connect the (-) lead from the voltmeter to the
black ground wire in the flow meter cable.
6. Connect the red and black wires in the flow meter cable to the (+) and (-)
terminals of the 24 V power supply respectively. Apply power.
 Loading...