Before Using This Product—Continued
7
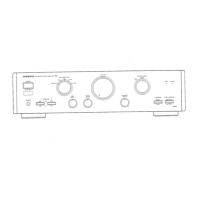
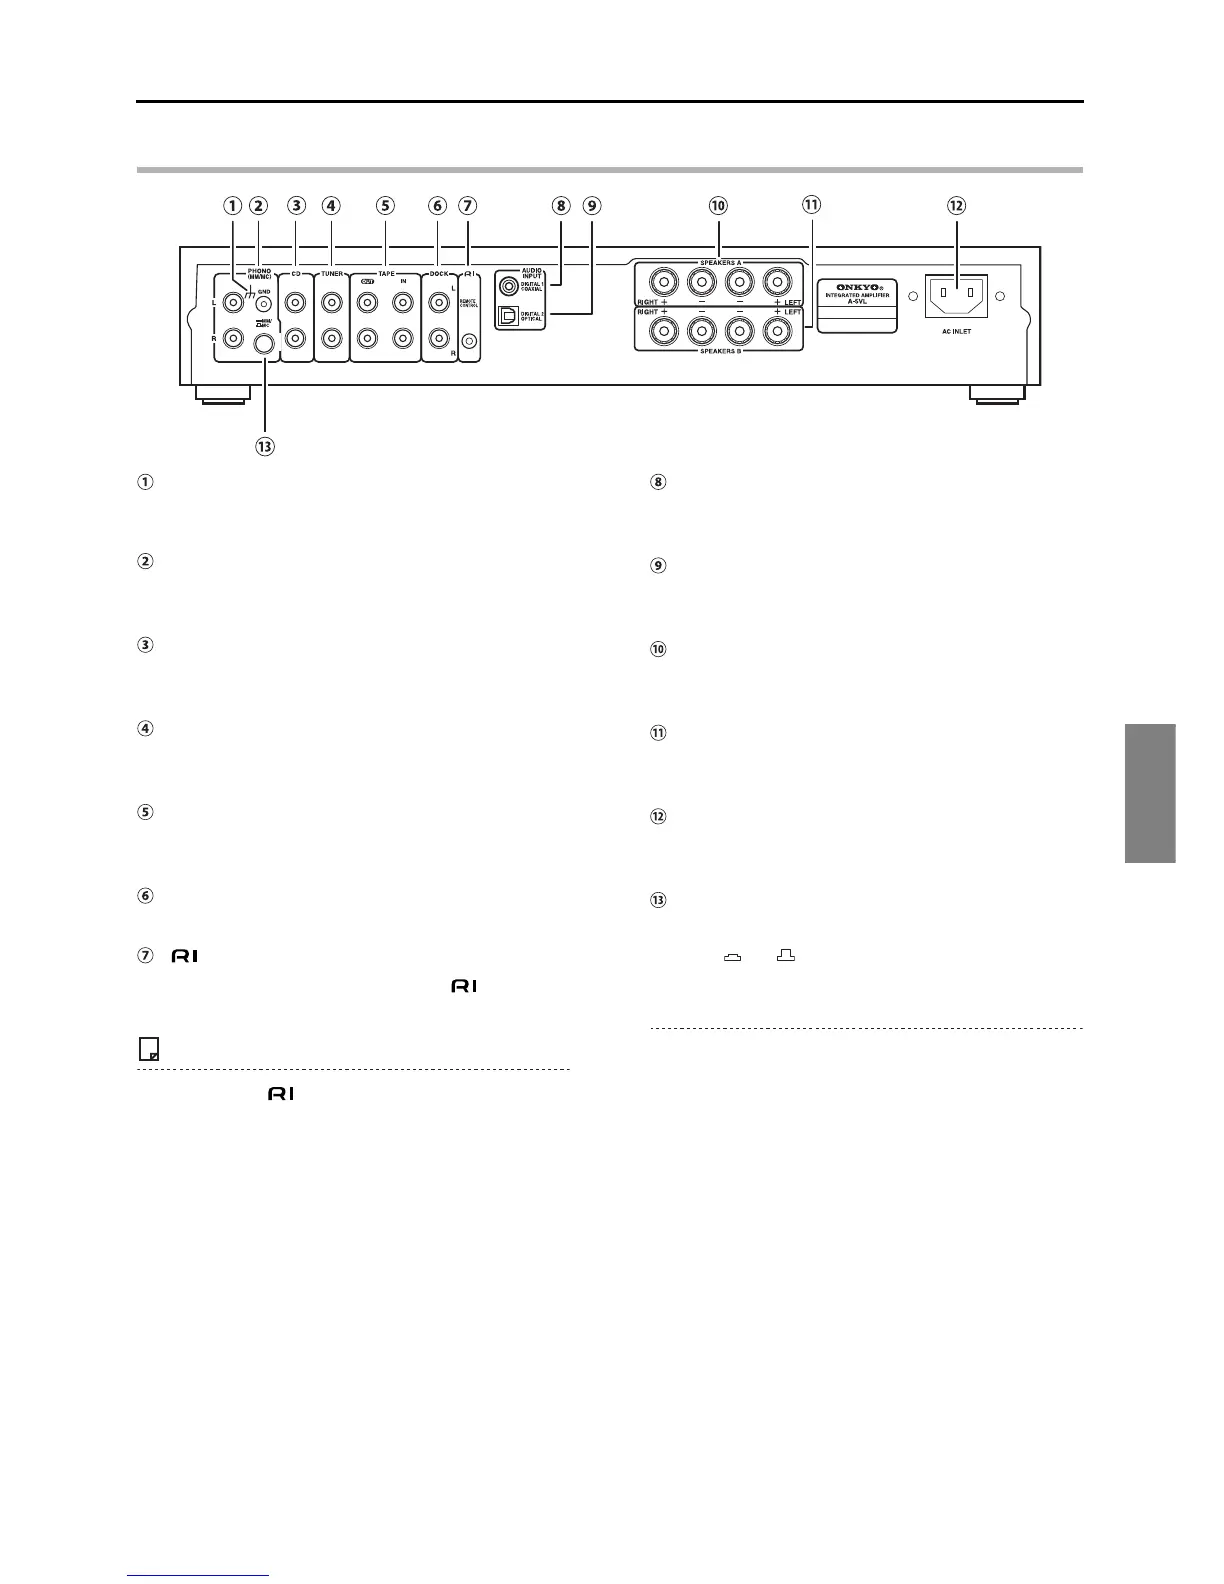
Rear Panel
GND screw
This screw is for connecting a turntable's ground
wire.
PHONO (MM/MC) jacks
Connect a turntable's audio output terminals into
these jacks.
CD jacks
Connect a CD player's audio output terminals into
these jacks.
TUNER jacks
Connect a tuner's audio output terminals into these
jacks.
TAPE IN/OUT
Connect a cassette, MiniDisc Recorder, or other
recording device to these jacks.
DOCK
Connect an Onkyo RI dock for the iPod here.
REMOTE CONTROL
Connect an Onkyo product with an plug (RI
dock or tuner) here to link it to the amplifier.
Notes
Just connecting the cord will not link the connected device.
Be sure to connect the audio cables as well.
AUDIO INPUT DIGITAL 1 COAXIAL
Connect a digital audio input here. This is for
connecting a digital playback device.
AUDIO INPUT DIGITAL 2 OPTICAL
Connect a digital audio input here. This is for
connecting a digital playback device.
SPEAKERS A
These terminal posts are for connecting speakers
A.
SPEAKERS B
These terminal posts are for connecting speakers
B.
AC INLET
The supplied power cord should be connected
here.
MM/MC selector
Set this selector to the turntable's cartridge format
(MM /MC ).
- Do not connect devices other than turntables to the
PHONO inputs.
- Remove the short pins plugged into the jacks before
connecting a turntable to the PHONO inputs.
- Switch to MM when using a high-output MC cartridge.

 Loading...