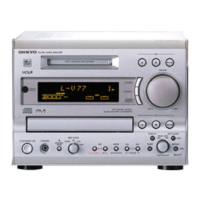
Preparations
11
Setting the clock
Checking the day and time
Whenever you want to check the day and time, press
CLOCK CALL on the remote controller. The time is
displayed in a 24-hour cycle. For example, 5:30 pm
will be displayed as “17:30.”
( To resume the normal display, press CLOCK CALL
again.)
If “Adjust” appears in the display
The clock setting was unsuccessful. There are a few
reasons for this:
• The antenna (aerial) connection is incomplete
or the radio signals are weak.
Check the antenna (aerial) connection or connect
the outdoor antenna (aerial) (see page 6), then try
“Setting the clock automatically by initiating
ACCUCLOCK manually” on the next page.
• The detected RDS broadcast does not have
ACCUCLOCK signals.
Some RDS broadcasting stations may not provide
CT. Try “Setting the clock automatically by initiating
ACCUCLOCK manually” on the next page.
If the wrong day or time appears in the display
The RDS broadcasting signals detected may contain
another country’s CT especially in a border area. Try
“Setting the clock automatically by initiating
ACCUCLOCK manually” on the next page.
CLOCK CALL
(Continued on the next page.)
What’s ACCUCLOCK? What’s RDS?
Many FM stations now transmit RDS signals
which contain visual services such as PS
(Program Service Name) and RT (Radio Text) in
addition to the normal audio programs (see page
21).
RDS signals also carry the signals called CT
(clock time and data signal) regularly. Using CT,
the ACCUCLOCK function of the unit sets the
clock and adjusts time three times (2, 3, and 14
hours) a day.
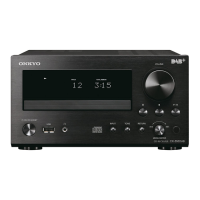
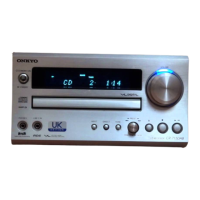
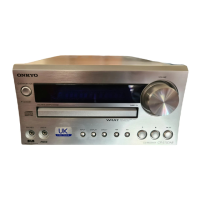
Display
Auto clock setting by ACCUCLOCK starts
automatically when you first turn on the power after
connecting the AC power cord (mains lead).
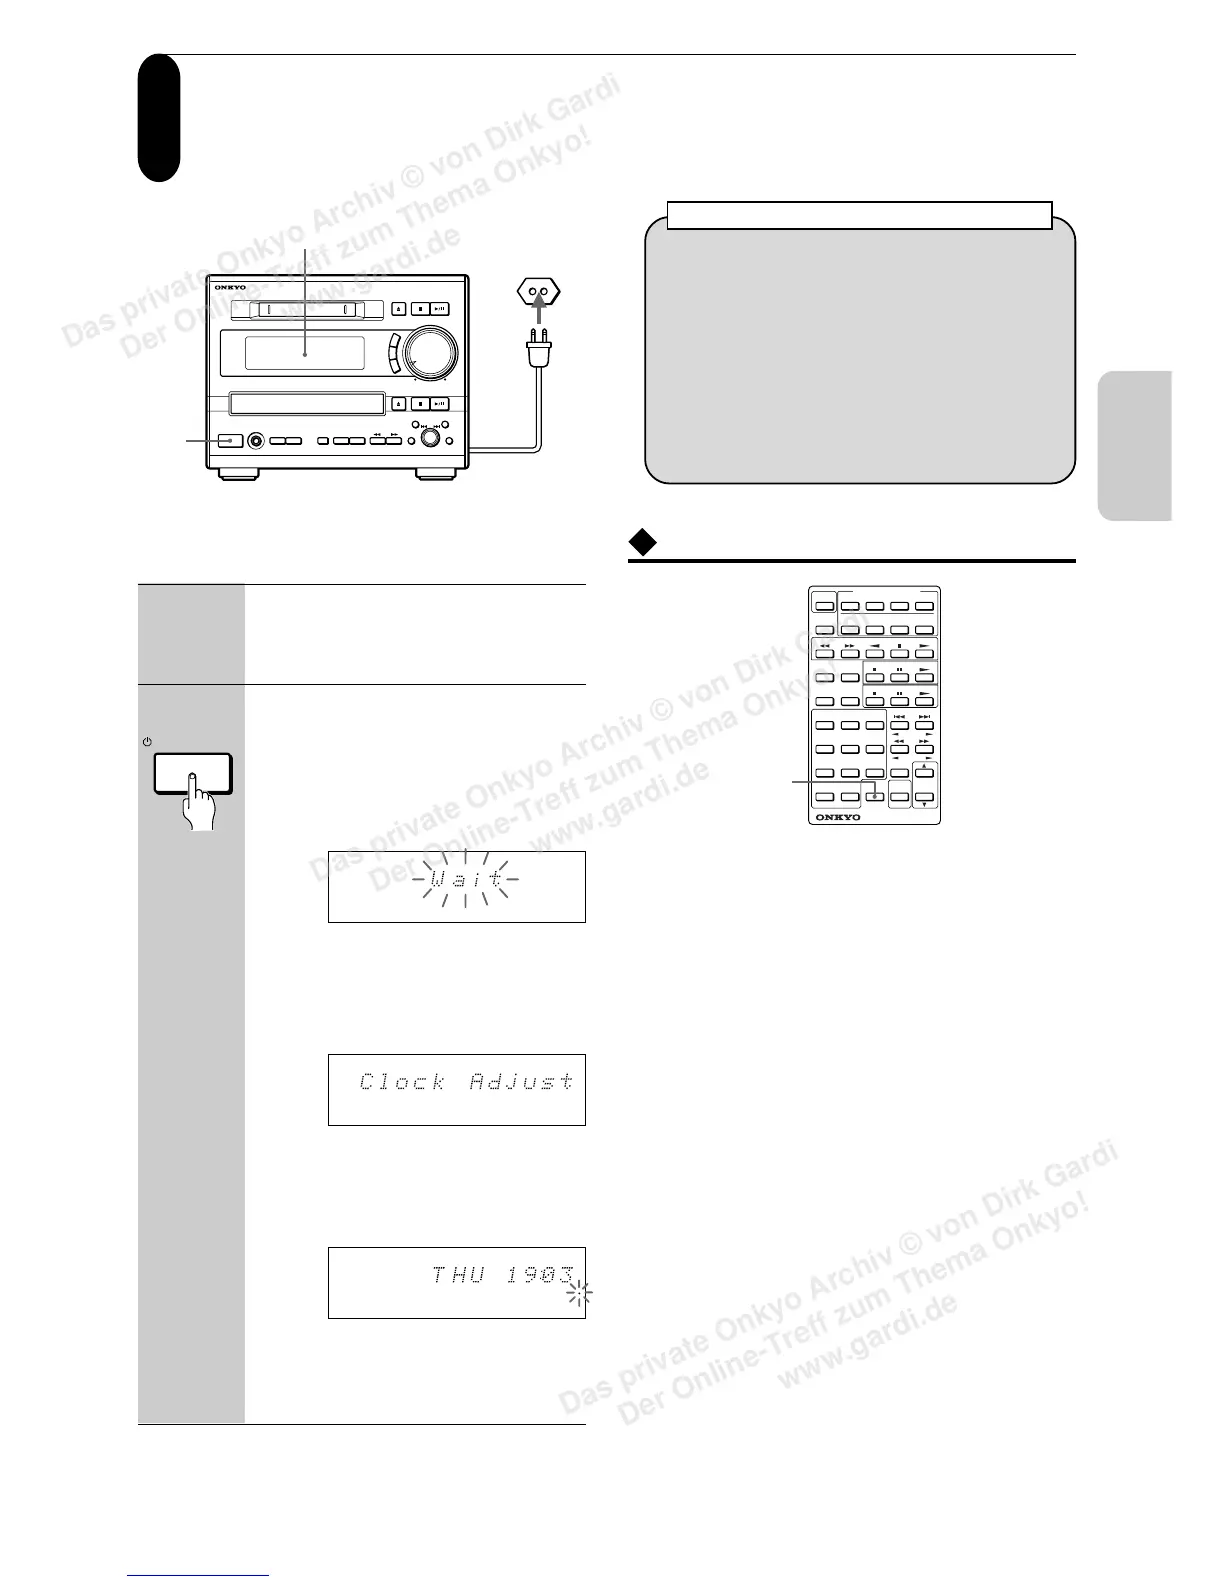
1 Connect the AC power cord
(mains lead) to the wall outlet
(the mains).
2 Press STANDBY/ON.
The unit turns on, then auto clock
setting starts.
“Wait” flashes in the display while the
clock is being set. (It may take about
five minutes to set the clock.)
When the clock setting has been
successfully completed
“Clock Adjusted” will be scrolled in the
display.
Then, the day of the week and the time
will appear for a while before the
normal display is turned on.
See “Checking the day and time.”
If the clock setting has been
unsuccessful
See “Checking the day and time.”
REMOTE CONTROLLER RC378S
MD
SOURCE SELECTOR
POWER
FM AMCD
LINE-1SLEEP LINE-2 DIGITAL
TAPE
TAPE
MODE
REPEAT
CLEAR SCROLL
312
645
97
S.BASS
TUNING
8
CLOCK CALL
– – / – – –
MUTING
VOLUME
10 / 0
PRESET
MD
CD
SLEEP SOURCE C D TIMER M D M D
CH
C D
C D
ONCE
W.DAY
W.END
REC
L
R
S.BASS
-
40
-
20
-
10 0 OVER
-
6
-
2
MUTING DIGITAL CHAIN
REPEAT
DISC TRACK ELAPSED REMAIN TITLE
RDS MONO AUTO STEREO TUNED
1 TR MEMORY
RANDOM
LEVEL - SYNC
-
M D
DUB TOC
SLEEP SOURCE C D TIMER M D M D
CH
C D
C D
ONCE
W.DAY
W.END
REC
L
R
S.BASS
-
40
-
20
-
10 0 OVER
-
6
-
2
MUTING DIGITAL CHAIN
REPEAT
DISC TRACK ELAPSED REMAIN TITLE
RDS MONO AUTO STEREO TUNED
1 TR MEMORY
RANDOM
LEVEL - SYNC
-
M D
DUB TOC
SLEEP SOURCE C D TIMER M D M D
CH
C D
C D
ONCE
W.DAY
W.END
REC
L
R
S.BASS
-
40
-
20
-
10 0 OVER
-
6
-
2
MUTING DIGITAL CHAIN
REPEAT
DISC TRACK ELAPSED REMAIN TITLE
RDS MONO AUTO STEREO TUNED
1 TR MEMORY
RANDOM
LEVEL - SYNC
-
M D
DUB TOC
STANDBY / ON
2
1
Das private Onkyo Archiv © von Dirk Gardi
Der Online-Treff zum Thema Onkyo!
www.gardi.de
Das private Onkyo Archiv © von Dirk Gardi
Der Online-Treff zum Thema Onkyo!
www.gardi.de
Das private Onkyo Archiv © von Dirk Gardi
Der Online-Treff zum Thema Onkyo!
www.gardi.de
 Loading...