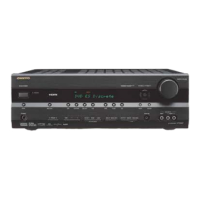
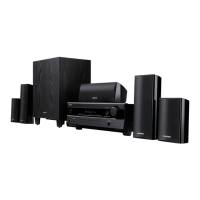
TX-SR606
FIRMWARE UPDATE-1
GENERAL
UPDATE OF MAIN MICROPROCESSOR-1/2
REMOTE
CONTROL
COAXIAL
OPTICAL
1
(DVD)
2
(CBL/SAT)
1
(GAME/TV)
2
(CD)
DIGITAL IN
ASSIGNABLE
IN 1(DVD)IN 2
COMPONENT VIDEO
Y
C
B/PB
C
R/
P
R
ASSIGNABLE
HDMI
IN 1
IN 2
IN 3
IN 4
ASSIGNABLE
R
L
IN IN IN
IN
IN
IN
IN
IN IN
CBL/SAT
GAME/TV
GAME/TV
CBL/SAT
VCR/DVR
VCR/DVR
TAPECD
DVD
S
V
OUT
(DVD)
(GAME/TV) (CBL/SAT) (VCR/DVR)
OUT
OUT
OUT
OUT
Main1.03/08630A
Main1.03/08630A
DSPSR606:08611A
VD 1.20/08606A
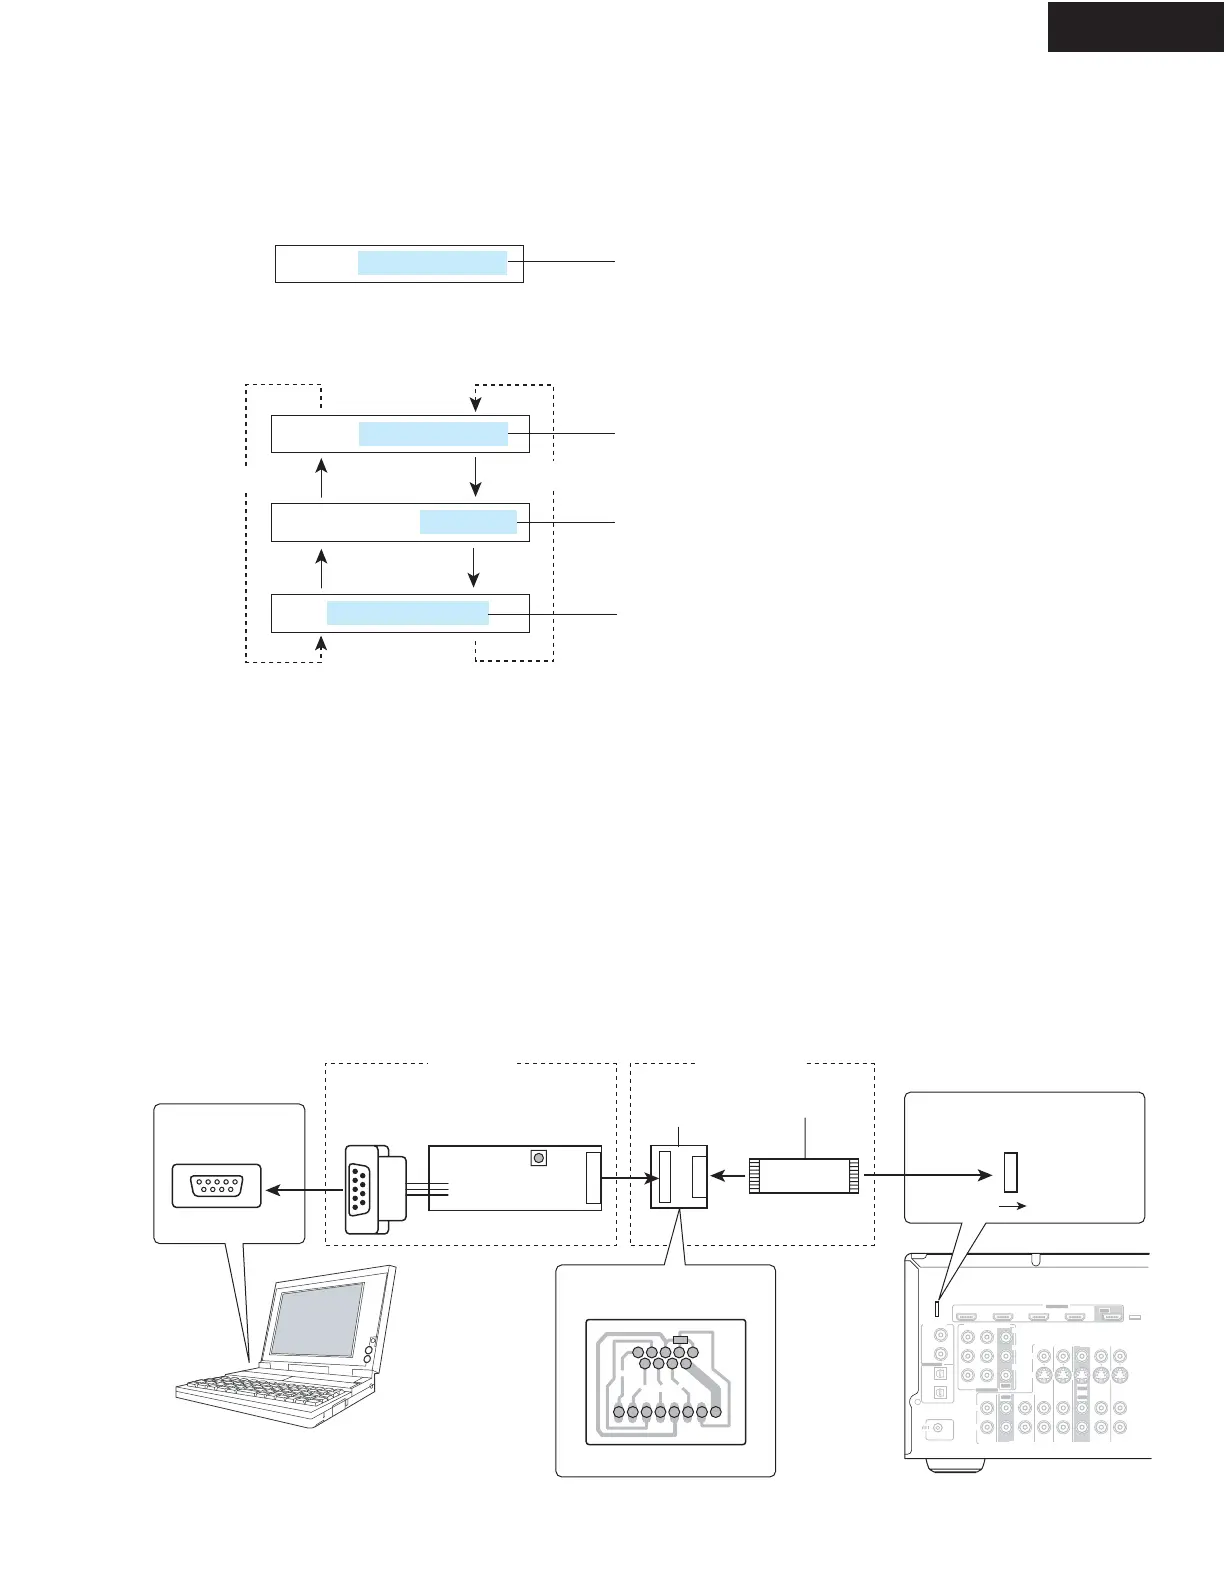
PC(Personal computer)
RS232C terminal
P751B
P751C
P1001
RESET
Target unit
Connector slot for update
Rear panel
Contact side
<Note>
For non-main (4 line cut)
0JFLASHEX
Flat cable
Conversion
adaptor
0JFLASH
M16C Flash starter
--- Soldering side ---
To check version of Main Microprocessor, DSP and Video FW
1. Press and hold down DISPLAY
button, then press ON/STANDBY
button when the unit is power on.
The main microprocessor version will be displayed on Front Display for about 3 seconds.
2. Press + (TONE) button while the version is displayed. Then, " DSPSR606:08611A " will be displayed.
In this way, as + (TONE) button is pressed while a version is displayed, the next information will be displayed.
If - (TONE) button is pressed, the order will be reversed.
3. Press ON/STANDBY button to power off.
+ (TONE)
- (TONE)
Version of Main Microprocessor FW (Q701)
Version of Main Microprocessor FW (Q701)
*Number depends on the version.
Version of DSP FW (Q282)
*Number depends on the version.
Version of VIDEO FW (Q8085)
Version of VIDEO FW (Q8085)
*Number depends on the version.
Preparation for update
Hardware tool
1. PC(Personal computer) with RS232 terminal
OS : Windows XP or 2000
2. Flashwriter jig : 0JFLASH
and 0JFLASHEX
(including 2 Types : for non-Main)
Software tool
Writing soft : "Update_SR606Main1.2.zip
" for Main microprocessor (File name depends on the version).
Unzip "Update_SR606Main1.2.zip” in advance.
Connection and setup
1. While the target unit is off, connect 0JFLASH and 0JFLASHEX (for non-Main) to RS232 port of the PC.
2. Connect the FFC(Flat cable) of the jig to the connector slot on the rear panel.
3. Power on the unit.
Version of Main Microprocessor FW
*Number depends on the version.

 Loading...