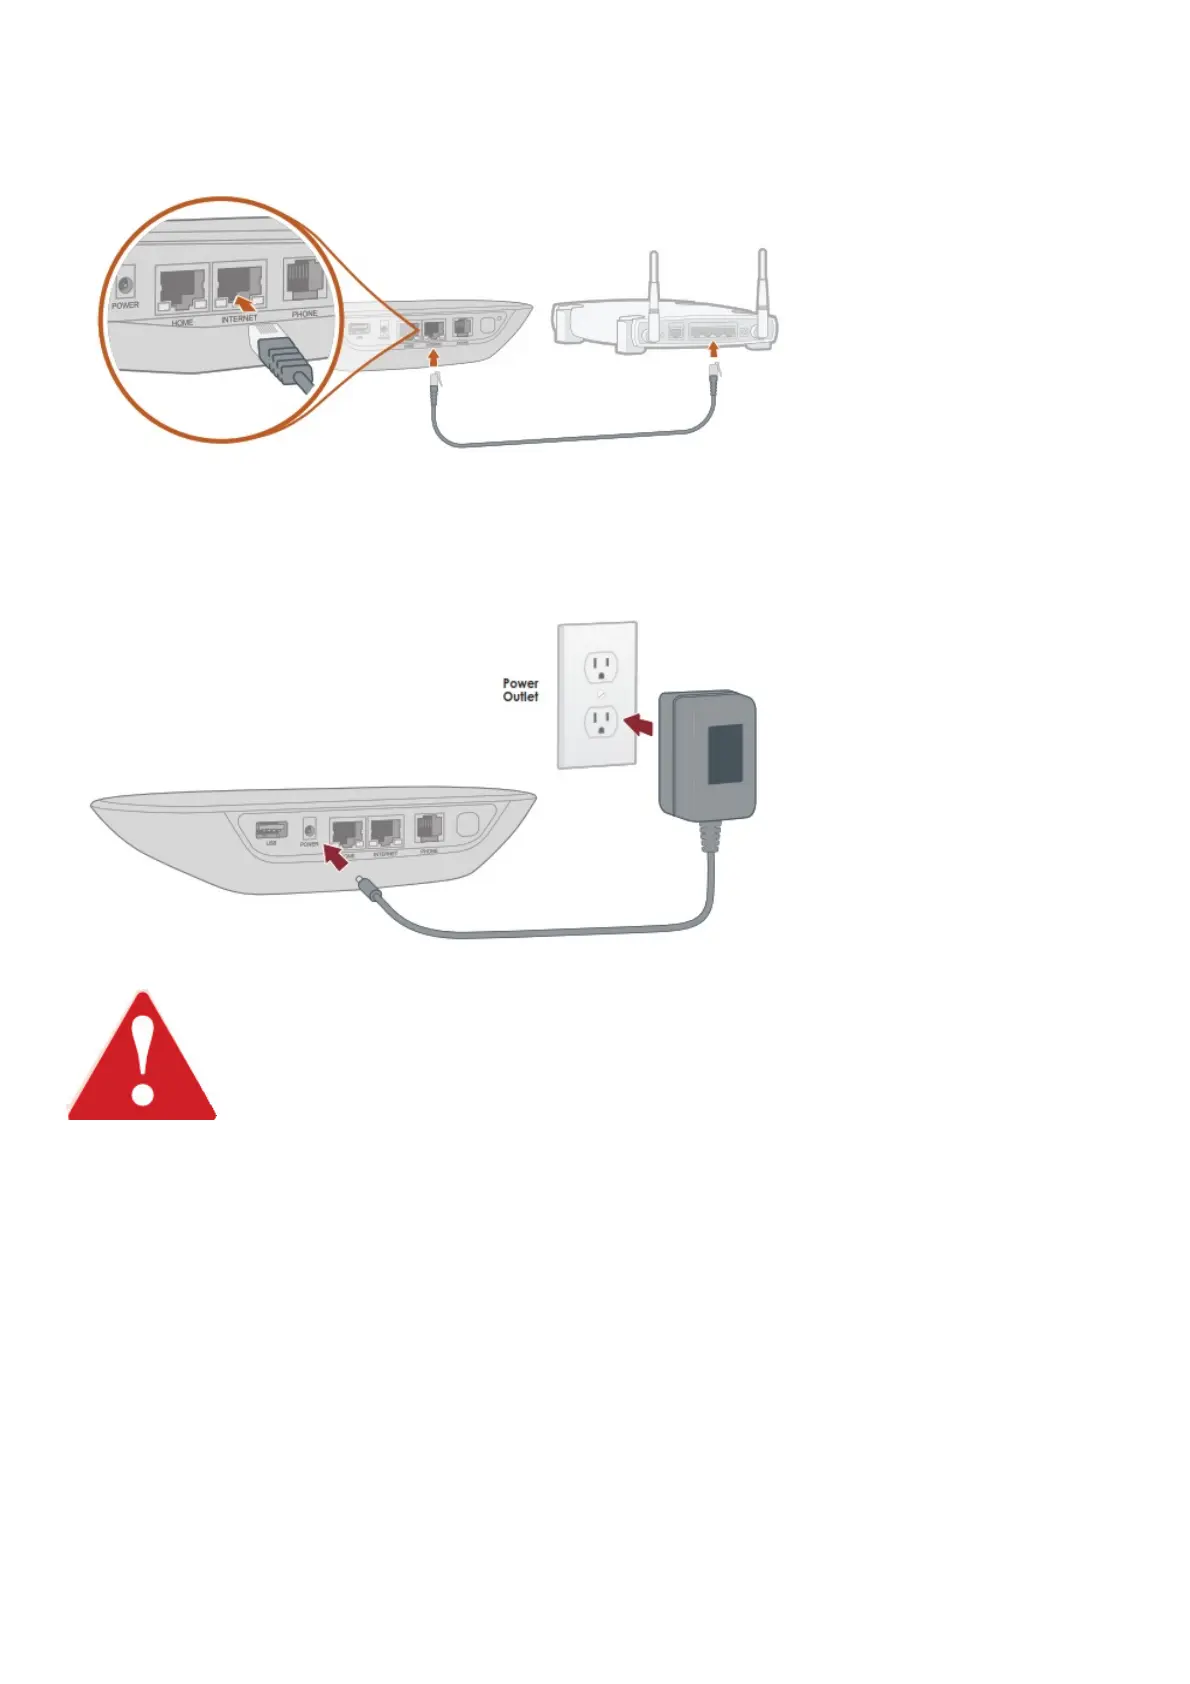
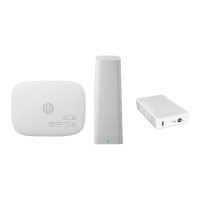
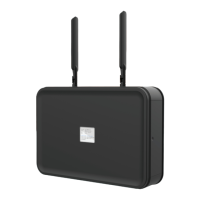
Step 3 Connect Base Station to Your Router and Power It On
Use the provided Ethernet cable to connect the INTERNET port of the Base Station to an open Ethernet
port on your router.
Plug the provided AC adapter into the POWER port on the back of the Base Station. It is normal for the
lights on the Base Station to blink for a couple of minutes while it boots up. The Ooma logo will light up
blue once the device is ready to be used.
If your Base Station needs a software upgrade, the Ooma logo will blink purple while it
is downloading the newest version. This may take 5-10 minutes.
Do not unplug the Base Station while it is upgrading. It will automatically reboot after the
upgrade is done.
Step 3 Pair Sensors with your Base Station and Configure
Home Security Settings
If you have already purchased one or more Ooma Home Security sensors, you can now pair them with
your Base Station.
Use the Account ID and password you created during the activation process to log into the app. Tap
Add Sensor on the main dashboard and select the type of sensor you wish to pair. Follow the on-
screen instructions to complete the pairing process. You may repeat this process for each sensor you
have purchased.