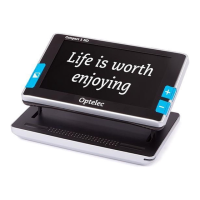
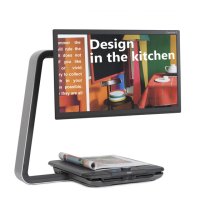
Optelec Compact 10 HD & Compact 10 HD Speech
47 English
6. Transferring documents to PC
To transfer snapshots and documents to a PC, you need a Windows 10 PC and the included USB
cable and follow the steps below:
1. Switch on the Compact 10 HD and your PC;
2. Connect the Compact 10 HD to your Windows 10 PC using the included USB cable. The
Compact 10 HD will briefly show the “Connected to PC” icon;
3. If you connect the Compact 10 HD for the first time, please wait until Windows has finished
setting up the device;
4. Depending on your Windows settings, Windows Explorer will open the “CP10” device and
show the “Internal Shared Storage”;
5. If Windows 10 does not automatically show the Compact 10 HD device, open the Windows
Explorer and select the CP10 device;
6. Click on the “Internal Shared Storage” and click on the folder “DCIM”;
7. The “DCIM” folder contains folders named with the time and date of the taken pictures.
Each folder contains the taken picture and if you own a Compact 10 HD Speech, a .txt
document with the text found in the picture. In addition, the folder contains 2 system files, a
JSON and Processed Picture file.
8. Use copy and paste to copy the files to your PC.