CRYO-LINE Manual for installation and use
OPTIKON 2000
Code 131002 EN 2014-02-06 Rev.F
NOTE
Screw the probe connector onto the console until it is fully tightened.
3. Wait for the probe cleaning phase (Purge) to finish before beginning the surgical
procedure. The end of the purge phase is accompanied by a sound signal.
4. Activate the application time control by pressing the button next to the writing
COUNT DOWN on the instrument display.
5. Adjust the application time using the buttons located next to the +/- on the left
side of the instrument display.
6. To start the freezing phase of the probe (Freezing), press the footswitch
connected to the instrument. Each second of application is signalled by a sound
signal. The remaining time of application is marked on the display, in the part
regarding the time. The end of the application time is signalled by an
intermittent sound signal with a duration of about 2s.
7. The end of the freezing phase can occur either by depletion of the preset
application time or by simply releasing the footswitch connected to the console.
At the end of this phase, the system performs the defrosting of the probe
(Defrosting) and the draining of the pneumatic circuit (Venting).
CAUTION
Do not remove the probe before the end of the pneumatic circuit draining
phase (Venting).
8. After a few minutes of inactivity, the system performs a new probe cleaning cycle
(Purge) in order to remove the latent humidity inside the pneumatic line of the
cryosurgical probe. To exit from this state, the operator can press the relative
Stop key on the console. To begin the freezing phase of the probe (Freezing), just
press the footswitch connected to the instrument.
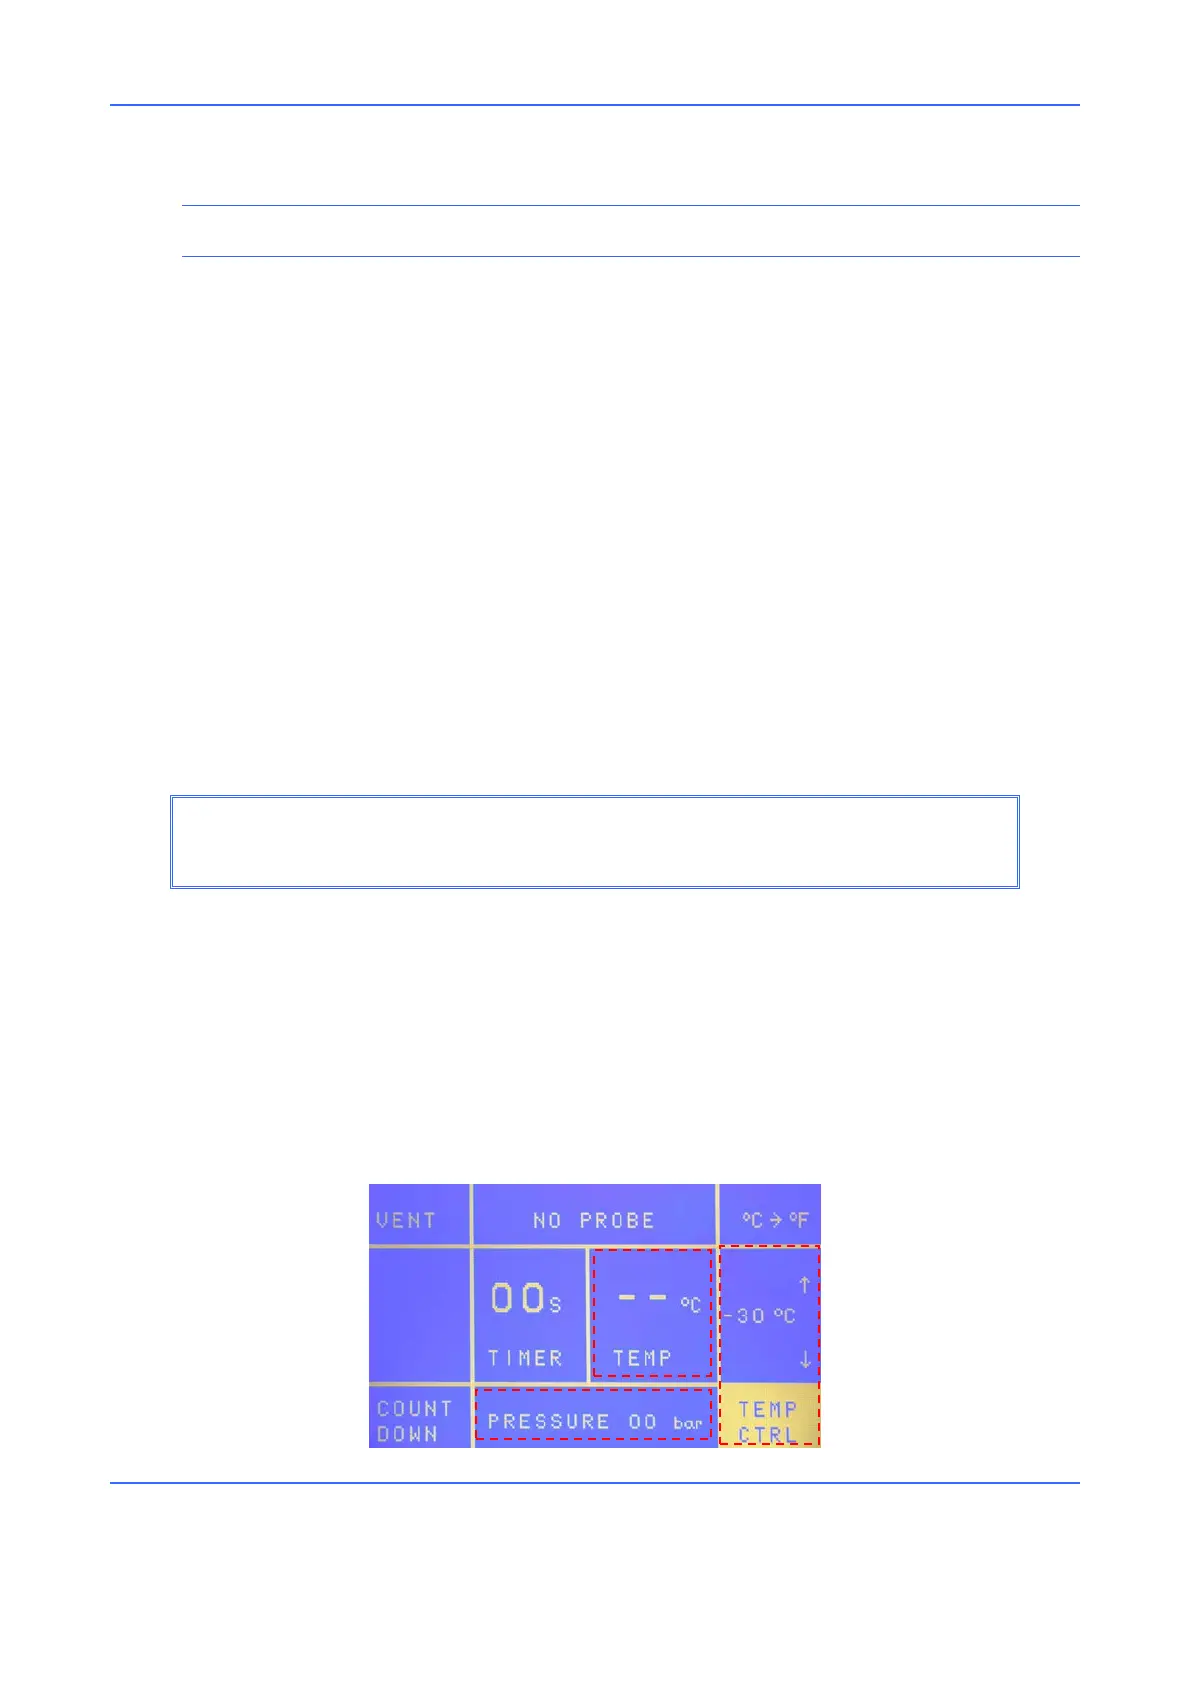
8.4 APPLICATION TEMPERATURE CONTROL
User Interface