Version 1.0.1 - 2020-9-30 12 Translation of original instruction
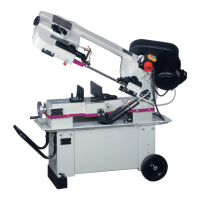
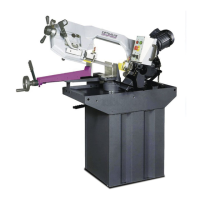
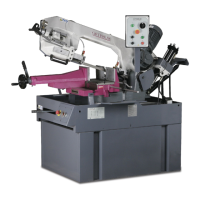
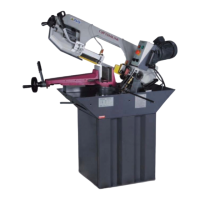
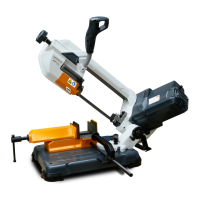
SQ-V13
EN
SQ-V13_GB.fm
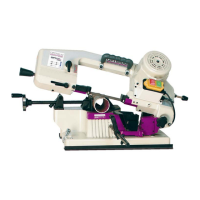
the clamping jaws,
the clamping lever.
Place the workpiece to be sawn in the machine vice.
Turn the clamping lever (4) to the right until the workpiece is firmly clamped.
ATTENTION!
Make sure that the workpiece is really clamped.
4.3 Speed of saw band
Set the required saw band speed (2).
4.4 Selection of tooth pitch and tooth form
When sawing with the metal band saw, make sure that the saw band is selected correctly resp.
that the saw band is correctly divided.
ATTENTION!
If the tooth pitch is too small and the cutting length too large, the cut material cannot be
absorbed by the tooth gap.
If the tooth pitch is too large, the saw tooth starts to chop; this can cause teeth to break out.
Example:
Profile material wall thickness 3 mm = tooth pitch 6 - 10 tpi (teeth per inch)
Profile material wall thickness 40 mm = tooth pitch 10 - 14 tpi (teeth per inch)
4.5 Angular cuts
The metal band saw can be turned up to 60° to allow angular saw cuts.
Release the locking lever (9) to set the desired angle.
ATTENTION!
Make sure that the saw is clean and free from chips in the slewing range before
readjusting it!
Release the locking lever (9).
Turn the saw bow to the desired cutting position using the angle scale.
Retighten the locking lever.
4.6 Switching on the machine
Connect the mains plug to the power supply.
Pull out the locking pin (8).
Switch on the metal band saw (3).
Actuate the push button on the handle of the lever arm (1).
Pull the lever arm down towards the workpiece (1).
4.7 Switching the machine off
Push the lever arm upwards.
Release the push button on the handle of the lever arm.
Lower the saw bow again and insert the locking pin (8).
 Loading...