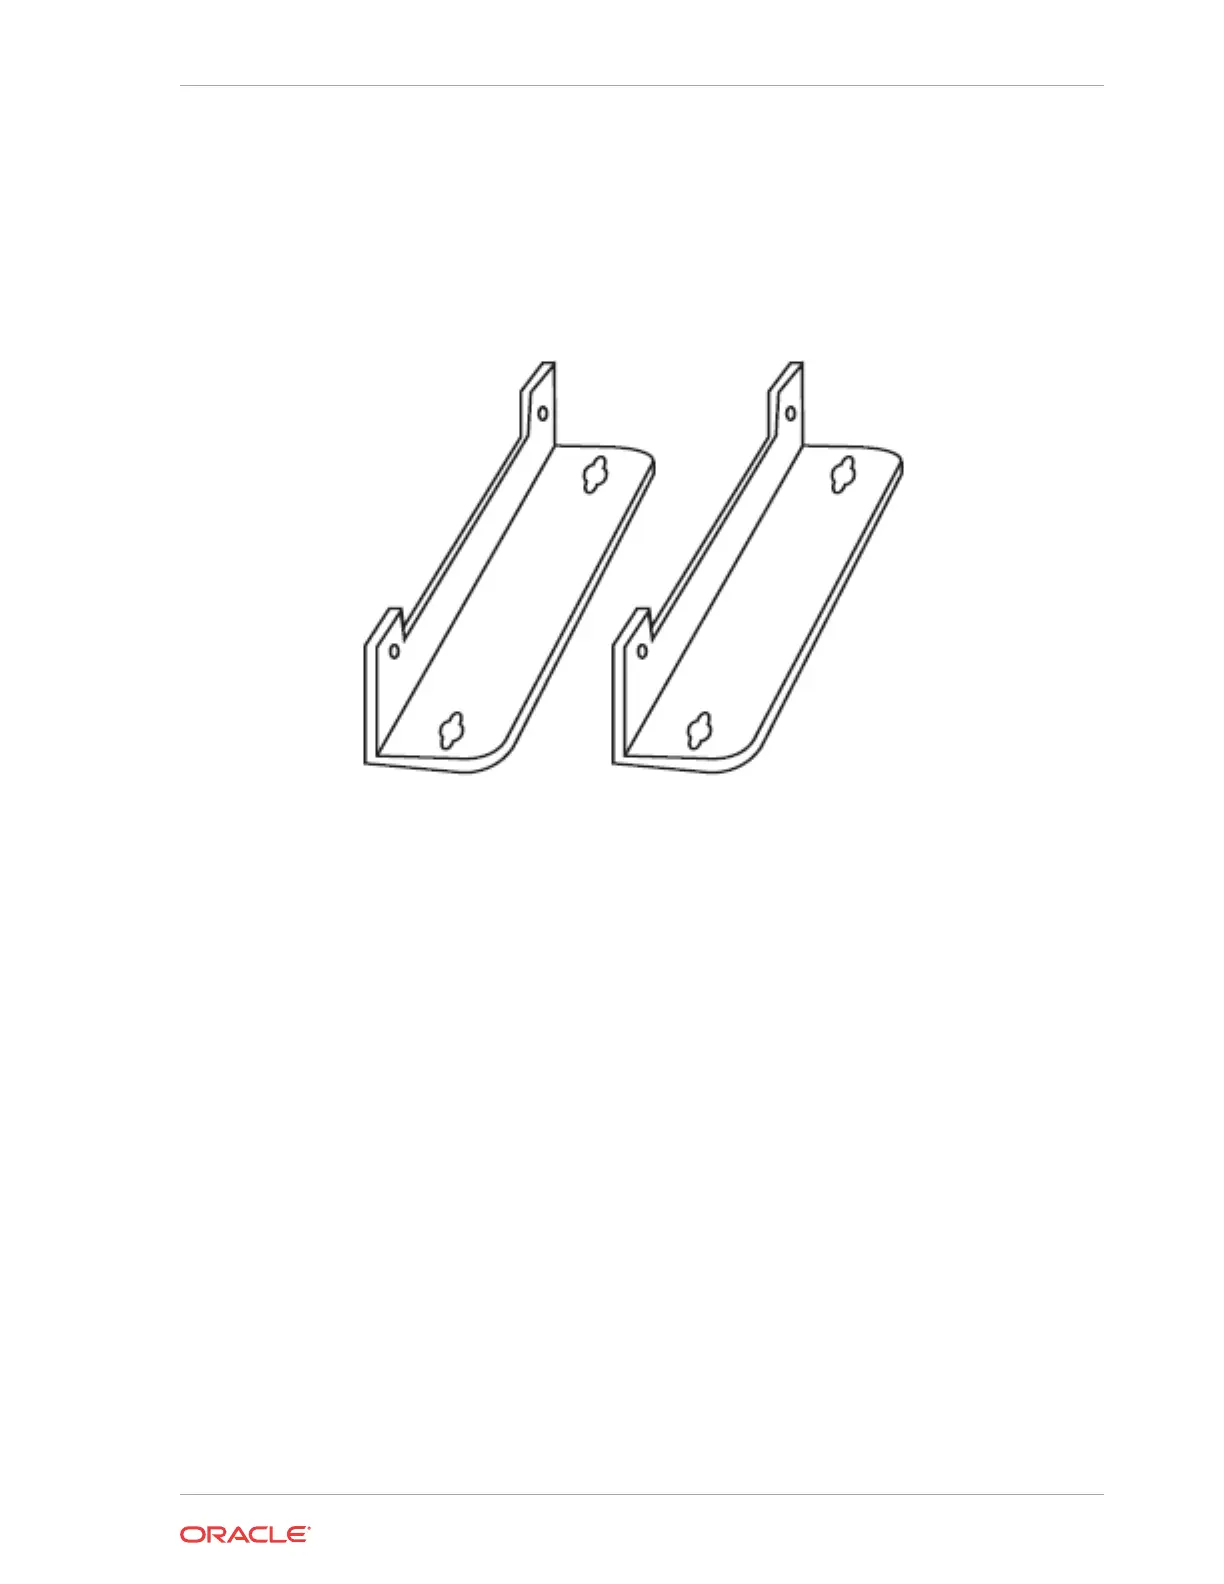
Wall Mount Installation Hardware
Two optional brackets are available for mounting the Acme Packet 1100 onto a wall or other
vertical surface. The wall mount brackets attach to each side of the chassis and onto the
mounting surface.
Figure 3-2 Wall Mount Brackets (Optional)
Installing the Chassis in a Cabinet-Style 2- or 4-Post
Chassis
Rack mount flanges are mounted on each side of the chassis, and the other side of the flanges
are attached to the chassis rack. When the Acme Packet 1100 is installed in the equipment rack,
it is secured in place to the chassis with 2 screws/washers and to the rack with 4 screws/
washers.
The following subsections explain how to mount your Acme Packet 1100 in a cabinet-style, 2-
or 4-post equipment rack.
Installing the Rack Mount Flanges
The following procedure describes how to install rack mount flanges on the Acme Packet 1100
for use in front-mounting the chassis in a 2- or 4-post chassis rack.
To install rack mount flanges:
1. Locate the following components:
• Rack mount flanges (2)
• #6-32 x 5/16" screws with square cone washers (4)
2. On the right side of the Acme Packet 1100 chassis, align the holes in the rack mount flange
with the two holes toward the front of the chassis.
Chapter 3
Installing the Chassis in a Cabinet-Style 2- or 4-Post Chassis
3-5

 Loading...