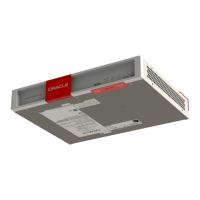
2. Remove the AC power cord from the 12V connector on the chassis.
3. Remove and label all attached network cables and console cable from their respective ports
on the chassis.
4. Remove the screws that secure the Acme Packet 1100 to the equipment rack or wall
mount. Reference the System Installation chapter for more information.
5. Pull the Acme Packet 1100 forward and out of the equipment rack.
6. Lift the Acme Packet 1100 out of the equipment rack, and move it to an ESD-safe location.
Note:
For the procedure to reinstall the Acme Packet 1100 in an equipment rack, see the
chapter on System Installation in this document.
Cooling System Maintenance
This section explains how to service the cooling system on your Acme Packet 1100.
Maintaining the Cooling Components
To prevent system malfunction and prolong the life of the system cooling components, clean
the air inlets on the left and right sides of the chassis once a week. To lean the inlets, gently
wipe the perforated air inlets with a clean, dry cloth.
Note:
To prevent damage to the painted finish, do not use any solvents or liquids to clean the
perforated air inlets on the front of the chassis.
Chapter 5
Cooling System Maintenance
5-6

 Loading...