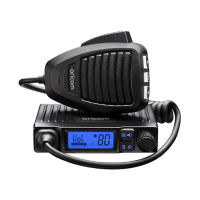
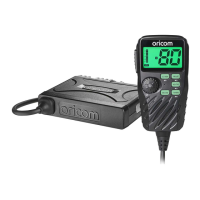
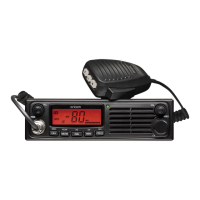
9
Installation
Over voltage protection
The Radio ha a high voltage input detection system, to warn you if an
overvoltage situation occurs.
Example: if the power supply voltage exceeds 17 volts DC, the channel
display (LCD backlight) will flash in 7 different colors when the unit
is turned on. In addition, when transmitting, the TX RF power will
automatically select a low power output.
If the overvoltage warning appears, you must switch your radio off and
disconnect it from the power source, before locating the cause of the
trouble. The power source must not exceed 30 volts.
Wiring Methods
There are two possible wiring configurations for connecting to the
Vehicles power supply.
A. Radio stays ON when the ignition is switched OFF
Connect the radio’s negative (black) lead to the vehicle chassis, or
directly to the batteries negative terminal.
Connect the radio’s positive (red) lead via the 2 Amp fuse to the battery’s
positive terminal. Alternatively, the positive lead could be connected
at the fuse box at a point that has +13.8Volts continuously available
(preferably the battery side of the ignition switch) via the 2 Amp fuse.
B. Radio turns OFF with the ignition switch
Connect the radio’s negative(black) lead to the vehicle’s chassis, or
directly to the batteries negative terminal.
The radio positive(red) lead should connect to an accessory point in the
vehicle’s fuse box via the 2 Amp fuse.