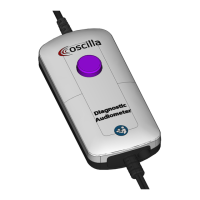
5.9 Solving printer troubles
When a printout is started with the right arrow key, a message is shown on the display, telling which printer type
and what port is used for the printout. If the parallel port is used, and the printer is not working for some reason,
you may get a “Printer error:” message after a while. If this happens, check that the printer has not run out of
paper, that it is turned on, that it is ‘online’, that the printer cable is connected etc. The error message is removed
by pressing the right arrow key again.
If the printer does print, but the printout is wrong, it is most likely that some of the settings in the tympanometer
need to be changed. The printout may be wrong in some different ways. If there is no recognizable graphics
present, but only strange letters and characters, it is most likely because a wrong printer type has been selected.
If you do see the graphics, but there are regular horizontal blank lines in it, try to disable the Carriage return
function in the printer setup menu. This may also happen if an IBM Pro Printer is selected in the setup, and an
Epson compatible printer is used, or vice versa. If the printer just advances the paper without printing anything, it
may help to enable Carriage return in the printer menu.
When using a serial printer like the Kyosha thermo printer and it prints strange characters, again it may be
because a wrong printer type is selected. But it may also be because the Right key mode is set to TRANSMIT,
and thereby send test data intended for a PC to the printer.
6. Disabling reflex frequencies
If it is desired not to measure stapedius reflex at all the 5 available frequencies, some of them can be disabled.
Press the MENU key, select the “Reflex setup” item and press the right arrow key. Now you can enable and
disable the individual frequencies by pressing the right arrow key. If the bottom item “On/Off” is disabled, the
whole reflex test is disabled and will be skipped over when a test is performed.
 Loading...