22
Operation
4.1.4 Clark Cell Dissolved Oxygen Parameter Setup
For dissolved oxygen, set the following functions using Hydras 3 LT or the Surveyor:
Enable or Disable Salinity Compensation.
4.1.5 pH Parameter Setup
For pH, set the following functions using Hydras 3 LT or the Surveyor: Select either 2 or 3
calibration points.
4.1.6 Other Parameter Setup
Refer to the sensor specific instruction sheet for more information.
4.2 Calibration
Sensors are checked for calibration before they leave the factory, however
calibration needs to be specific for a site and application. Check the calibration
prior to the first use.
Calibrate the sensors when:
• Fouling has occurred or is noticeable (site-specific).
• Parameter measurements do not match those of a known calibrated standard.
• Adding or removing certain components for different applications (e.g., the circulator)
or when replacing components (e.g., the Teflon junction of the pH reference
electrode).
Some system components are affected by time, usage, and the environment. To ensure
instrument accuracy, it is recommended to perform routine tests of the system under
standard conditions. The multiprobe can be calibrated in the field or at a facility.
Equipment checks and adjustment made before going to the field tend to be more precise
than those made under field conditions.
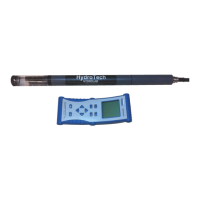
4.2.1 Calibrating the Sensors Using the Surveyor
For more information on the Surveyor, refer to the User Manual (Cat. No. 00719618).
1. Attach the power and data cable to the Sonde. Attach the 9-pin connector to the
Surveyor.
2. Turn on the Surveyor. Wait approximately 10 seconds for initialization.
3. Press
SETUP/CAL. Press CALIBRATION. Press SONDE.
4. Use the
ARROW keys to highlight the appropriate parameter and press SELECT.
5. Highlight the function to program and press
SELECT. A calibration screen will be
displayed. Depending on the application, use the
ARROW keys to change the function,
press
SELECT, and DONE to finish the calibration.