EasyManuals Logo

Outback Jupiter 4 User Manual

Outback Jupiter 4
24 pages
To Next Page IconTo Next Page
To Previous Page IconTo Previous Page
Page #15 background imageLoading...
Page #15 background image
15
21
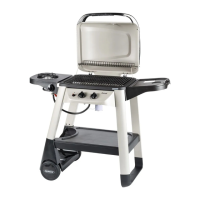
Insert the Drip Tray (B13) by sliding it underneath the barbecue body. Place the Drip Pan
(B14) in position as shown.
B14 B13
A4
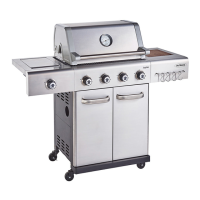
Place the Side Burner Grid (C6) onto the side burner shelf.
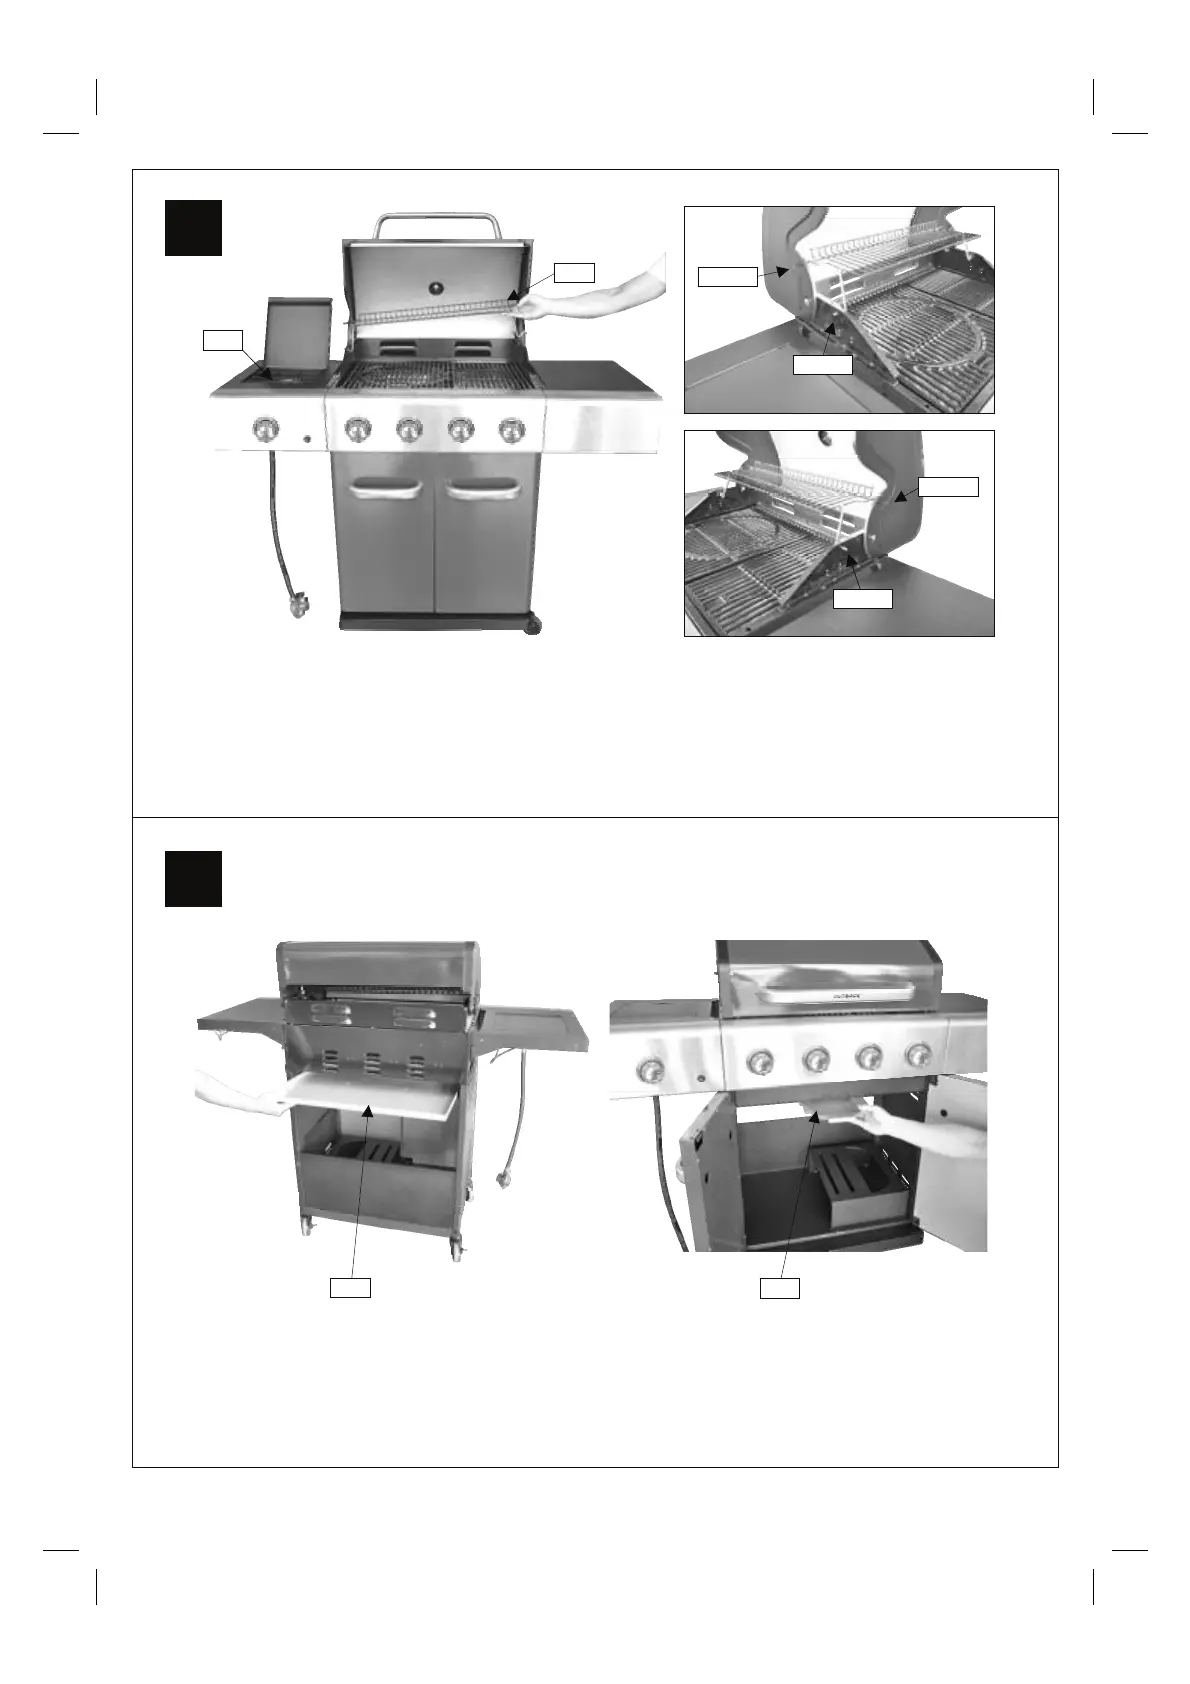
Attach the Warming Rack (A4) to the Hood (A1) and Barbecue Body (B1) as shown. Make
sure that the swing legs fix to the body of the barbecue and the shorter fixed legs go through
the holes in the hood.
NOTE: Make sure the base of cooking utensil to put on the side burner is
larger than 150mm and smaller than 220mm.
Step 1
Step 2
Step 3
Step 4
C6
22

Questions and Answers:

Question and Answer IconNeed help?

Do you have a question about the Outback Jupiter 4 and is the answer not in the manual?

Outback Jupiter 4 Specifications

General IconGeneral
Burner MaterialStainless Steel
Number of Burners4
Warming RackYes
Side BurnerYes
Fuel TypePropane
BTU Output48, 000 BTU
TypeGas
Grill MaterialPorcelain-coated cast iron
Ignition SystemElectronic
Ignition Typeइलेक्ट्रनिक (Electronic)
Dimensions145 x 59 x 115 cm

Related product manuals