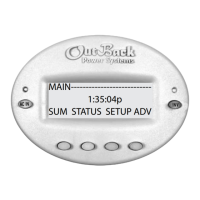
Figure 7 - Main Menu Screen
Main Menu
The MX60 powers up (boots) to the STATUS screen mentioned in the previous section.
This main status screen is the MX60s HOME screen. There are no highlighted soft keys in
this main STATUS screen. To reach the main MENU screen, hit button number 1, the left but-
ton from the STATUS screen. You will see the screen of selectable menus as in Figure 7
above. From here, press NEXT or BACK to align the asterisk in front of the menu you would
like and then hit GO. From the menu you have gone to, hitting EXIT from that screen will
return you to the main STATUS home screen and save any data that has been changed into
non-volatile memory. Pressing EXIT from the Menu screen will bring you back to the home
STATUS screen again.
9
USER CONFIGURATION
Many MX60 factory set parameters can be changed by the user. Pressing the button under "NEXT" selects which
parameter you are going to change. The one presently selected will have a * in front. Pressing the button under “EXIT”
will store the value in non-volatile memory. Disconnecting the MX60 from the battery will not require re-programming.
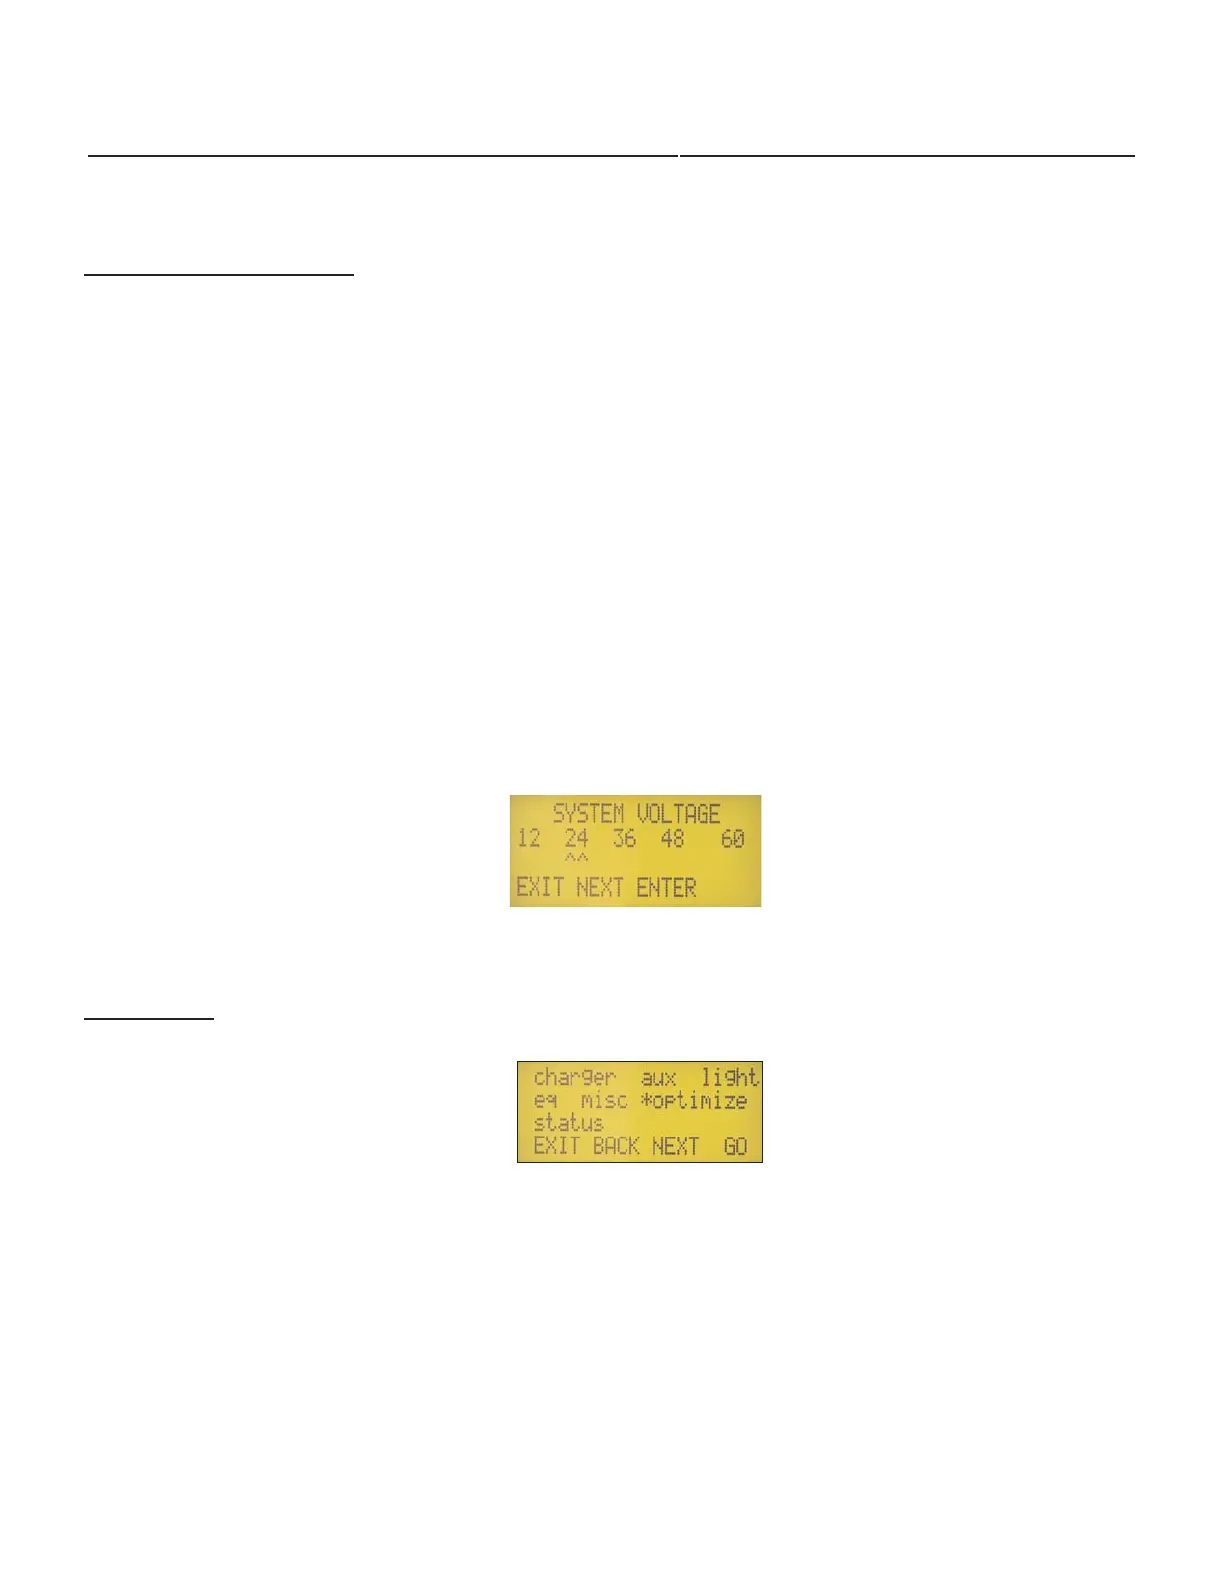
Battery System Voltage: The nominal battery system voltage can be changed from the default of a 12 volt battery
to match your particular battery system. Only the battery system voltage needs to be set, the MX60 automatically sens-
es the nominal PV array voltage and finds the maximum power point during operation.
Setting the nominal battery system voltage will require entering an access code to access the change screens. The fol-
lowing access code is required for this unit: 141 Use the following procedure to change parameters:
1. Battery switched off
2. Hold down push buttons #1 and #3. (From left to right the buttons are #1 #2 #3 and #4)
3. Turn battery breaker / disconnect on while holding buttons #1 and #3 down.
4. Release both of the buttons once “OutBack Power Systems” appears on the LCD screen.
5. You will now be at the voltage selection screen. Pressing NEXT or ENTER will require the password.
6. Push “DOWN” until the number reaches your access code. Press the button below the word “ENTER”.
7. Hit the button below “NEXT” to select the nominal battery voltage of your system, then press “ENTER”. The
MX60 will ask “ARE YOU SURE?”. When you push the “YES” button, the unit will reset and then displays the
Status Screen.
To reset these parameters to the factory defaults, repeat steps 1 through 7 above. The actual Absorb and Float voltages
will be modified automatically with the use of the external temperature sensor. You can view the compensated voltages
in Miscellaneous Screen. The compensation provided is -30 millivolts per degree Celcuis for a 12 VDC system. This
amount is automatically doubled for a 24 VDC system, quadrupled for a 48 VDC system, etc. After 5 minutes in the
system voltage setup screen, if nothing is entered, the MX60 will return to operation at the last system voltage.
YOU MUST SELECT THE BATTERY SYSTEM VOLTAGE FIRST!
System Voltage Setup Screen
 Loading...