OWC Mercury Rack Pro Chapter 2 - System Setup
2.1 Drive Installation
NOTE: If you purchased a precongured solution with drives included, each drive has a
dierent colored dot on it. Use these 4 dierent colored dots to match the drive to the
appropriate drive bay.
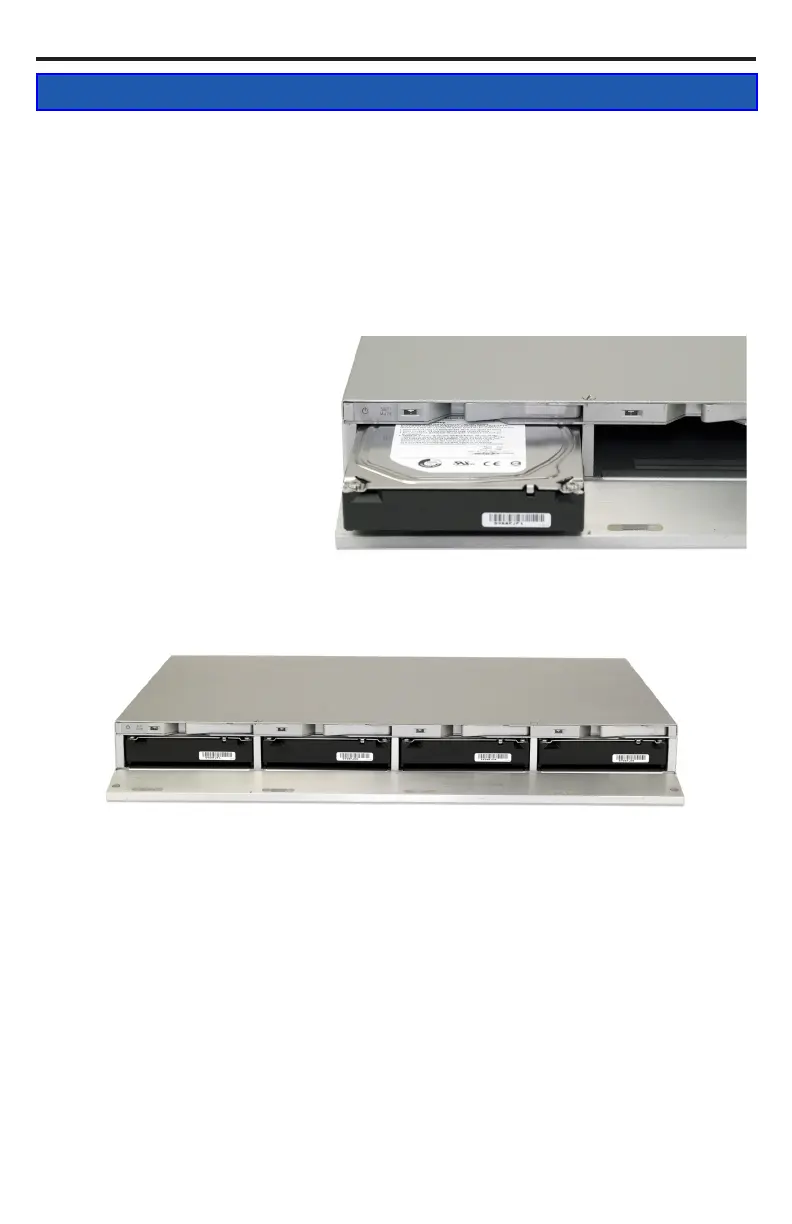
To install your own drive mechanisms:
➀ Open the front door on the
OWC Mercury Rack Pro.
➁ Install the drive as shown to
the left, with the SATA connector
facing away from you.
➂ Slide the drive all the way into
the drive bay. It will t ush with
the aluminum frame.
➃ Repeat the previous steps for
each drive you are installing.
NOTE: Be careful to not damage any components, and do not force the drives into
place. If they don’t slide in easily, make sure there are no obstructions.
IMPORTANT - ADDING DRIVES TO AN EXISTING RAID SET:
It is not possible to add more drives to an existing RAID array or change the RAID
conguration without reformatting. To add additional drives at a later point, with the
OWC Mercury Rack Pro turned OFF, adjust the switches on the back of the unit to the
Clear RAID setting (down-down-down). Power the OWC Mercury Rack Pro ON while
holding down the SET button right next to it. This will clear the existing RAID settings
out. Once the unit has beeped and the drive access lights stop ashing, you can
release the buttons and press the power button again to turn the enclosure o. You are
now able to change the switches to whichever RAID setting you wish to use.
IMPORTANT - ADDING DRIVES TO AN INDEPENDENT (CLEAR RAID) SET:
You can remove any drive from a Clear RAID set and replace it with another drive by
powering the OWC Mercury Rack Pro o, and replacing the drive. NOTE: To avoid
corruption it is essential to eject (unmount) all drives and power the unit o.
2 SYSTEM SETUP