ASSEMBLY (cont.)
12
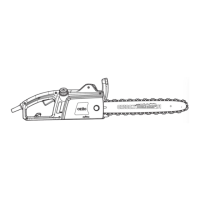
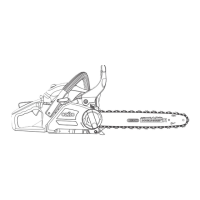
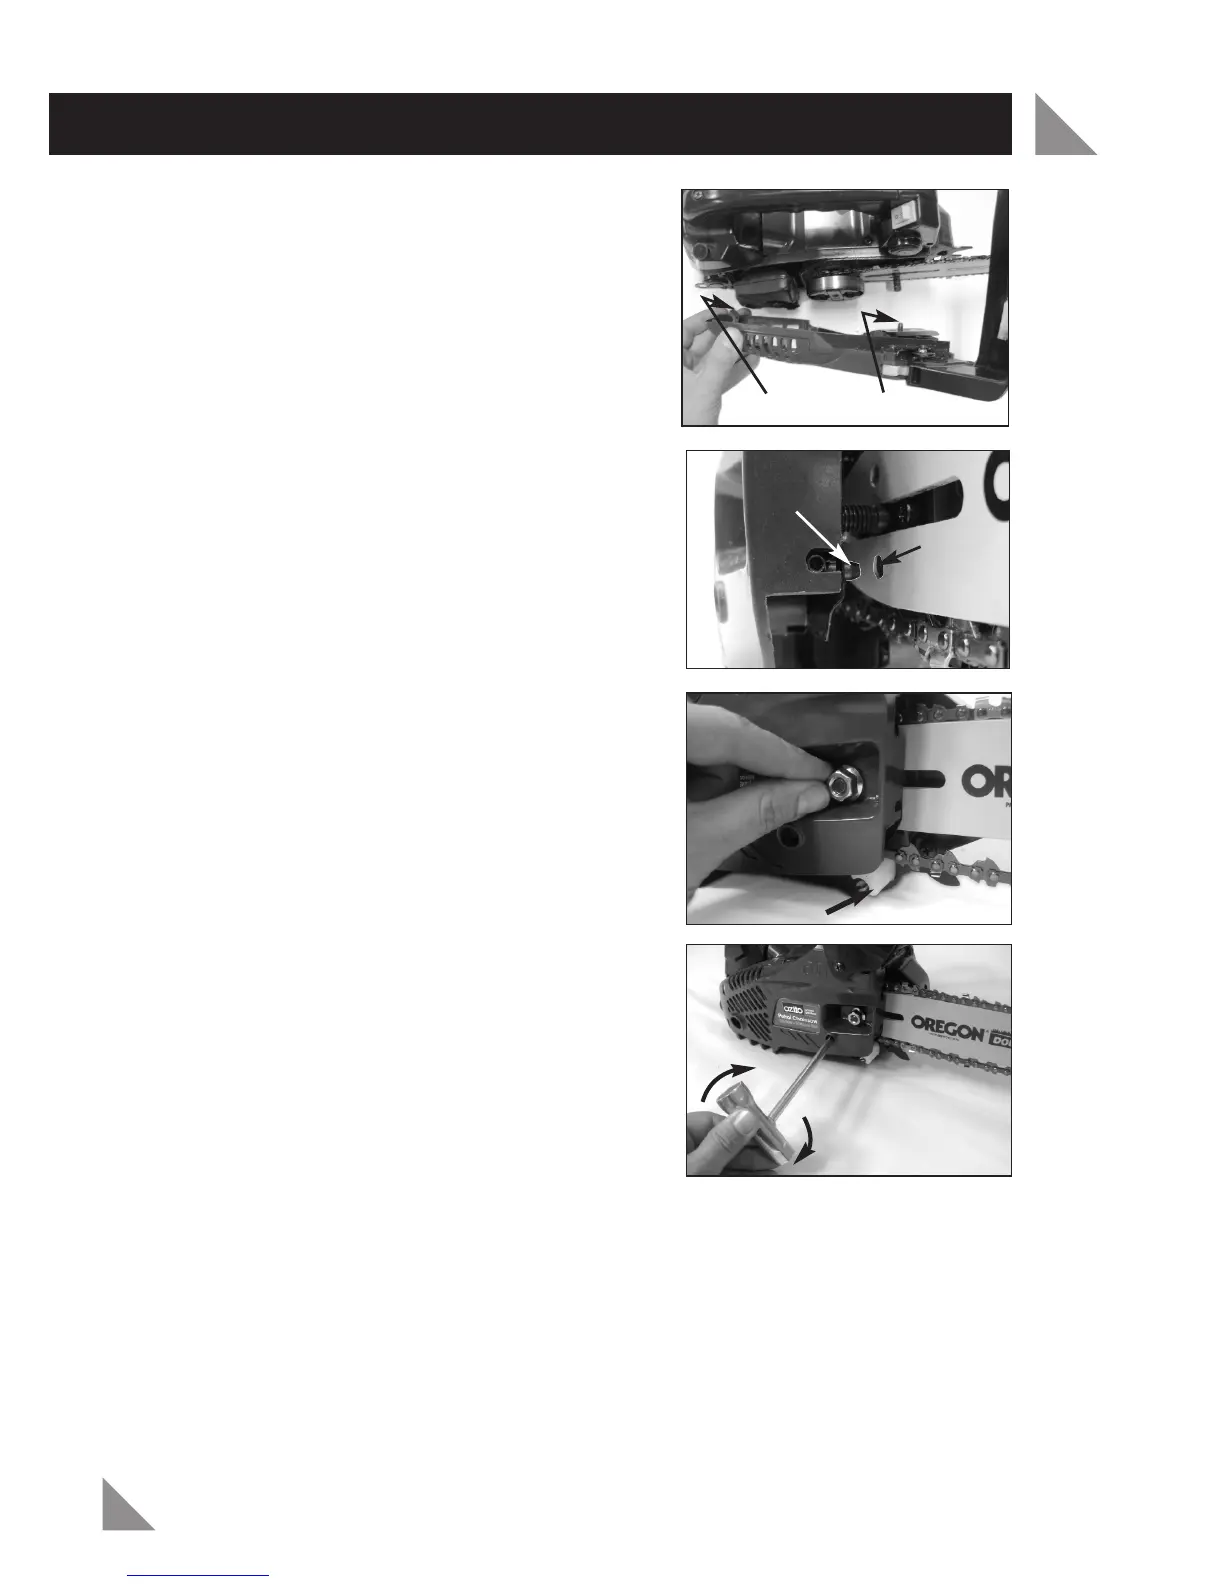
8. Fit the chain drive cover (19) back to the
saw body. There are two lugs on the left
side (rear end of saw) which will first need
to be located properly to enable the cover
to be fitted.
Also the chain tensioning pin (23) will need
to be lined up to the lower hole in the
guide bar (14) to enable the cover to
be fitted.
Sometimes the chain tensioner screw (18)
may need to be slightly adjusted in order to
line up the tensioning pin (23) with the
lower hole in the guide bar (14).
Note: If the chain brake (6) was not disengaged
as per step 1, you will not be able to fit the
drive cover to the saw. If you didn’t previously,
release the chain brake as per step 1.
9. Fasten the chain drive cover nut (17)
finger
tight
only. Do not use wrench just yet.
10. Rotate the chain tensioner screw (18)
clockwise until the links of the chain just
touch the bottom edge of the chain.
Adjusting the chain tension
11. Ensure the chain drive cover nut (17) is only finger tight (if the nut was
previously tight it will need to be loosened off a little).
Caution: If you try to rotate the chain tension screw (18) whilst the nut is tight, it
will result in the chain not loosening and possible damage to the chain tensioner
screw (18) and the chain tensioning pin (23).
Chain Guide
Rotate Clockwise
To Tension Chain
Lugs
Chain Tension Pin
Lower
Hole
Chain
Tension
Pin
 Loading...