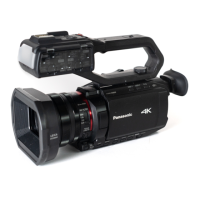
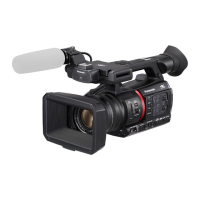
Manual recording
51
(ENG) DVQX2103
∫ When stored in white balance [Ach]
1 Switch to <MANU> with the <AUTO/MANU> switch to enter manual mode.
2 Set the gain value. (l 52)
Normally, set this to 0 dB. If it is too dark, set the gain to an appropriate value.
3 Press the <WHITE BAL> button to switch to [Ach].
Each time you press the button, the white balance switches in the order “Preset”, [Ach],
[Bch].
4 Change the <ND FILTER> switch settings according to the light conditions.
5 Place the white pattern at a point where the light conditions match those for the
light source for the subject, and zoom in on the white pattern so that the white
color appears in the screen.
6 Adjust the iris (the lens stop).
Adjust the iris so that the brightness of Y GET is approx. 70%.
7 Either press the USER button assigned to [AWB] or touch the USER button
icon.
Automatic adjustment of the white balance starts and the white balance adjustment value is
memorized.
0 The content previously set is maintained in [Ach] or [Bch]. Make the settings again if the
lighting conditions have changed.
When having no time to adjust the white balance
1 Press the <WHITE BAL> button to switch to “Preset”.
2 Either press the USER button assigned to [AWB] or touch the USER button
icon to switch the white balance.
[P 3200K], [P 5600K], and “VAR” (the value set in the [CAMERA] menu → [SW MODE] →
[W.BAL VAR]) change in order.
≥ When “VAR” is selected, turning the multidial can set any white balance value between
[V 2000K] and [V 15000K].
≥ The “VAR” value displayed on the camera image screen is not guaranteed to be an absolute
value.Use it for reference purposes only.
AG-CX7_CX8_CX10-DVQX2103_eng.book 51 ページ 2020年1月6日 月曜日 午後2時48分
 Loading...