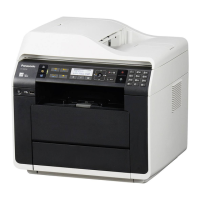
171
KX-MB2230EU/ KX-MB2270EU/ KX-MB2515EU/ KX-MB2545EU/ KX-MB2575EU/ DP-MB310EU
12 Troubleshooting Guide
12.1. User Recoverable Errors
If the unit detects a problem, one or more of the following messages will appear on the display.
The explanations given in the [ ] are for servicemen only.
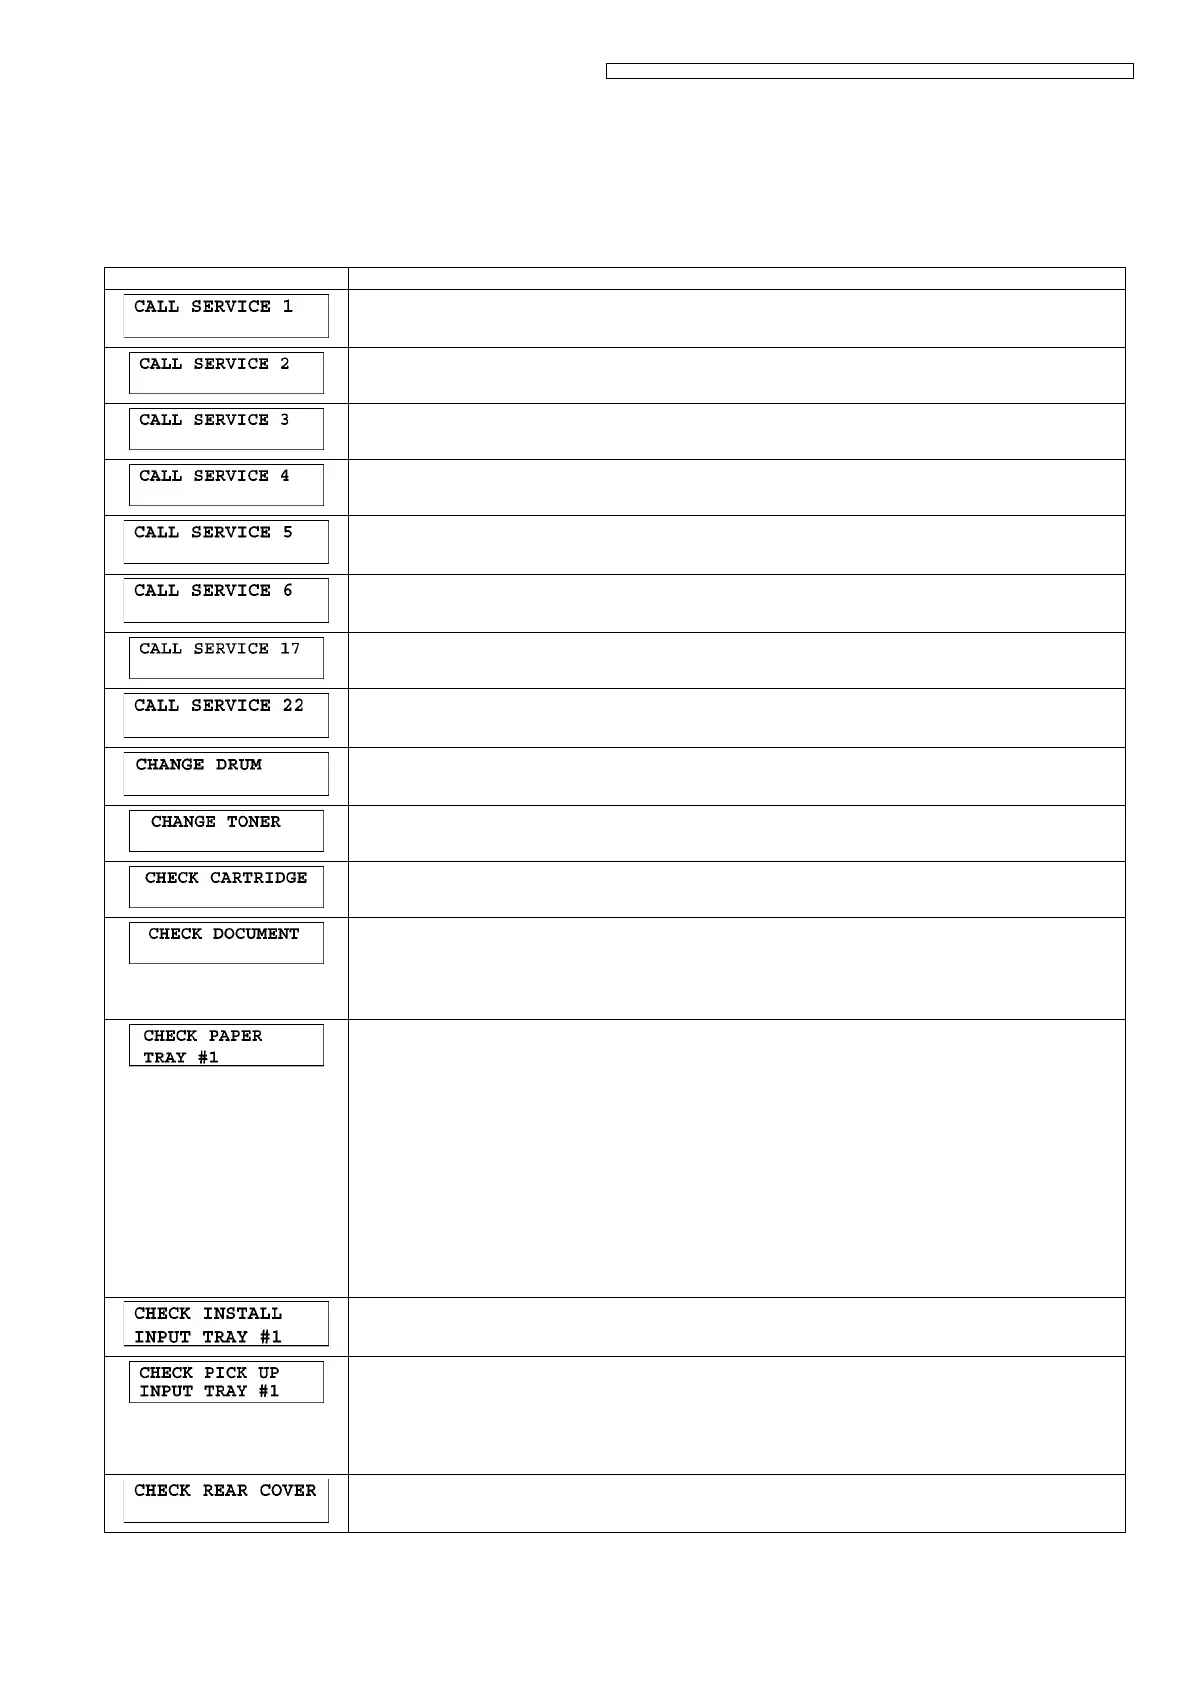
General messages
DISPLAY MESSAGE CAUSE AND REMEDY
• Polygon motor error.
Refer to CALL SERVICE 1 (P.189).
• Laser beam error. Replace LSU unit.
Refer to CALL SERVICE 2 (P.190).
• Fuser unit cannot heat up. Replace fuser unit.
Refer to CALL SERVICE 3 (P.191).
• Fan motor error. Replace fan motor.
Refer to CALL SERVICE 4 (P.192).
• DC motor’s rotation detection signal error.
Refer to CALL SERVICE 5 (P.193).
• Charge voltage is abnormal.
Refer to CALL SERVICE 6 (P.194).
• OPC First use sensor problem.
Refer to CALL SERVICE 17 (P.195).
• Number of Pickup Errors in Option.
Refer to CALL SERVICE 22 (P.196).
• There is something wrong with the drum cartridge. Replace the drum cartridge.
• The toner cartridge is not inserted properly. Re-insert it correctly.
• There is something wrong with the toner cartridge. Replace the toner cartridge.
• The toner cartridge or drum cartridge is not inserted properly. Re-insert it correctly.
• The document was not fed into the unit properly. Remove the document, and then press [Stop] to clear the
message. Re-insert the document. If misfeeding occurs frequently, clean the document feeder rollers and
try again.
• The ADF top cover is not fully closed. Push firmly on the front and rear edges of the ADF top cover, and
then feed the document again.
• The loaded recording paper is not the appropriate size. Load recording paper of the size that is shown on
the display.
• If this message is often displayed, also change the recording paper size setting (feature #380).
• The recording paper size setting (feature #380) is set to “A5”, “B5(ISO)”, “B5(JIS)” or “16K”, so received
faxes will have been stored into memory. Change the recording paper size setting and load the appropriate
recording paper.
Note:
• "#1”: Check the standard input tray. The displayed paper size depends on the recording paper size setting
(feature #380).
• "#2”: Check the manual tray/multi-purpose tray. The displayed paper size depends on the recording paper
size setting (feature #381).
• "#3”: Check the lower input tray. The displayed paper size depends on the recording paper size setting
(feature #382).
Refer to Program Mode Table (P.177).
• The paper input tray is not installed correctly. Pull out the paper input tray and re-insert it.
Note:
• "#1”: Standard input tray
• Recording paper was not fed into the unit properly. Re-insert the recording paper.
• If misfeeding occurs frequently, clean the pickup rollers and try again.
Note:
• "#1”: Standard input tray
• "#2”: Manual tray/multi-purpose tray
• "#3”: Lower input tray
• The rear cover is open. Close it.
 Loading...