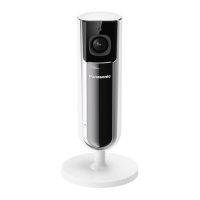
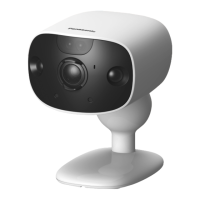
To access the live camera image screen, tap the desired camera from the [HomeHawk] app home
screen ( “Shelf camera, floor camera, and window camera home screen”, Page 23), and then tap the
displayed camera image.
A Returns you to the home screen
( “Shelf camera, floor camera, and window
camera home screen”, Page 23)
R iPhone, iPad:
Displayed on the right side of the screen
R Android devices:
Displayed on the left side of the screen
B
When recording images, is displayed
together with the recording duration and
details about the recording
–
The recording was started manually
– 24/7 recording is in use
– The recording was started when
motion was detected
C Shows the camera’s name D Displays the camera setting screen
E Shows the bit rate
( “Displaying the bit rate level icon”,
Page 112)
F Shows the live camera image
G Displays/hides rectangle boxes that indicate
where motion is detected
( “Displaying/hiding rectangles for motion
detection”, Page 97)
H Starts/stops recording
( “Recording camera images (manual
recording)”, Page 97)
96
Using a shelf, floor, and window camera
 Loading...