8.4. Check Point (Charger Unit)
Items Adjustment
Point
Procedure Check or
Replace Parts
(A) Charging Check - 1. Connect Charge Contact 12Ω/2W resistor between charge+ and charge-.
2. Measure and confirm voltage across the resistor is 2.7V ± 0.2V.
D1,R1,R2
Note:
After the measuring, sock up the solder of TP.
The connection of adjustment equipment are as shown in Adjustment Standard (Charger Unit) (P.30).
8.5. Adjustment Standard (Charger Unit)
When connecting the Simulator Equipments for checking, please refer to below.
8.5.1. Flow Solder Side View
PbF
R1
R2
TP4
B
TP1
TP2
TP3
Digital Volt Meter
12Ω/2W
(A)
PQUP11205Z
Note:
(A) is referred to Check Point (Charger Unit) (P.30)
30
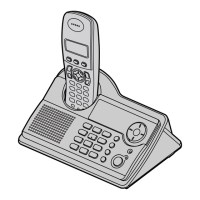
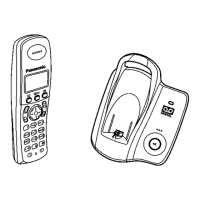
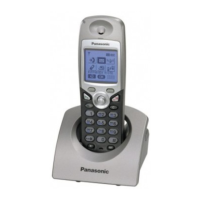
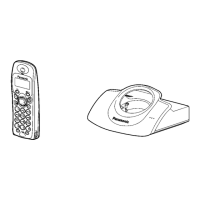
KX-TCD150FXB / KX-TCD150FXC / KX-TCD152FXB / KX-TCA115EXB / KX-TCA115EXC
 Loading...