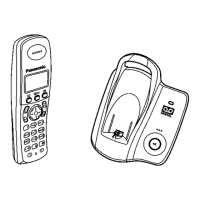
9 TROUBLESHOOTING BY SYMPTOM (HANDSET)
If your unit has below symptoms, follow the instructions in remedy column. Remedies depend on whether you have DECT tester
(*1) or not.
Note:
(*1) A general repair is possible even if you don’t have the DECT tester because it is for confirming the levels, such as Acoustic
level in detail.
(*2) Refer to Check Point (Handset) (P.31)
9.1. Check Point (Handset)
Please follow the items below when BBIC or EEPROM is replaced.
Note:
After the measuring, sock up the solder of TP.
*: PC Setting (P.34) is required beforehand.
The connections of simulator equipments are as shown in Adjustment Standard (Handset) (P.35).
Items Adjustment
Point
Procedure Check or
Replace Parts
(A) 4.0V Supply
Confirmation
- 1. Confirm that the consumption current is < 200mA, that is, there is no short
circuit.
2. Confirm that the voltage between TP14 and GND is 4.1V ± 0.2V.
IC1,F1,R21,
R4,C33,L2,
D1,C15,C2,
C14,Q1,R3,
R2,D2,R22,
C26,X1,C16,
C17
(B) VBACK Status
Confirmation
- 1. Confirm that the voltage between TP18 and GND is 0V ± 0.4V. IC1,F1,R21,
R4,C33,L2,
D1,C15,C2,
C14,Q1,R3,
R2,D2,R22,
C26,R16,X1,
C16,C17
(C) BBIC Confirmation - 1. BBIC Confirmation (Execute the command “getchk”).
2. Confirm the returned checksum value.
Connection of checksum value and program number is shown below.
IC1,X1,C16,
C17
(D) Charge Control Check &
Charge Current Monitor
Confirmation
- 1. Apply 6V between TP20(+) and TP21(-) with current limit of PSU to 250mA.
2. Confirm that the charge current is ON/OFF.
3. SW to decrease current limit of PSU to 100mA.
4. Confirm that the charge current is stable.
IC1,D4,L4,
L5,Q2,Q3,
R6,D2,R22,
C26,F1,R21,
R4,C33
(E)* Charge Detection (OFF)
Confirmation
- 1. Stop supplying 6V to TP20(+) and TP21(-).
2. Execute the command “charge”.
3. Confirm that the returned value is 0x00 (hex).
IC1,D4,L4,
L5,Q2,Q3,
R6,D2,R22,
C26,F1,R21,
R4,C33
31
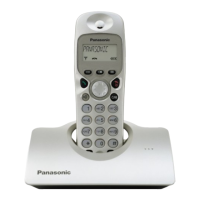
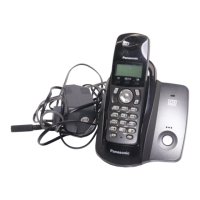
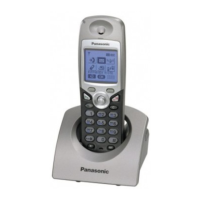
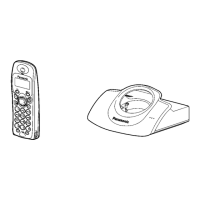
KX-TCD150FXB / KX-TCD150FXC / KX-TCD152FXB / KX-TCA115EXB / KX-TCA115EXC
 Loading...