40
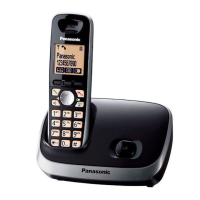
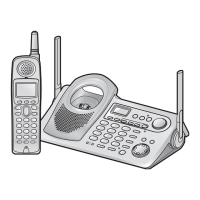
KX-TG6511BXB/KX-TG6512BXB/KX-TG6513BXB/KX-TG6519BXB/KX-TGA651BXB
(F)* Battery Monitor Check - 1. Apply 2.25 V between BATT+ and BATT-.
2. Execute the command
sendchar PAD
sendchar LED 0
sendchar CRX 0 1
sendchar AD1
It assumes that the return value is XX.
a) 6c XX 71: No need to adjust
b) XX: 6A ~ 6B: Need to adjust
XX: 72 ~ 74: Need to adjust
Write AD value of 2.25 V to EEPROM.
ex) read data: XX = 6A, write data: YY = 6A
read data: XX = 73, write data: YY = 73
EEPROM = 0009(Low Voltage) write “YY”
Execute the command “wreeprom 00 09 01 YY”.
EEPROM = 000A(No Voltage) write ‘’YY - 1D’’
Execute the command “×wreeprom 00 0A 01 ZZ”.
Note:
ZZ = YY - 1D
No Voltage writing data limit is ‘00’.
c) XX: 00 ~ 69: Reject
XX: 75 ~ FF: Reject
IC1, F1, C1,
R45
(G) Battery Low Confirma-
tion
- 1. Apply 2.40 V between BATT+ and BATT-.
2. Confirm that there is no flashing of Battery Icon.
3. Apply 2.25 V ± 0.08 V between BATT+ and BATT-.
4. Confirm that there is flashing of Battery Icon.
IC1, F1, C1,
R45
(H)* BBIC Clock Adjustment CLK 1. Apply 2.6 V between BATT+ and BATT- with DC power.
2. Input Command “sendchar sfr”, then you can confirm the current value.
3. Check X’tal Frequency. (10.368 MHz ± 100 Hz).
4. If the frequency is not 10.368 MHz ± 100 Hz, adjust the frequency of CLK exe-
cuting the command “sendchar sfr xx xx (where xx is the value)” so that the
reading of the frequency counter is 10.368000 MHz ± 5 Hz.
Note:
Clear the registered information for Base Unit before measurement, because the
Frequency will not possibly get stable due to the registered information.
Pressing the button of “3” “7” “9” “#” clears the registration.
Register to it on Base Unit after measurement.
IC1, X1, C47
(I)* Transmitted Power Con-
firmation
- Remove the Antenna before starting step from 1 to 4.
1. Configure the DECT tester (CMD60) as follows;
<Setting>
• Test mode: PP
• RFPI: 0102030405
• Traffic Carrier: 5
•Traffic Slot: 4
• Mode: Loopback
• RF LEVEL = -70 dBm
• PACKET: PP32Z
2. Execute the command “sendchar TST 01 02 03 04 05".
3. Initiate connection from DECT tester.
4. Confirm that the NTP value at ANT is 19 dBm ~ 25 dBm.
IC1,
C802~C806,
C808~C814,
C819~C820,
C822,
C825~C827,
C834,
C860~C864,
L801~L804,
DA801,
R801~R808
(J)* Modulation Check - Follow steps 1 to 3 of (K).
4.Confirm that the B-Field Modulation is -370±30/ +370±30 kHz/div & Modulated
width 690 kHz using data type Fig 31.
IC1,
C802~C806,
C808~C814,
C819~C820,
C822,
C825~C827,
C834,
C860~C864,
L801~L804,
DA801,
R801~R808
Items Check
Point
Procedure Check or
Replace Parts
 Loading...