41
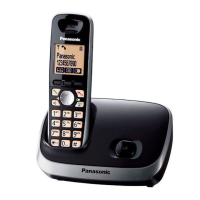
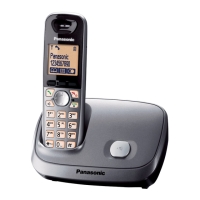
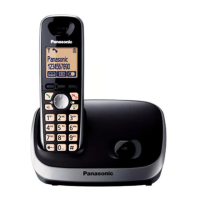
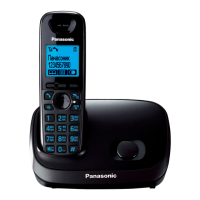
KX-TG6511BXB/KX-TG6512BXB/KX-TG6513BXB/KX-TG6519BXB/KX-TGA651BXB
(K)* Frequency Offset Confir-
mation
- Follow steps 1 to 3 of (I).
4.Confirm that the frequency Offset is < ± 50 kHz.
IC1,
C802~C806,
C808~C814,
C819~C820,
C822,
C825~C827,
C834,
C860~C864,
L801~L804,
DA801,
R801~R808
(L)* Frequency Drift Confir-
mation
- Follow steps 1 to 3 of (I).
4.Confirm that the frequency Drift is < ± 35 kHz/ms.
IC1,
C802~C806,
C808~C814,
C819~C820,
C822,
C825~C827,
C834,
C860~C864,
L801~L804,
DA801,
R801~R808
(M)* Sensitivity Receiver
Confirmation
- Follow steps 1 to 3 of (I).
4.Set DECT tester power to -88 dBm.
5.Confirm that the BER is < 1000 ppm.
IC1,
C802~C806,
C808~C814,
C819~C820,
C822,
C825~C827,
C834,
C860~C864,
L801~L804,
DA801,
R801~R808
(N)* Power RAMP Confirma-
tion
- Follow steps 1 to 3 of (I).
4.Confirm that Power RAMP is matching.
IC1,
C802~C806,
C808~C814,
C819~C820,
C822,
C825~C827,
C834,
C860~C864,
L801~L804,
DA801,
R801~R808
(O) Audio Check and Confir-
mation
- 1. Link to BASE which is connected to Line Simulator.
2. Set line voltage to 48V and line current to 50mA.
3. Input -45dBm(600Ω)/1kHz to MIC of Handset. Measure the Level at Line I/F
and distortion level.
4. Confirm that the level is -1.5dBm±2 dBm and that the distortion level is<5% at
TEL Line (600Ω Load).
5. Input -20dBm(600Ω)/1kHz to Line I/F. Measure the Level at Receiver of
Handset and distortion level (Receive volume set to second position from
minimum).
6. Confirm that the level is -22dBm±2 dBm and that the distortion level is <5% at
Receiver (150Ω Load).
IC1, C12, C96,
C97, R215,
R27, RA4,
C11, C13,
R28, D3, D4,
MIC, R73, R74
(P) SP phone Audio Check
and Confirmation
- 1. Link to Base which is connected to Line Simulator.
2. Set line voltage to 48V and line current to 50mA.
3. Set the handset off-hook using SP-Phone key.
4. Input -25 dBm(600Ω)/1KHz to Line I/F and measure Receiving level at SP+
and SP-.
5. Confirm that the level is -10.0 dBm ± 2 dBm and that the distortion level is <
5%. (vol = 3)
IC1, C12, C73,
D13, D14,
R73, R74,
MIC, C11,
C13, RA4,
R27, R28,
C96, C97,
R215, C72
(Q) Charge Pump 3.0V
Supply Confirmation
CP3.0V 1. Confirm that the voltage between testpoint CP3.0V and GND is 3.0 ± 0.3V. C49, C52~C54
(R) Charge Pump 4.0V
Supply Confirmation
(This item is not applied)
CP4.0V 1. Confirm that the voltage between testpoint CP4.0V and GND is 4.0V ± 0.3V. C50, C51, C55
Items Check
Point
Procedure Check or
Replace Parts
 Loading...