Advanced-Viewing
- 87 -
s
[TEXT STAMP]
You can stamp the recording date/time, age, travel date or title onto the recorded pictures.
It is suitable for regular size printing. (Pictures larger than 3M will be resized when
stamping the date etc. on them.)
1
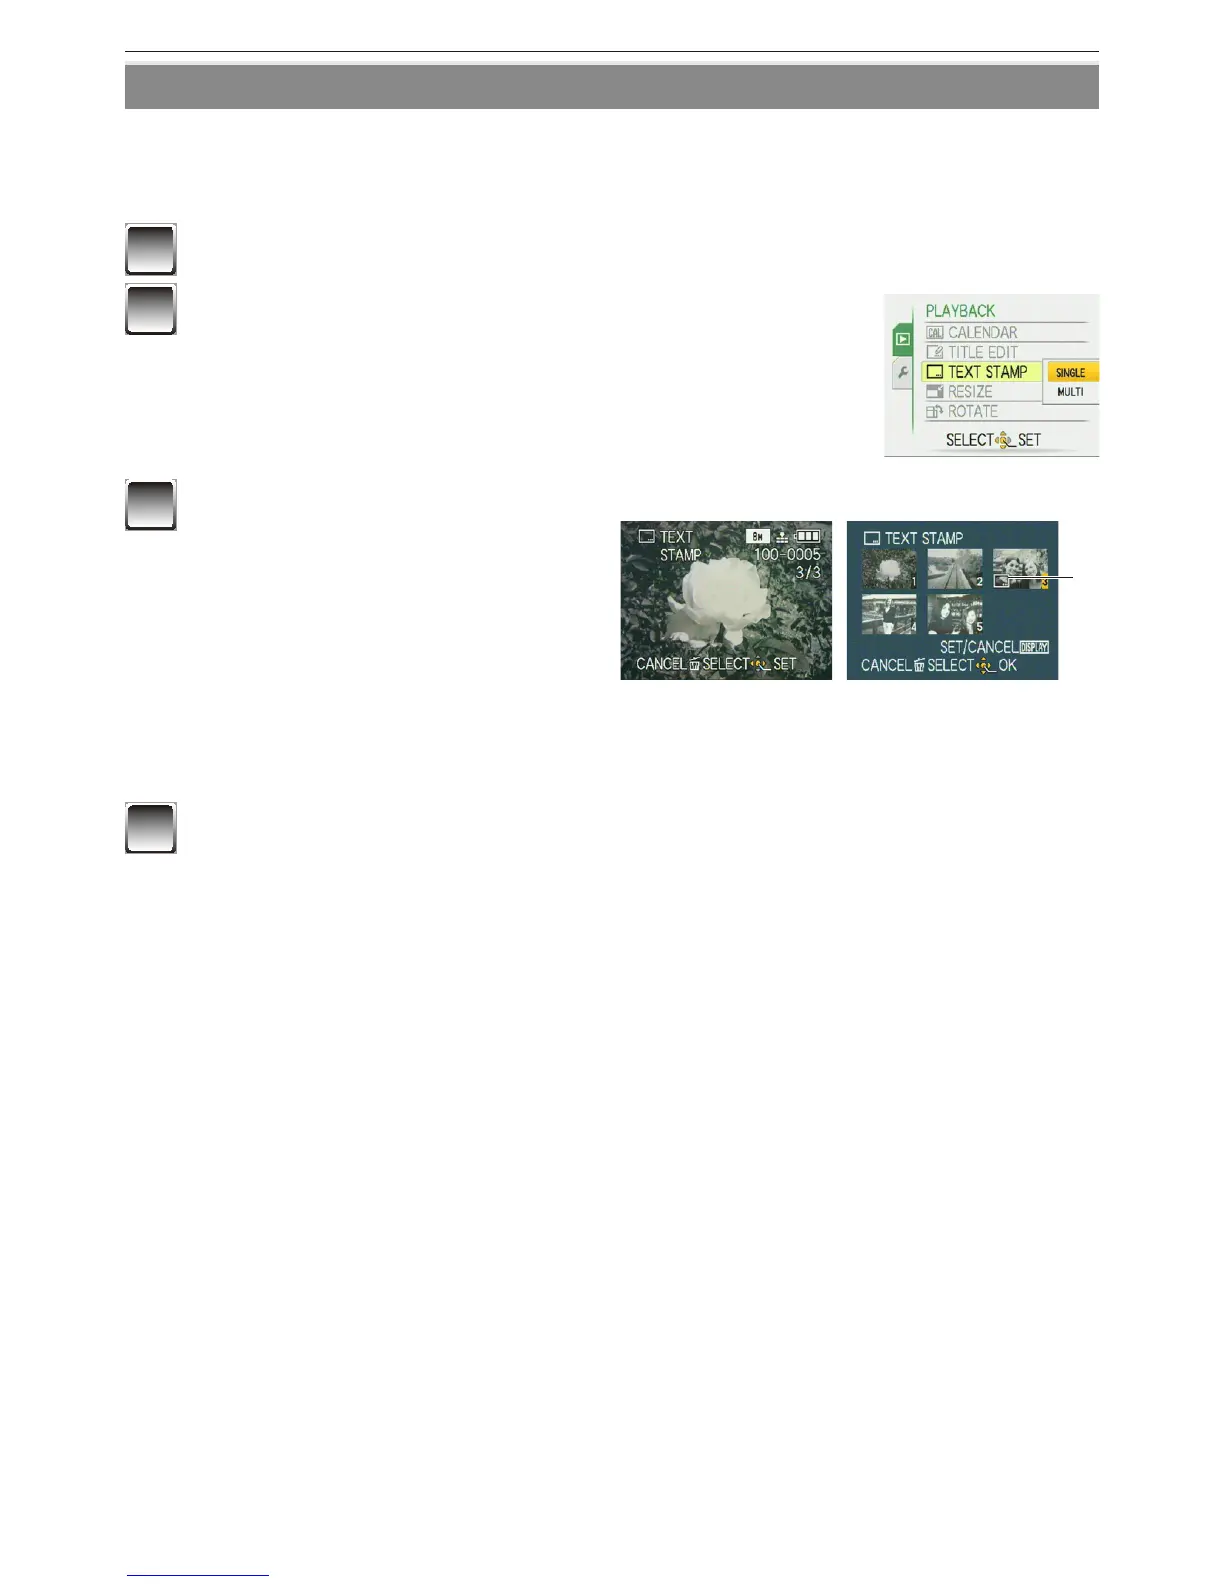
Select [TEXT STAMP] on the [PLAYBACK] menu. (P21)
2
Press
e
/
r
to select [SINGLE] or [MULTI] and
press [MENU/SET].
[SINGLE] [MULTI]
Press
w
/
q
to
select the picture.
Press
e
/
r
/
w
/
q
to
select the pictures.
A
3
Select the picture, and then
press [MENU/SET] to set.
• [
d
]
A
appears on the screen
if the picture has added the text
stamp.
For [MULTI] setting
Press [DISPLAY] to set (repeat),
and then press [MENU/SET].
• The setting is cancelled when
[DISPLAY] is pressed again.
4
Press
e
/
r
/
w
/
q
to select [SHOOTING DATE], [AGE], [TRAVEL DATE]
or [TITLE], and then press [MENU/SET] to set each item.
[SHOOTING DATE]
[W/O TIME]:
Stamp the year, month and date.
[WITH TIME]:
Stamp the year, month, day, hour and minutes.
[AGE] (P
57)
If this is set to [ON], [AGE] is stamped on the pictures.
[TRAVEL DATE]
If this is set to [ON], [TRAVEL DATE] is stamped on the pictures.
[TITLE]
Text is printed together with the image for pictures that have already been
recorded with text in [BABY1]/[BABY2] or [PET] name settings in Scene Mode,
[TRAVEL DATE] location setting or [TITLE EDIT].
 Loading...