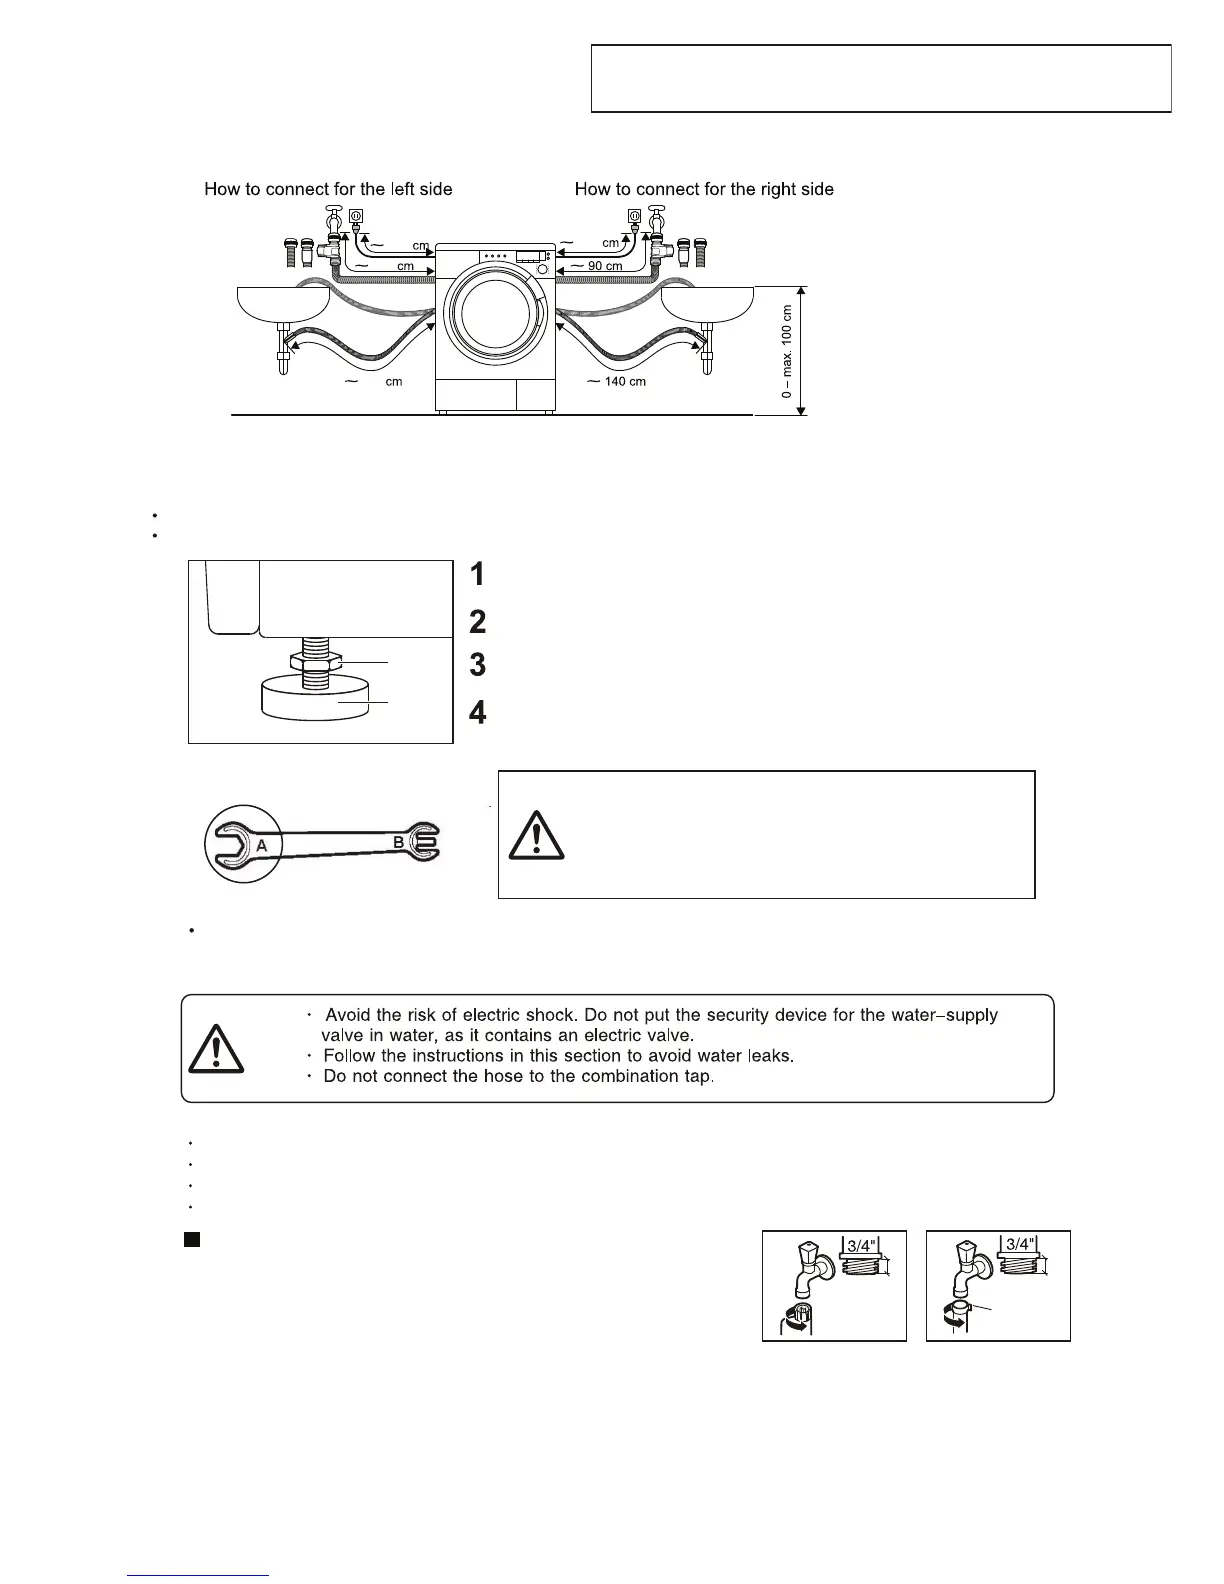
4-8 Hose and Cable Lengths
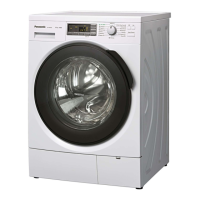
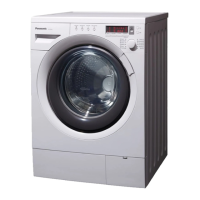
4-9 Levelling the washing machine
Using a level facilitates the adjustment.
When adjusting the washing machine to make it level, ensure all four stands are supporting it:
Lock nut
Stand
A
B
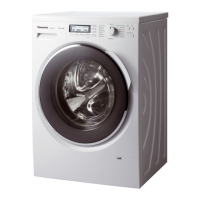
4-10 Water-supply hose
m
m
01
.
n
im
mm 01
.
nim
esoh dradnatS
Hose with water-
supply valve
Ensure all four lock nuts are tightened securely.
Check the stands are still bolted to the washing
machine - if they're unbolted, the washing
machine will move around.
Attach the hose to a tap, and tighten
the plastic joint by hand.
Open the tap slowly and check there
are no leaks around the joint.
Caution: the joint is subject to water pressure.
1
2
-13-
On each stand, loosen the lock nut by turning it clockwise using the
A end of the spanner supplied.
Adjust all four stands in this way.
Use a spirit level to ensure the washing machine is standing correctly.
Tighten each lock nut by turning it anti-clockwise (towards the
washing machine body), again using the A end of the spanner
supplied.
To adjust the stands, use A side of the included spanner.
Points to remember:
Don't twist, squash, modify or cut the hose.
Optimum water pressure in the main pipe is 0.03 MPa - 1.0 Mpa.
If the pressure is set higher than this, you'll need to install a depressurising valve.
Water-flow from the tap should be more than 5 litres per minute.
Connecting the water-supply hose
105
130
135
100
 Loading...