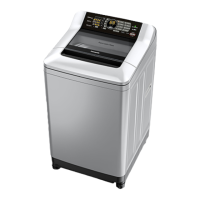
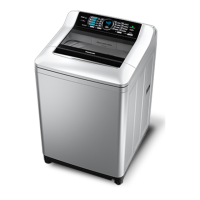
14. DISASSEMBLY
14.1 Controller Unit
Fig.1 Fig.2 Fig.3 Fig.4
- Use Screwdriver (+) take off screws at Panel A as Fig.1
- Pull off Insulatiron Spacer A loose from lock of Controller Unit as Fig.2
- Use Screwdriver (+) take off screws at Controller Unit with Panel Face B as Fig.3
- Change new part of Controller Unit as Fig.4
14.2 Panel Face B
Fig.5 Fig.6 Fig.7
- Use Screwdriver (-) push lock loose from Panel Face C as Fig.5
- Use Screwdriver (-) push insert between Panel Face B and Panel Face C as Fig.6
- Take off all parts of Panel Face B for change new part as Fig.7
- 20 -
Service NA-F100A2.indd 20Service NA-F100A2.indd 20 4/26/2559 BE 11:50 AM4/26/2559 BE 11:50 AM
 Loading...