– 16 – – 17 –
Feature Diagram (continued)
Re-position the drip tray by clicking
back onto the legs.
Drip Tray
1. Before using the oven, the drip tray
must be fitted as it collects excess water
during cooking. The drip tray should be
removed and cleaned on a regular basis.
2. Fit the drip tray by holding with both
hands and clicking onto the front legs of
the oven.
3. To remove the drip tray, hold with both
hands and gently ease forward. Wash in
warm soapy water. Re-position the drip
tray by clicking back onto the legs.
4. Do not use a dishwasher to clean the
drip tray.
Water Tank
Carefully remove the water tank from the oven. Remove the lid and fill with
tap water (do not use mineral water). Replace the lid and position back in
the oven. Ensure the lid is closed tightly and securely positioned, otherwise
leakage may occur. It is recommended to clean the water tank in warm
water once a week. See page 54 for reference.
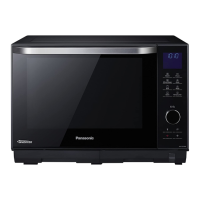
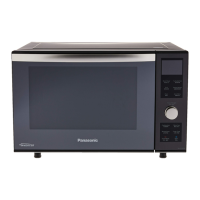
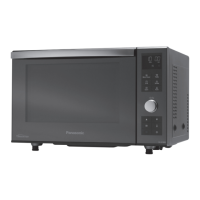
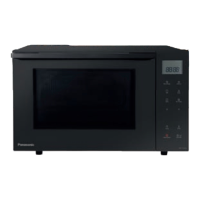
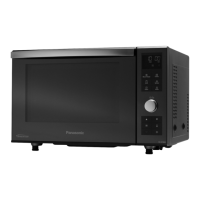
Front View Rear View
3
6
4 5
2
1
1. Control panel
2. Drip tray
Note:
The above illustration is for reference only.
3. Water tank
4. Air vent exhaust
Control Panel
Beep Sound:
A beep sounds when a pad is tapped. If this beep does not sound, you may have turned off the beep choice,
you can turn it on by turning the Dial after first plugged in, (see page 22). When the oven changes from one
function to another or remind you to stir food during cooking, two beeps sound. After the completion of the
preheating on Oven, or certain Combination mode, three beeps sound. After completion of the preheating
on some auto menus, a long beep sounds. After completion of cooking, five beeps sound.
Note:
If an operation is set and the Dial is not pressed within 6 minutes, the oven will automatically cancel the
operation. The display will revert back to colon or clock mode.
Display Window
(see page 18)
Micro Power Pad
(see page 23)
Grill Pad
(see page 27)
Turbo Defrost Pad
(see page 44)
Combination Pad
(see page 31, 33)
Auto Menu Pad
(see page 36, 38)
Cleaning Pad
(see page 47-50)
Timer/Clock Pad
(see page 19-21)
Stop/Cancel Pad
Before cooking:
One tap clears your
instructions.
During cooking:
One tap temporarily stops
the cooking program.
Another tap cancels all your
instructions and a colon or
the clock will appear in the
display.
Dial
(see page 18)
Steam Pad
(see page 24, 26)
Oven Pad
(see page 29)
5. Warning label
6. Identification label
 Loading...