(3) Unscrew the 5 screws and remove the A-P.C.Board block.
(4) Pull out the flexible cable connected to the J-P.C.Board. (The
reverse side of A-P.C.Board)
(5) Unscrew the 10 screws and remove the A-P.C.Board. (The block
of the terminal metal fittings, J-P.C.Board and D-P.C.Board
remains.)
11.4. Removal of J-P.C.Board
(1) Remove the A-P.C.Board block according to the steps 1 through
3 in the section 11.3. "Removal of A-P.C.Board".
(2) Pull out the flexible cable connected to the A-P.C.Board.
(3) Unscrew the 8 screws and remove the J-P.C.Board.
11.5. Removal of D-P.C.Board
(1) Remove the A-P.C.Board block according to the steps 1 through
3 in the section 11.3. "Removal of A-P.C.Board".
(2) Unscrew the 2 screws and remove the D-P.C.Board.
27
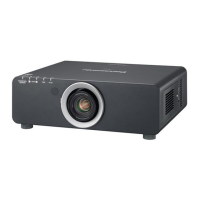
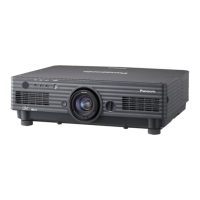
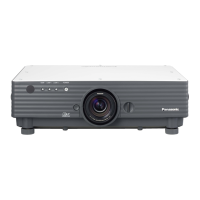
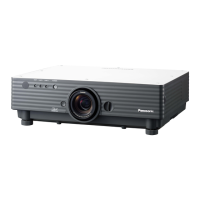
PT-D5600U / PT-D5600E / PT-D5600UL / PT-D5600EL / PT-DW5000U / PT-DW5000E / PT-DW5000UL / PT-DW5000EL
 Loading...