DIS-4
2. Disassembly Instructions
2. 1. Flowchart for Disassembly
* Before Disassembly the projector, turn off the POWER switch and disconnect the power plug from the wall outlet.
* To assemble, reverse the disassembly procedures.
* When tore off sticky tapes, please use a new thing without reusing it on the occasion of assembling.
(R/RM/RL/M2/F/R2-P.C.Board)
(B/Q-P.C.Board)
(P-P.C.Board)
(S-P.C.Board)
(A/G/WF/WL-P.C.Board)
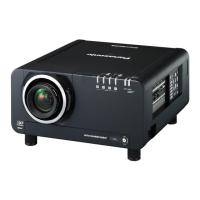
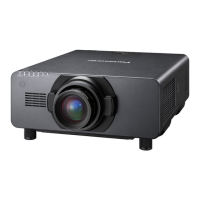
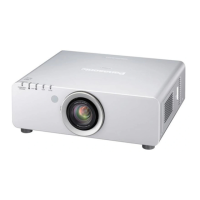
Completed Product
2. 2. Removal of Lamp Unit
2. 3. Removal of Upper Case
2.10.
Removal of
Signal Processing Block
2.11. Removal of Ballast Block
2. 4.
2. 6.
2. 9. Removal of Terminal Cover
2.12.
Removal of
Power Supply Block
Removal of Intake
Duct (Assy)
2. 5.
Removal of Engine Block
Case (Top)/DMD Block
2. 7.
Removal of Rod(Assy)/
Iris Unit (Assy) / Relay Lens
2. 8.
Removal of Analysis/Synthesis
Block/Synthetic Mirror
Removal of
Analysis Mirror (Assy)
2.13.
Removal of
Lens Mount (Assy)
 Loading...