11 <CEC> button
Displays the HDMI-CEC operation screen. (x page 94)
12 <SHUTTER> button
Used to turn off the audio and video temporarily. (x page 54)
13 <MUTE> button
Used to temporarily mute the projector. (x page 54)
14 <STATUS> button
Displays the projector information. (x page 59)
15 <ASPECT> button
Switches the aspect ratio of the image. (x page 58)
16 <DEFAULT> button
Resets the content of the sub-menu to the factory default.
(x page 63)
17 Number (<0> ~ <9>) buttons
Used for entering a password or an ID number in a multiple
projector environment.
18 <FUNCTION> button
Assigns a frequently used operation as a shortcut button.
(x page 58)
19 <ID ALL> button
Used to simultaneously control all the projectors with a single
remote control in a multi-projector environment. (x page 60)
20 <ID SET> button
Sets the ID number of the remote control in a multi-projector
environment. (x page 60)
Attention
f Do not drop the remote control.
f Avoid contact with liquids or moisture.
f Do not attempt to modify or disassemble the remote control.
f Please observe the following contents that are described on the back of the remote control unit (see the picture below).
g Do not use a new battery together with an old battery.
g Do not use unspecied batteries.
g Make sure the polarities (+ and -) are correct when inserting the batteries.
In addition, please read the contents that are related to batteries in the “Read this rst!”.
Caution label at the back of the remote control
Note
f The remote control can be used within a distance of about 20 m (65'7") if pointed directly at the remote control signal receiver. The remote
control can control at angles of up to ± 30 ° vertically and ± 30 ° horizontally, but the effective control range may be reduced.
f If there are any obstacles between the remote control and the remote control signal receiver, the remote control may not operate correctly.
f You can operate the projector by reecting the remote control signal on the screen. The operating range may differ due to the loss of light
caused by the properties of the screen.
f When the remote control signal receiver is lit with a uorescent light or other strong light source, the projector may become inoperative. Set
the projector as far from the luminous source as possible.
f The power indicator <ON (G)/STANDBY (R)> will blink if the projector receives a remote control signal.
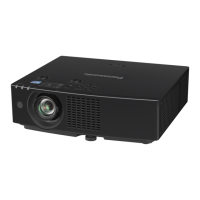
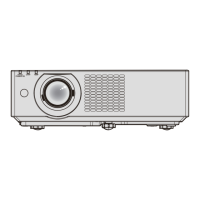
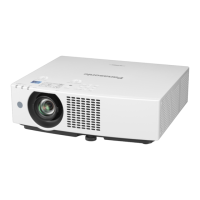
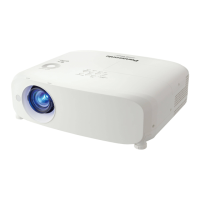
Projector body
9
7
10
10
6
11
15
16 8
14
1312
41
2
3
5
8
r Front
r Side
r Rear
26 - ENGLISH
Chapter 1 Preparation - About your projector
 Loading...