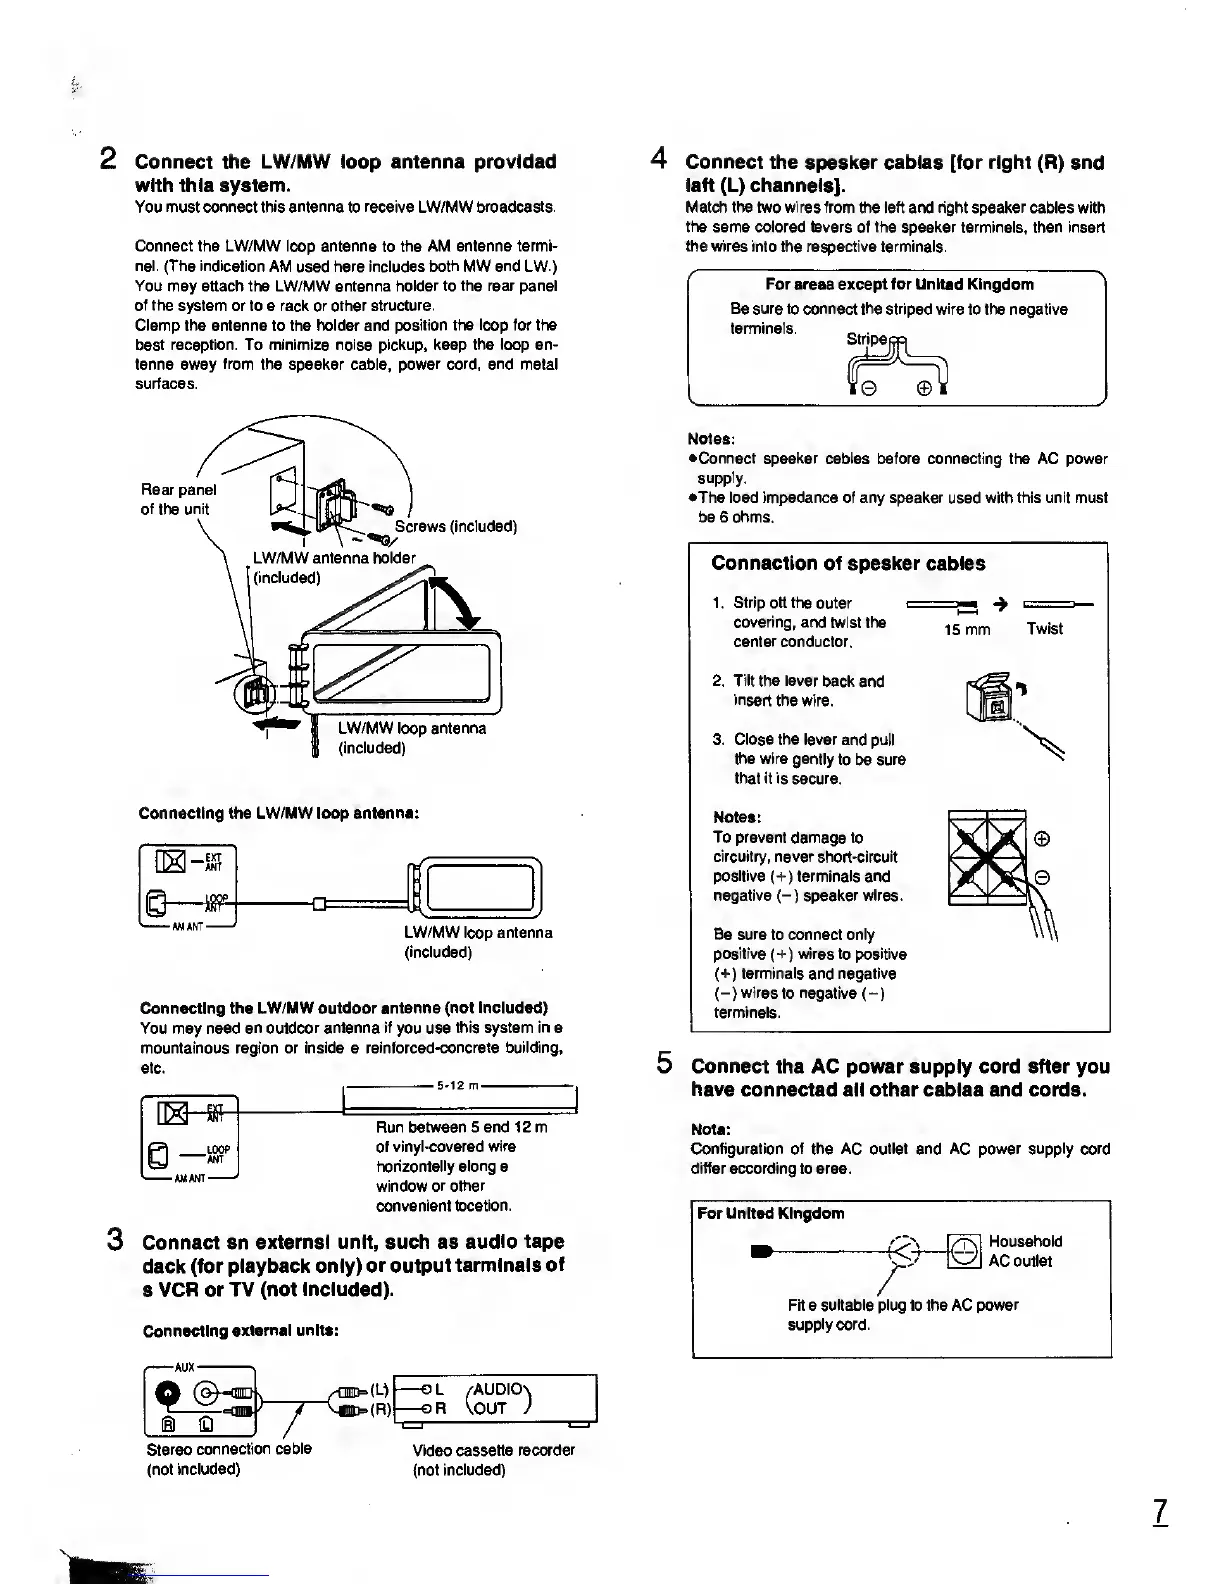
Connect the LW/MW loop antenna
provided
with this system.
You must
connect this antenna
to
receive
LW/MW
broadcasts.
Connect the LW/MW loop antenna
to
the AM
antenna termi-
nal. (The indication
AM used here includes
both MW and LW.)
You
may attach the LW/MW antenna
holder to the rear panel
of the
system or to a rack or other
structure.
Clamp the
antenna
to the holder and
position the loop for the
best reception. To minimize noise pickup,
keep the loop
an-
tenna away
from
the speaker cable,
power cord, and
metal
surfaces.
Rear panel
of
the
unit
\
LW/MW antenna holder
(included)
Screws
(included)
LW/MW loop antenna
(included)
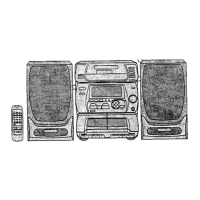
Connecting the LW/MW loop antenna:
LW/MW loop antenna
(included)
Connecting the
LW/MW outdoor antenna (not included)
You may need
an outdoor antenna if
you use
this system in a
mountainous region or inside a
reinforced-concrete building,
etc.
5-12
m
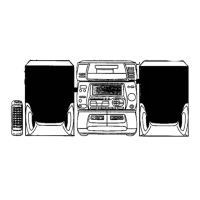
Connect
the speaker cables [for right (R) and
left (L) channels].
Match the two wires from the left and right speaker cables
with
the same
colored levers of the speaker terminals, then insert
the wires into
the respective terminals.
For areas except for United Kingdom
Be sure to connect the striped wire
to the negative
Stripe
f
terminals.
'e ©
.LOOP
ANT
AM
ANT
-
Run between 5 and 1 2 m
of vinyl-covered
wire
horizontally
along
a
window
or other
convenient
location.
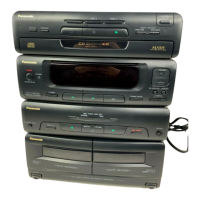
Connect an
external unit, such as
audio tape
deck
(for playback only)
or output terminals
of
a
VCR
or TV (not
included).
Connecting
external units:
-AUX-
|
L
/AUDIO\
1
R
VDUT
)
Stereo
connection cable
(not
included)
Video
cassette recorder
(not
included)
Notes:
•Connect speaker cables
before connecting the AC power
supply.
•The load impedance of any speaker
used
with this unit must
be 6 ohms.
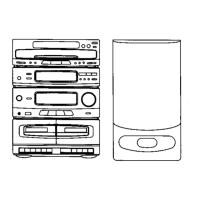
Connection of speaker cables
1. Strip off the
outer
c
covering, and twist the
center conductor.
2. Tilt the lever back
and
insert
the wire.
3. Close the
lever and pull
the
wire
gently to
be
sure
that it is
secure.
Notes:
To prevent damage to
circuitry, never short-circuit
positive
(+)
terminals and
negative
(-)
speaker wires.
Be sure to connect only
positive
(+)
wires to positive
(+)
terminals and negative
(-)
wires
to negative (-)
terminals.
15
mm
Twist
X
5
Connect
the AC power supply cord after you
have
connected all other cables and cords.
Note:
Configuration of the AC outlet and AC power supply cord
differ according to area.
For United Kingdom
/"
e
Household
AC outlet
Fit a suitable plug to the AC
power
supply cord.