13
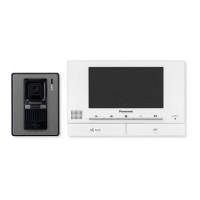
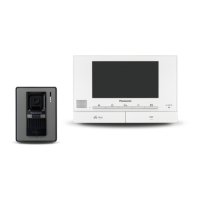
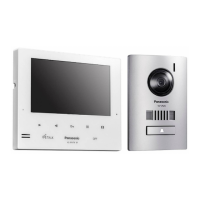
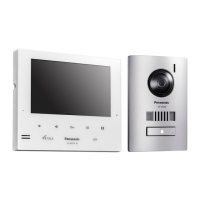
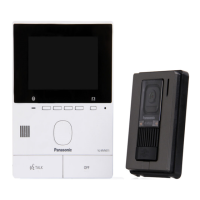
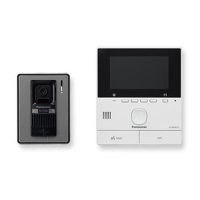
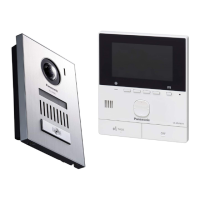
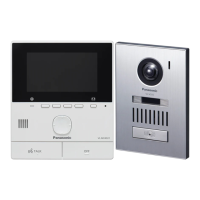
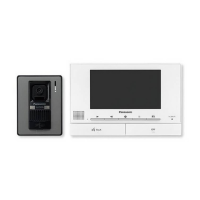
Installing the main monitor/
extension monitor
1 Attach the mounting bracket (A) to the wall
securely.
R Install the mounting bracket on a vertical flat
wall (B).
C Screws (accessory)
D Hole in wall E 60 mm F 83.5 mm
G 7mm H 50 mm
2 VL-SV71BX/CX/ML/SX/AZ and VL-MV71BX/
CX/ML/SX/AZ models:
Connect the wires.
R Connect the wires correctly according to
"Wiring schematic diagram".
R How to make wiring connections
While pressing on the button (A) with a
pointed object such as a screwdriver, insert
the wire into the terminal connector (B). (To
disconnect a wire, while pressing on the
button (A), pull out the wire.)
C Bare wire at tip: 9 mm
D Wiring from doorphone or other device
VL-SV72AZ and VL-MV72AZ models:
Connect the DC cable and wires.
R Connect the wires correctly according to
"Wiring schematic diagram".
2-1 How to connect the DC cable
A Remove screw A (A) and then remove the
terminal cover.
B While pressing on the button (B) with a
pointed object such as a screwdriver, insert
the wires of the DC cable into the terminal
connectors (non-polar).
C Make sure to replace the terminal cover.
Bare wire at tip: C 11 mm D 42 mm
E Wiring from power supply unit
2-2 How to make wiring connections
While pressing on the button (F) with a
pointed object such as a screwdriver, insert
the wire into the terminal connector (G). (To
disconnect a wire, pull out the wire while
pressing on the button (F).)
H Bare wire at tip: 9mm
I Wiring from doorphone
AB
C
D
E
F
G
H
B
C
D
A
2-2
2-1
2-2
A
B
C
D
G
H
F
I
prj_6905-en_gb.book Page 13 Monday, April 24, 2017 6:10 PM
 Loading...