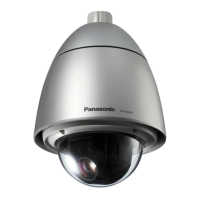
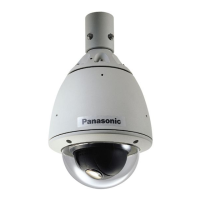
Install the wall-mounting bracket onto the wall
using the screws.
STEP1
Install the camera onto the wall-mounting brack-
et by referring to the illustration shown on the
left.
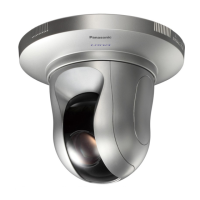
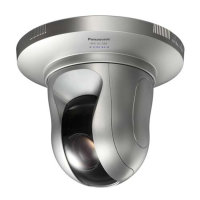
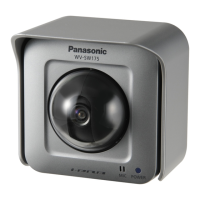
It is possible to install the camera upside down.
Install the camera in the upside down position
according to your needs.
Confirm that the Panasonic logo is in the posi-
tion shown in the illustration.
If the logo is upside down, rotate the logo.
STEP3
STEP2
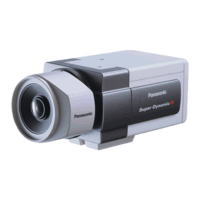
• If the camera is placed on a desk, as shown in the illustration on the right, select "Desk top" for "Camera posi-
tion" on the "Basic setup" page.
• Connect the AC adapter and the Ethernet cable (category 5) to the camera.
After the connection, slide the cord cover to attach it.
To prevent the cord cover from detaching, tighten the two provided cord cover fixing screws.
Notes
 Loading...