
C
Cindy OnealOct 29, 2025
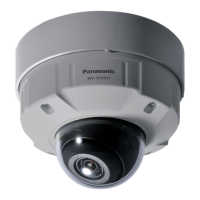
How to fix Panasonic WV-SFV310 Security Camera when cannot access from the web browser?
- GgloriamorenoOct 30, 2025
If you cannot access the Panasonic Security Camera from the web browser, here are several things to check: * Ensure the LAN cable is firmly connected. * Verify the link indicator is lit, and check for cable or wiring issues. * Confirm the camera's power is on. * Validate the IP addresses and check for conflicts with other devices. * Ensure you're using the correct IP address by using the Windows command prompt to ping the camera's IP address. * If using HTTPS, access with “https://” and the correct port number. * Make sure the default gateway or DNS server address is correctly set in the network settings. * If the router doesn't support UPnP, enable port forwarding. * Log into “Viewnetcam.com” to check registered camera information. * Check the URL for correctness. * ...