10
Operating the Scanner
Initial Setup
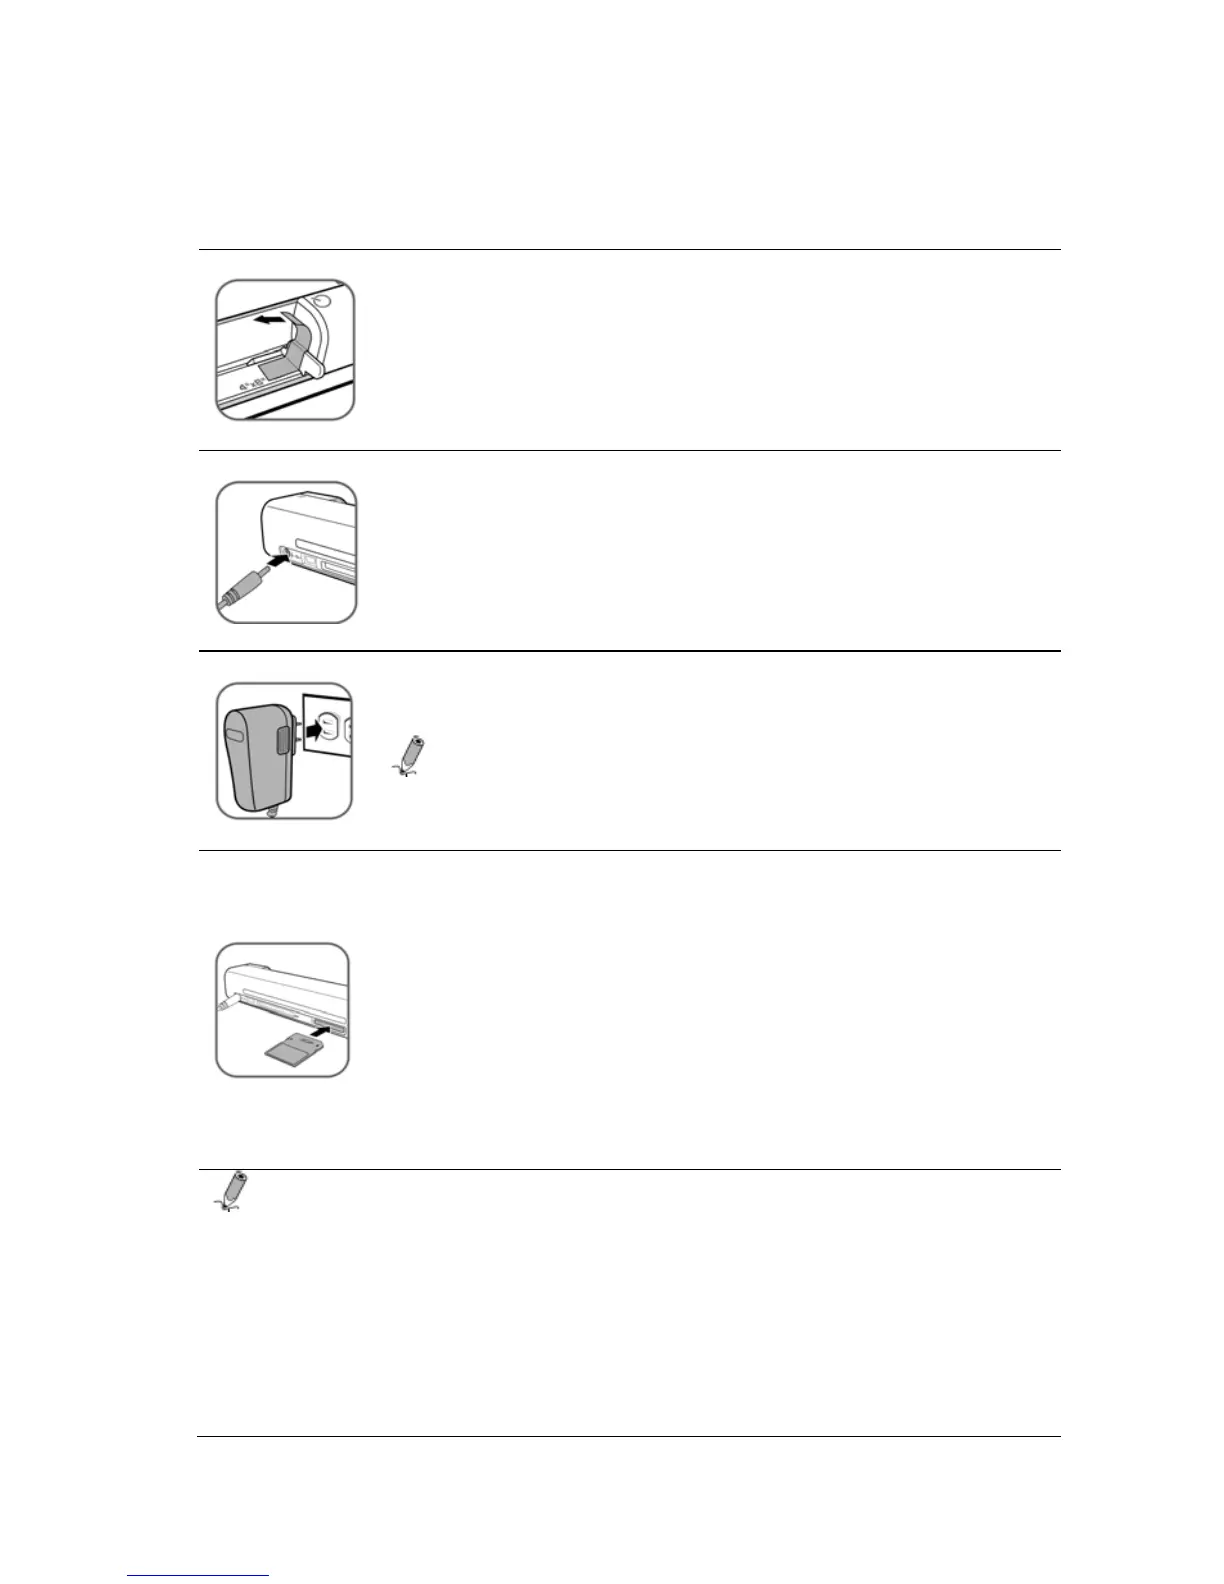
1. Peel off the tape that secures the guide lever (first
time only procedure.)
2. Connect the plug on the power adapter cable to the
power connector on the scanner.
3. Plug the power adapter into a power outlet.
Note: The type of power plug and socket illustrated
may differ from that of your region.
4. Insert an unlocked (writable) memory card into a
suitable memory card slot. If both slots are
occupied, the scanner will take the following priority
when storing the scanned images:
SD (MMC) > CF > xD > MS/MS Pro/MS Duo
For example, if both SD and CF cards are inserted, the
scanner will only store the scanned images onto the
SD card.
Notes:
• Always insert a memory card before scanning.
• Be careful when inserting a CF card. The pins inside the CF
memory card slot are subject to damages easily, and such
damage is not recoverable and is not covered by the product
warranty.
• The scanner only accepts memory cards in FAT16 or FAT32
format. NTFS and other file formats are not supported.
 Loading...


