15
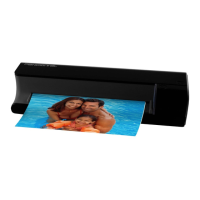
2. Insert the plastic sleeve (with the folded side first) into the feeding
slot of the scanner.
Notes:
•
Remove the plastic sheath when scanning none 3.5”x5” or
4”x6” photos to prevent improper auto-cropping function.
• To prevent the photos from getting stuck in the sleeves over
time, remove the photos from the plastic sleeve after
scanning.
• If the plastic sleeves are not in use, store them in a safe place
and keep them protected from accumulating dust.
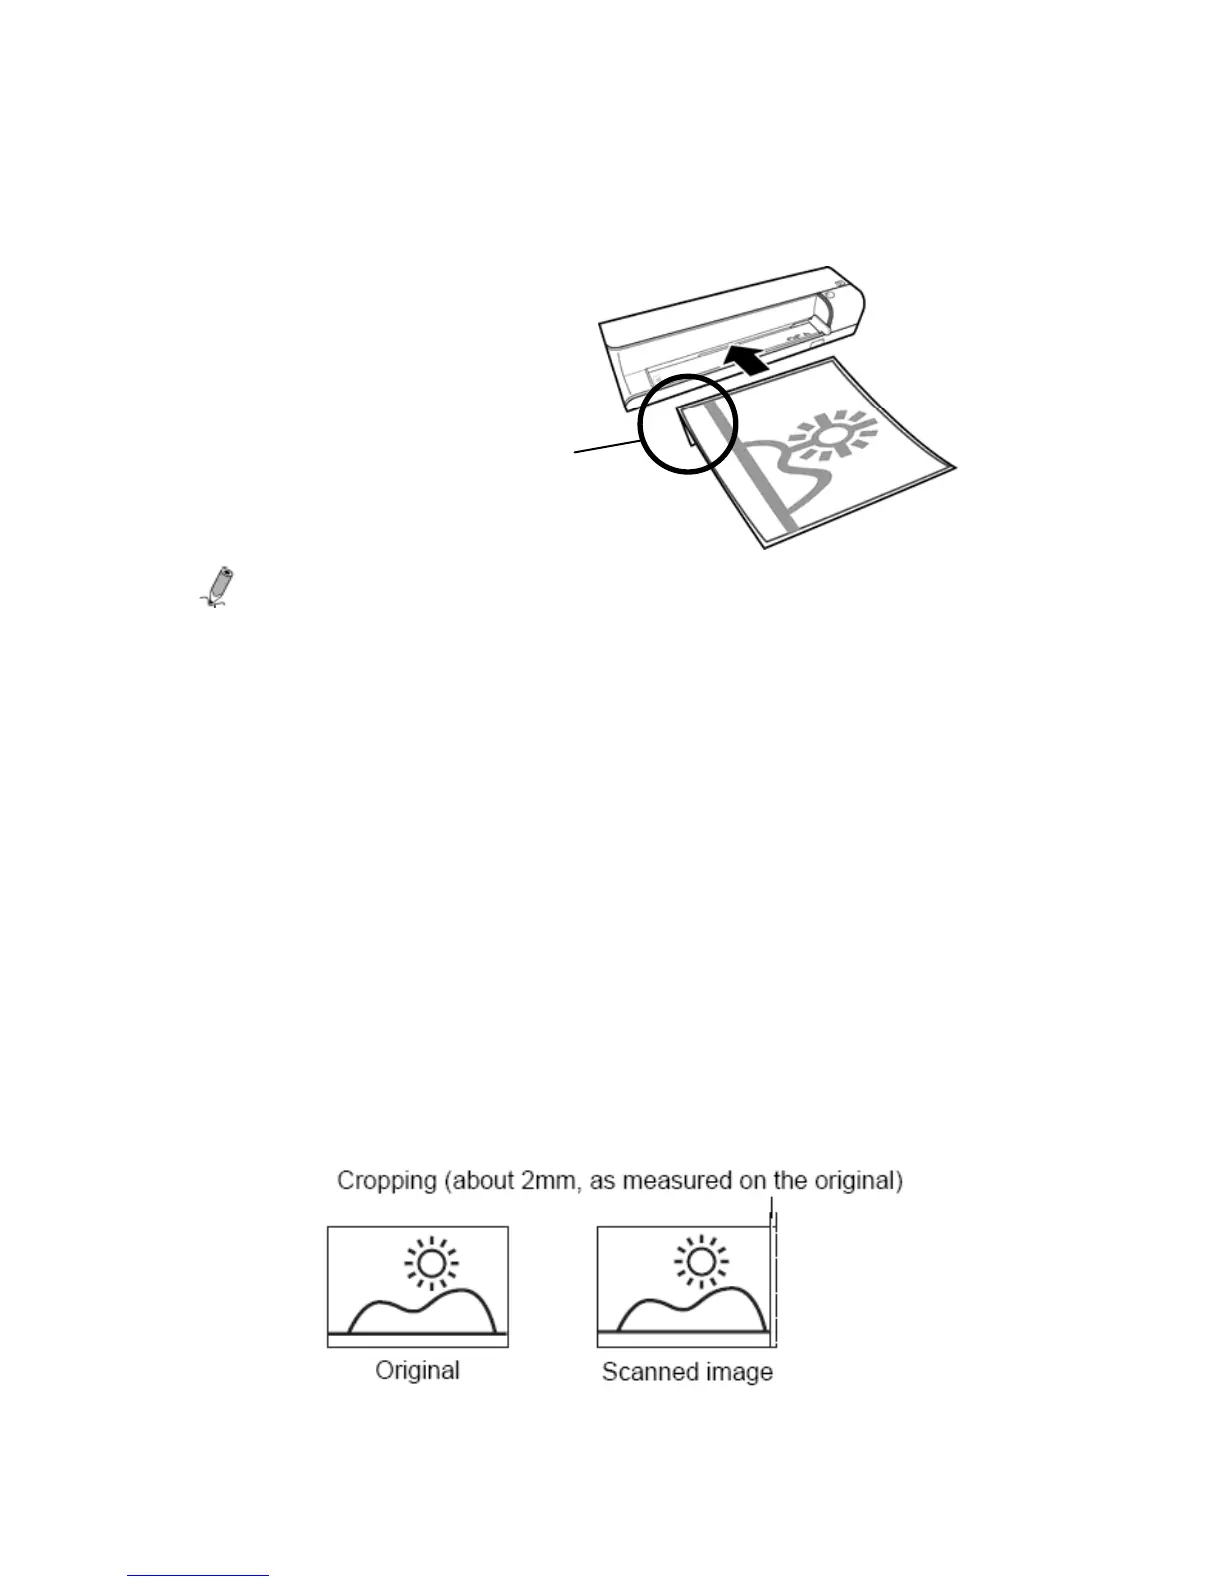
Image Crop
The PhotoLink Scanner has a built-in cropping function that
detects and automatically crops dark edges of an original as it is
scanned. Please refer to the illustration below.
Insert the folded side first
 Loading...


