25
casing, image sensor and roller inside the scanner) regularly (about
every 100-150 scans) using only the recommended and supplied
tools.
WARNING: Do not use any solvents or corrosive liquid (for
example, alcohol, kerosene..., etc.) to clean any part
of the scanner, otherwise the plastic material will be
permanently damaged.
Cleaning the Roller
1. Follow the instructions above to clean the
scanner’s outer casing first.
2. Connect the power supply to the scanner.
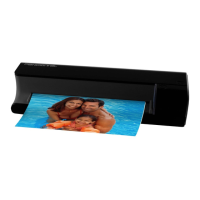
3. With scanner power off, press and hold the
power button for 5 seconds. The scanner will
enter cleaning mode. The power and
status/card indicators will be lit.
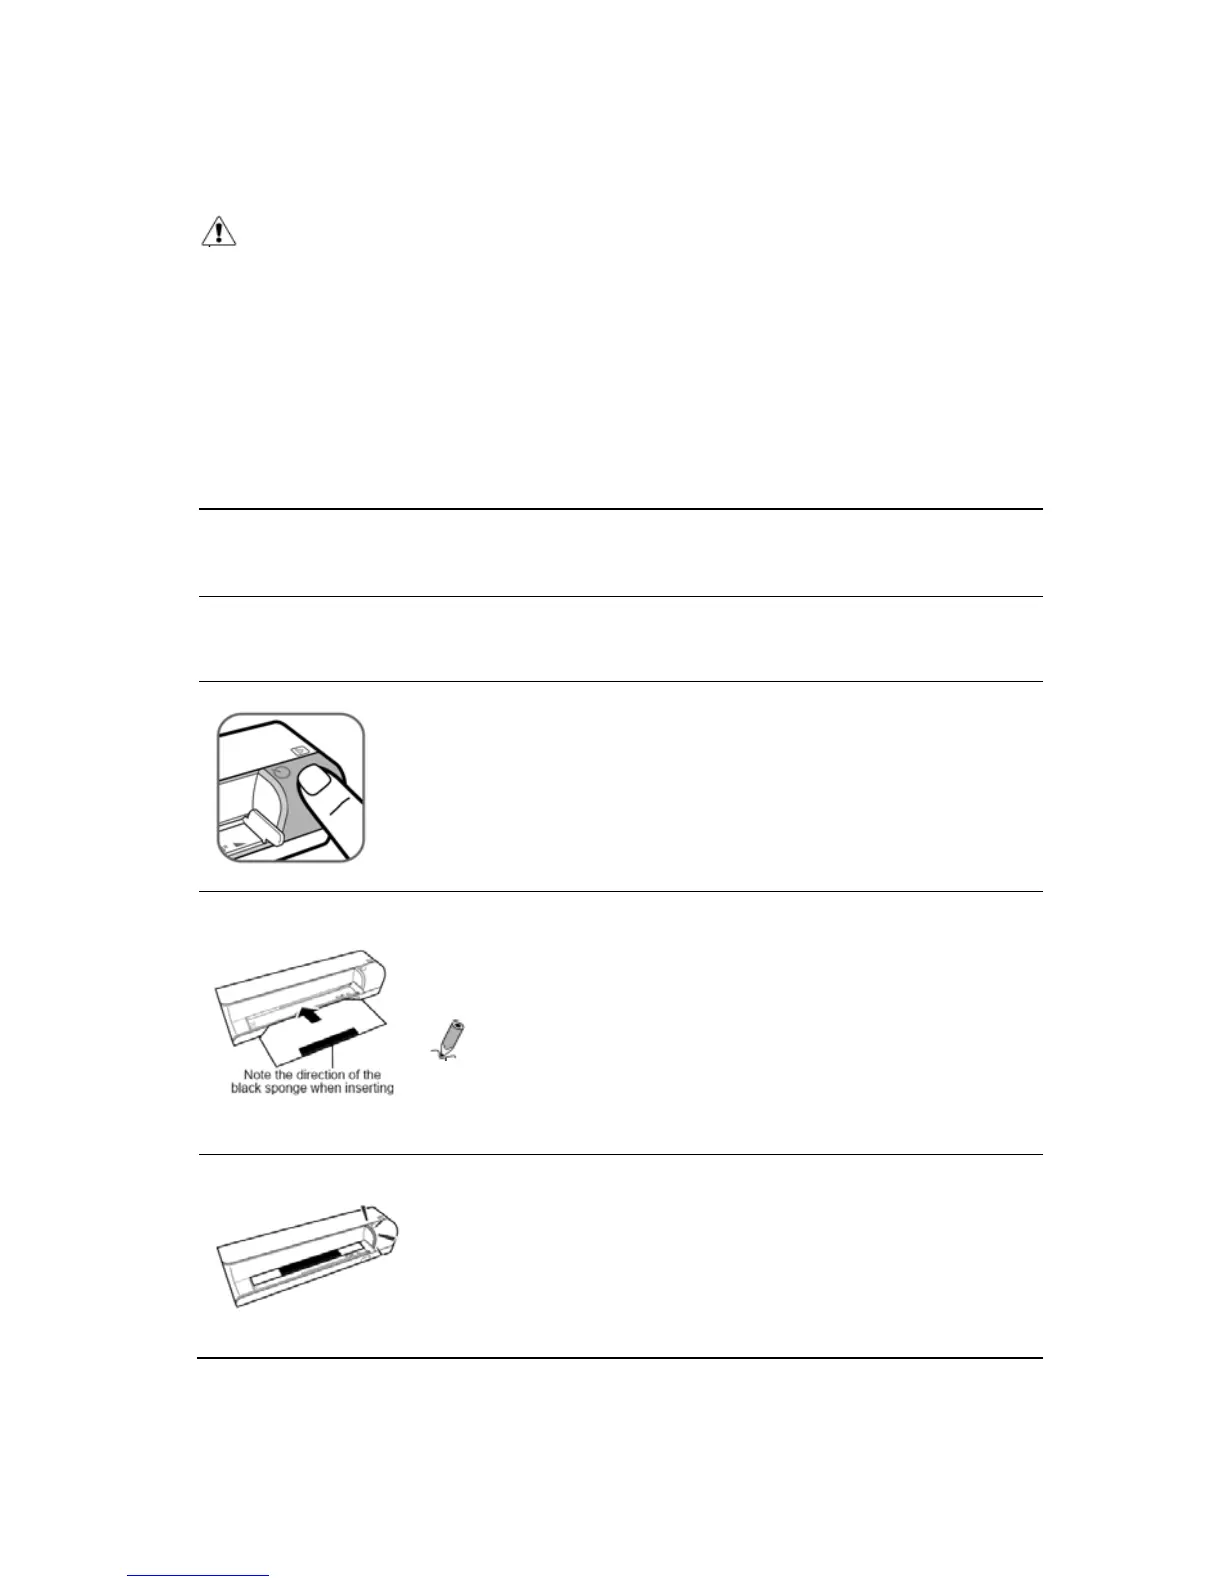
4. Insert the supplied roller cleaning sheet as
shown. Note the direction of the sponge on the
sheet when inserting.
Note: Make sure that there is no visible dust
on the sheet before inserting it into the
feeding slot.
5. The cleaning sheet will be brought into the
feeding slot automatically, and the cleaning
process will begin. During the cleaning
process, the Power and Status/card indicator
lights will blink slowly and simultaneously.
 Loading...


