16
Connect PhotoLink Scanner to a PC
By connecting the scanner to a computer, you can access the
scanned images on the memory card directly, or use the scanner as a
memory card reader, so that you can freely copy, paste or delete files
to and from the memory card using the computer.
System Requirements (for PC)
Operating system:
• Windows: Windows 2000 Pro, XP, Vista or later ver.
• Macintosh: Mac OS X or later versions
USB Port Supported:
• USB 1.1 or 2.0 port
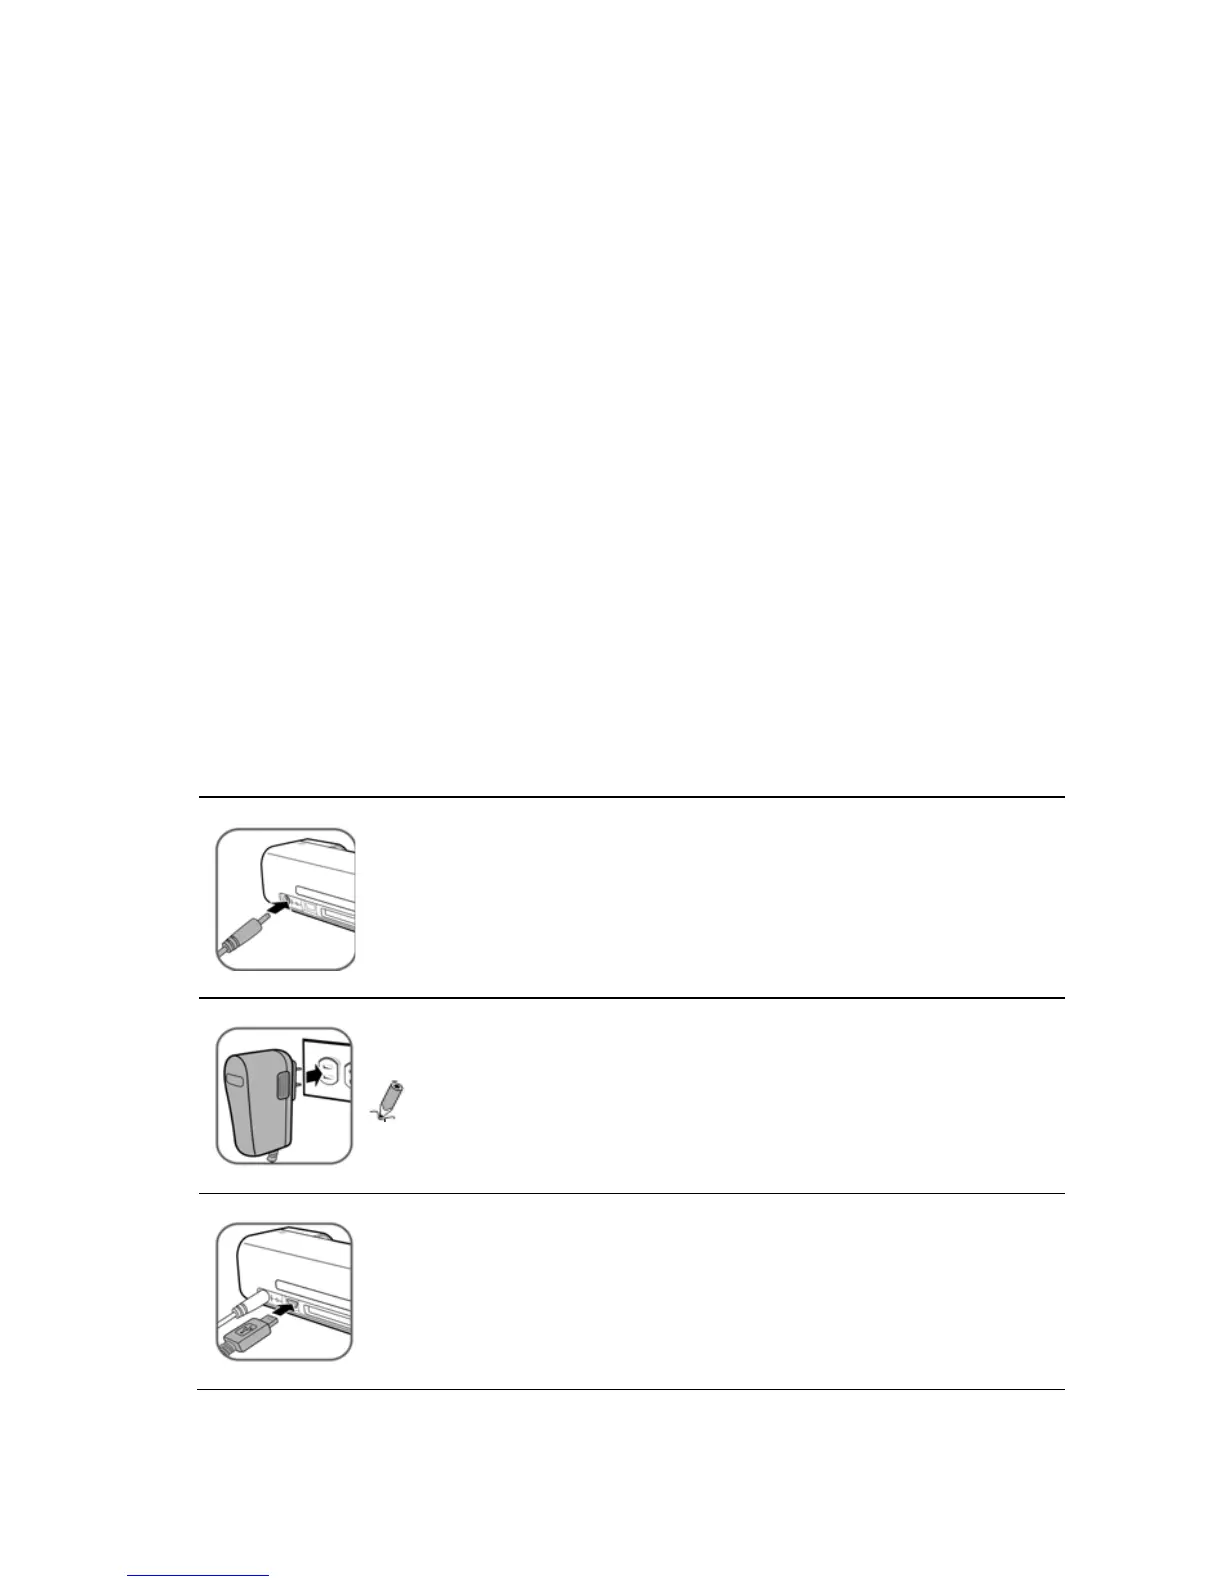
Make Connection to PC
1. Connect the plug on the power adapter cord to the
power connector on the scanner.
2. Plug the power adapter into an electrical outlet.
Note: The type of power plug and socket illustrated
may differ from that of your region.
3. Connect the mini end of the USB cable (included with
scanner) to the Mini USB connector on the scanner.
 Loading...


