17
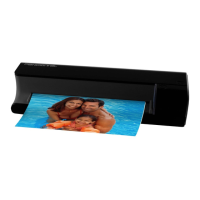
4. Connect the large end of the USB cable to a USB
port on the PC.
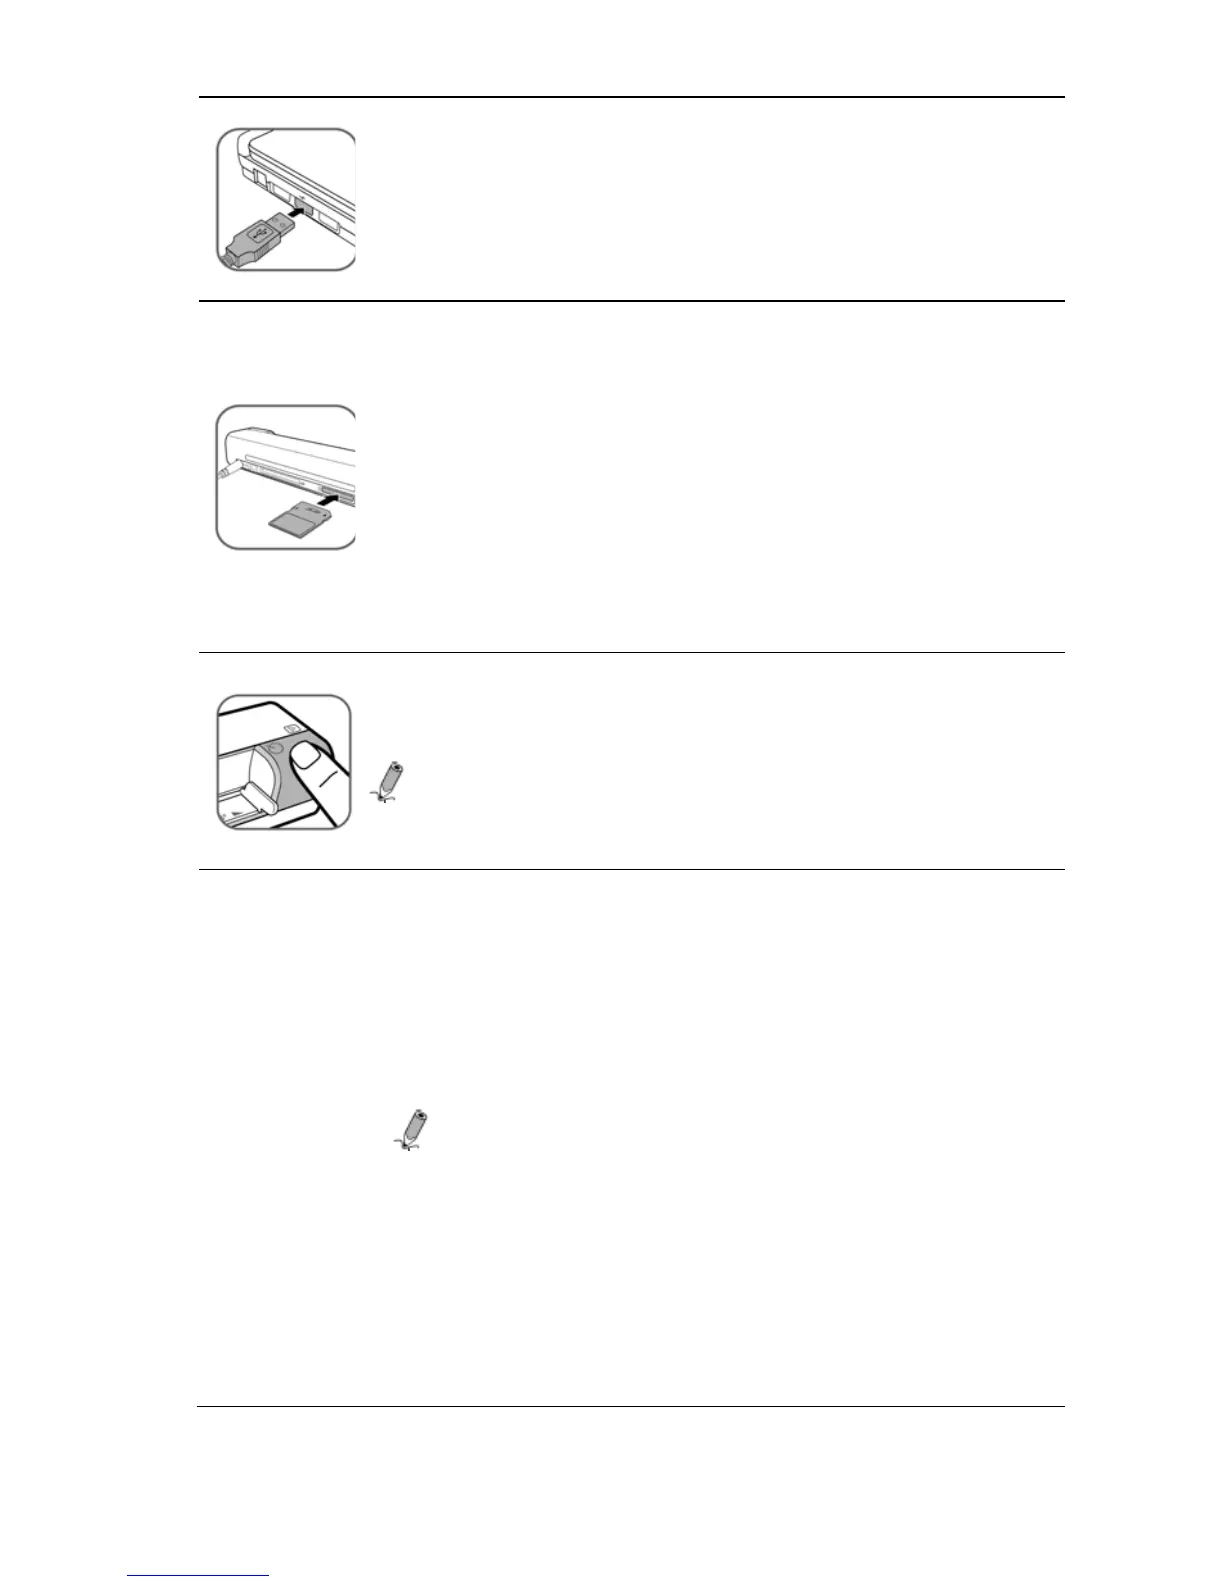
5. Insert an unlocked (writable) memory card into a
suitable memory card slot. If both slots are occupied,
the scanner will take the following priority when
storing the scanned images:
SD (MMC) > CF > xD > MS/MS Pro/MS Duo
For example, if both SD and CF cards are inserted,
the scanner will store the scanned images onto the
SD card only.
6. Press the Power button; the power indicator light
blinks.
Note: For more information, refer to “Indicator
Lights” on page 9.
The
PhotoLink Scanner will be recognized by
the computer as a removable disk (Windows system).
You should see a drive named “PDSCAN” in Windows
Explorer (see below figure). Within the drive there’s a
folder called “Photo1” into which your scanned images
are stored. Now, you are ready to view or edit the files
on the memory card.
Notes:
• If the memory cards are subsequently removed
and re-inserted, the scanner will only recognize
the card first inserted. For example, if you
remove and re-insert the CF card after the SD
card, only the SD card will be recognized.
• Do not remove the memory card while the
computer is accessing the files on it.
 Loading...


