

E
Edwin BaileySep 10, 2025
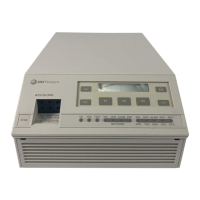
How to fix no SNMP communication via the AUX port on Paradyne 3160 Network Hardware?
- SSusan LandrySep 10, 2025
If there is no SNMP communication via the AUX port on the Paradyne Network Hardware, check that the cable is securely attached at both ends. You may also try changing the Aux Use configuration option to None, and then back to SNMP or Daisy, as appropriate.
