27
and pull the saw blade out
carefully. This can lead to loss of
control over the power tool.
• Use suitable detectors to de-
termine if there are hidden sup-
ply lines or contact the local util-
ity company for assistance. Con-
tact with electric cables can cause fire
and electric shock. Damaging gas lines
can lead to explosion. Breaking water
pipes causes property damage.
• Always wait until the power
tool has come to a complete
stop before placing it down. The
application tool can jam and cause
you to lose control of the power tool.
Residual risks
There will always be residual risks even
if you operate this power tool according
to the instructions. The following hazards
may occur in connection with the type and
design of this power tool:
• Hearing damage if suitable ear protec-
tion is not worn.
• Health injuries resulting from the effect
of hand/arm vibration in the event that
the tool is used over a longer period
of time or is not used and maintained
properly.
• Cutting injuries
WARNING! Danger due to electro-
magnetic field generated while the tool is
in operation. Under certain circumstances,
this field may negatively affect active or
passive medical implants. In order to re-
duce the danger of serious or fatal injur-
ies, we recommend that individuals who
wear medical implants should consult their
doctor and the manufacturer of the im-
plant before operating the tool.
Preparation
WARNING! Risk of injury due to un-
intentional start-up. Do not insert the plug
into the outlet until the device is fully pre-
pared for use.
Control elements
Familiarise yourself with the operating ele-
ments before using the device for the first
time.
• On/Off switch (3)
• Switching on: Press
• Switching off: Release
• Pendulum stroke switch (15)
Set pendulum movement of the saw
blade in 4 positions:
• 0 - no pendulum motion
• 1 - small pendulum motion
• 2 - medium pendulum motion
• 3 - large pendulum motion
• Rotary wheel (1)
Set the stroke rate in 6 levels.
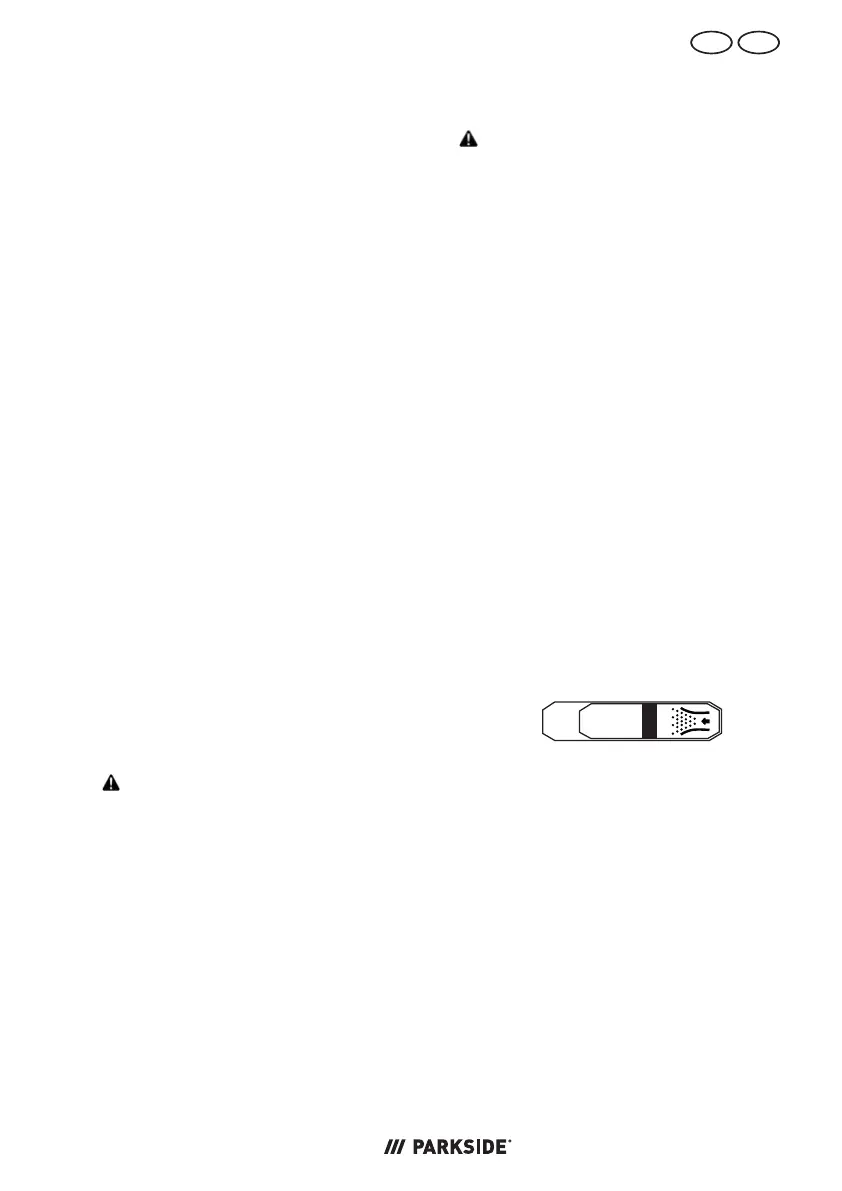
• Switch (dust blower function)
(12)
Blower function for chip-free cutting line
⭠
disable
⭢
enable
• LED work light (22)
You can use the button (24) to switch
the LED work light on and off.
Attaching and removing the
slide shoe
When working on scratch-sensitive work-
pieces, working with the slide shoe (11) is
recommended.
Assembling the slide shoe (Fig.A)
1. Place the slide shoe (11) on the front
of the footplate (13).

 Loading...