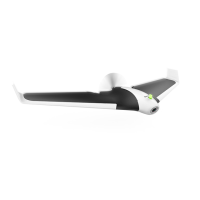
EasyManuals Logo

Parrot Disco FPV User Manual

Parrot Disco FPV
260 pages
To Next Page IconTo Next Page
To Previous Page IconTo Previous Page
Page #14 background imageLoading...
Page #14 background image
14
CONNECTING
TO THE PARROT DISCO
CONNECTING THE PARROT
SKYCONTROLLER 2 TO THE PARROT DISCO
1. Place the Parrot Disco on a flat surface.
2. Press the Parrot Disco’s On/Off button.
> The button flashes red and green once the GPS is connected.
3. Press the Parrot Skycontroller 2’s On/Off button to turn it on.
4. Wait until the warning light is a steady green.
You are connected to the Parrot Disco.
If the warning light continues to flash red, you need to calibrate the
Parrot Disco. To do this:
1. In the FreeFlight Pro application, go to Fly and film > >
Position, distances and limits
and press Calibrate.
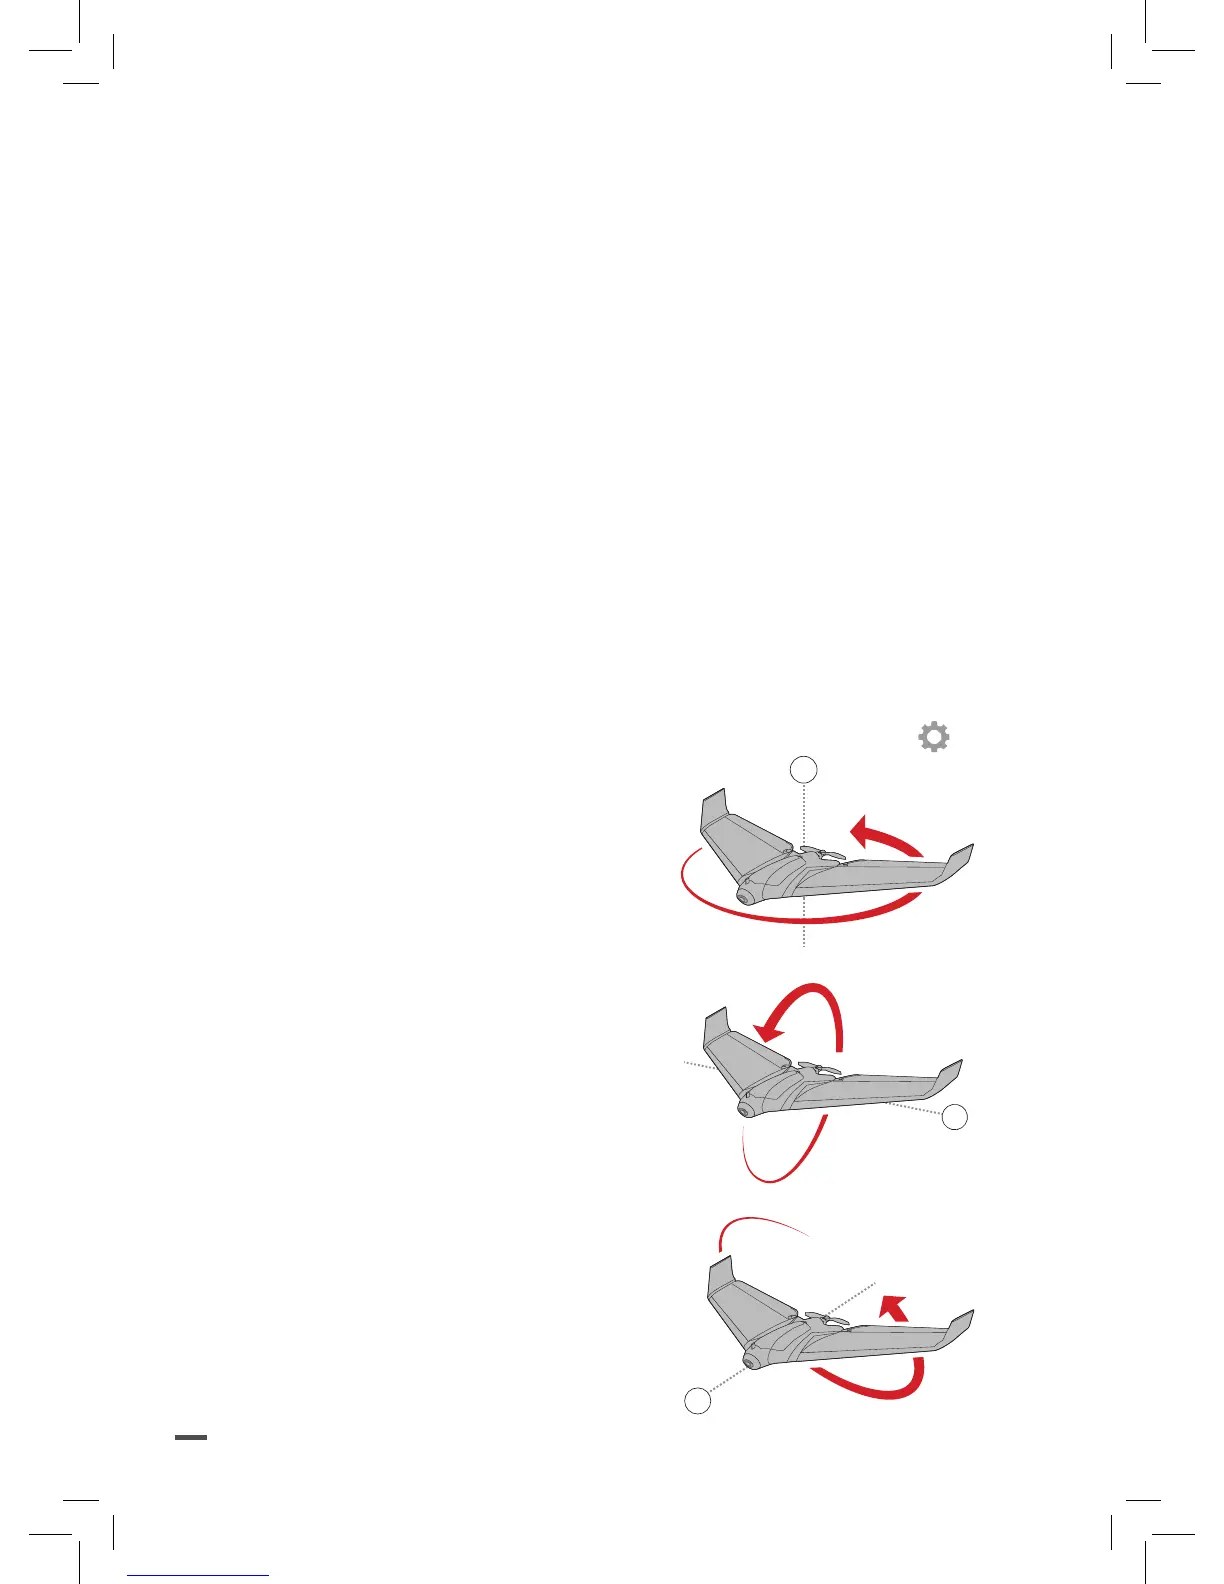
2. Rotate the Parrot Disco on the
Z-axis (yaw).
3. Rotate the Parrot Disco on the
Y-axis (pitch).
4. Rotate the Parrot Disco on the
X-axis (roll).
> The warning light flashes
green. The Parrot Disco is
calibrated.
Z
Y
X

Table of Contents

Questions and Answers:

Question and Answer IconNeed help?

Do you have a question about the Parrot Disco FPV and is the answer not in the manual?

Parrot Disco FPV Specifications

General IconGeneral
Product colorBlack, White
Housing materialCarbon, Expanded polypropylene (EPP)
Maximum speed22 m/s
Frequency band2.4/5 GHz
Number of axis3
GPS (satellite)Yes
Number of rotors1 rotors
Maximum weight capacity- kg
Maximum operating distance2000 m
Supported video modes1080p
Maximum video resolution1920 x 1080 pixels
Operating time45 min
Battery capacity2700 mAh
Cables includedUSB
Moving control functions-
Weight and Dimensions IconWeight and Dimensions
Depth580 mm
Width1150 mm
Height120 mm
Weight750 g

Related product manuals