26
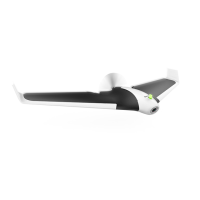
CREATING A FLIGHT PLAN
1. Press to enable waypoint editing.
2. On the map, tap where you want to place your first waypoint.
> A numbered bubble appears. The number represents the altitude
of the Parrot Disco when passing this point.
3. Continue placing your waypoints.
4. Once you have drawn your path, press and hold the last point of
your journey.
> A pop-up window appears. Choose the desired landing mode
(linear or circular). Warning! Circular landing requires an area of
60 metres in diameter free of obstacles.
Your flight plan is created.
FLYING WITH FLIGHT PLAN
1. Make sure your flight plan is created and loaded.
2. Turn on your Parrot Disco.
3. Wait until the Parrot Disco’s warning light turns green. This means
that the GPS is connected.
4. Connect your smartphone to the Parrot Disco and start the
FreeFlight Pro application.
5. On the Home screen, press Flight Plan.
6. Press Start.
7. Stand facing upwind
8. Make the Parrot Disco take off.
> The Parrot Disco begins the course you set.
 Loading...