EasyManua.ls Logo

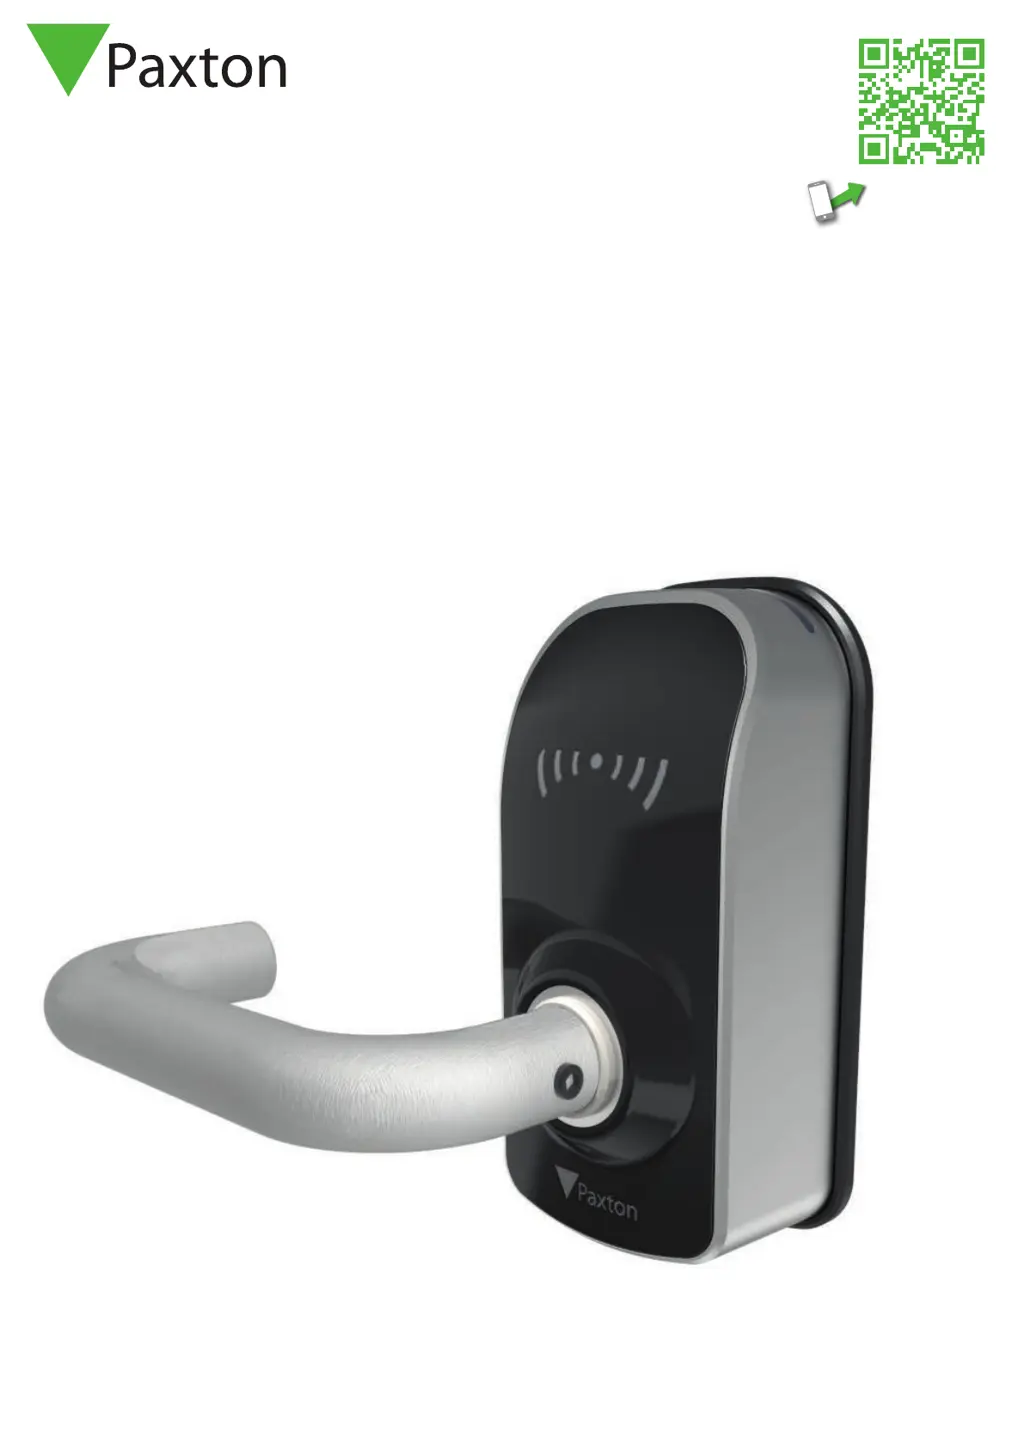
Paxton PaxLock Pro - User Manual

Paxton PaxLock Pro
14 pages
Print Icon
To Next Page IconTo Next Page
Loading...
ins-30210-EN

Other manuals for Paxton PaxLock Pro

Questions and Answers

  • F
    fwarnerSep 6, 2025
    What does "Battery-side handle stuck" mean for Paxton Door locks?
    • A
      ahermanSep 6, 2025
      The Net2 events "Battery-side handle stuck" or "Reader-side handle stuck" for Paxton Door locks mean that the respective PaxLock handle has been held down for too long.
  • T
    Tara MorrisAug 22, 2025
    What to do if Paxton Door locks PaxLock Pro - Latch is not responding to token?
    • C
      Charles EricksonAug 22, 2025
      If your PaxLock Pro - Latch isn't responding when you present a token, ensure that the secure side chassis is properly fitted, as this is essential for the device to function correctly.
  • M
    Michael SalazarSep 3, 2025
    How to stop Paxton PaxLock Pro door from hitting the wall?
    • M
      Mary LewisSep 3, 2025
      To prevent the door from hitting the wall when fully opened, install a door stop. This will protect the handle and wall from damage.
  • P
    pamelasaundersSep 2, 2025
    How to fix old Paxton PaxLock Pro tubular latch?
    • G
      guzmanchristopherSep 2, 2025
      If the tubular latch on your Paxton door locks is old, worn, or not moving freely, try applying a silicone-based lubricant to improve its operation. If lubrication doesn't solve the issue, consider replacing the tubular latch.
  • J
    John ReillySep 1, 2025
    What to do if Paxton PaxLock Pro tubular latch will not retract?
    • K
      Kevin GoodwinSep 1, 2025
      If the tubular latch on your Paxton door locks won't retract when the door is closed, even from the secure side, check that the distance from the edge of the door to the frame is no more than 1/8".
  • D
    Diana HubbardAug 30, 2025
    How to fix Paxton Door locks PaxLock Pro - Latch not sitting flush?
    • K
      Kimberly DavisAug 30, 2025
      If your PaxLock Pro - Latch doesn't sit flush against the door during installation, ensure that the through door holes are 5/16" in diameter and the central spindle has at least 25/32" clearance around it. Correct these dimensions if necessary before proceeding.
  • S
    smithlindaAug 29, 2025
    Why Paxton PaxLock Pro through door cables sheared?
    • M
      Malik GloverAug 29, 2025
      If the through door cables sheared during handle assembly installation, it could be due to using bolts on a door that is too narrow. Refer to the template for selecting the correct bolt and spindle sizes according to your door's thickness.
  • C
    Craig ClarkAug 27, 2025
    What to do if Paxton Door locks edge is clipping the door frame?
    • M
      Megan Lopez MDAug 27, 2025
      If the edge of your PaxLock Pro - Latch or handle is hitting the door frame, it might be because the lock case backset is too low. A 2 3/4" backset is generally recommended for most doors.
  • E
    Erik MahoneyAug 27, 2025
    Why Paxton Door locks latch bolt not fully retracting?
    • G
      garybrownAug 27, 2025
      If the latch bolt on your Paxton Door locks isn't fully retracting when the handle is depressed, the turning angle of the tubular latch must be 45° or lower for the PaxLock Pro - Latch to fully retract the latch. If it is over this, the tubular latch will need replacing.
  • J
    Jordan ClarkAug 25, 2025
    What to do if Paxton PaxLock Pro latch doesn't sit in strike plate?
    • J
      Jesse BryantAug 26, 2025
      If the latch of your Paxton door locks doesn't align with the strike plate when the door is closed, adjust the position of the strike plate. Ensure the latch sits comfortably within it.

Summary

Installation Guide

Door Preparation and Initial Fitting

Steps 1-4 cover preparing the door and fitting initial components like the spindle and tee nut.

Lockset Body Assembly

Steps 5-8 detail assembling the lockset body and integrating parts like the follower bar and straws.

Chassis and Bolt Integration

Steps 9-12 focus on securing the chassis, feeding through bolts, and integrating the battery side chassis.

Securing and Wiring Connections

Steps 13-16 cover tightening nuts, screwing the self-tapping screw, and managing wire connections.

Final Assembly and Power

Steps 17-20 involve inserting batteries, fitting the rear chassis, tightening handles, and attaching the fascia.

Net2 Integration

Net2 Software Setup and User Addition

Install Net2, enroll a token, and add a user to the system for integration.

PaxLock Pro Binding with Net2 Air Bridge

Ensure bridge connection, commission, and bind the PaxLock Pro for door recognition in Net2.

Standalone Operation Modes

Standalone Mode Setup

Configure the unit for standalone operation by presenting the enrolment card.

Silent Operation Mode

Enable or disable audible feedback using the Silent Operation card.

Door Open Time Configuration

Set the duration the door remains unlocked after valid access using the door open time card.

Technical Specifications and Accessories

IP Rating and Installation Jig

Details on IP ratings for different models and availability of an installation jig.

Wide Door Kits and Cover Plates

Information on accessory kits for wide doors and various cover plate options.

Compliance and Contact Information

Declaration of Conformity

Product conformity to essential requirements of Directive 2014/53/EU and contact details.

Warranty and Fire Safety Compliance

Details on warranties, installation requirements, and EN1634-1:2008 fire resistance compliance.

Paxton PaxLock Pro Specifications

General IconGeneral
OrientationVertical
Product type-
Mounting typeSurface-mounted
Housing materialMetal
Compatible productsPaxton PaxLock Pro

Related product manuals